In this article
How to enable Zoom
How to change the Zoom style
How to customise Zoom appearance
How to customise Zoom controls
How to enable Hover text
How to enable Zoom
Zoom can be turned on and off in two ways. 1) Using keyboard shortcuts. 2) With a scroll-gesture + modifier key (e.g., the Control key) combination using a compatible trackpad or mouse. You can enable both of these options through the Zoom settings screen in System Preferences.
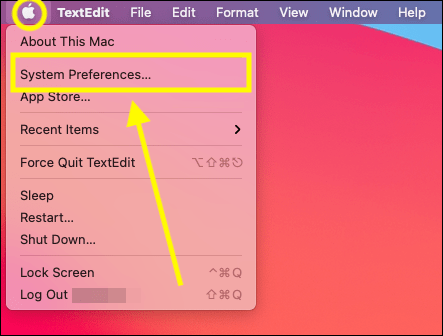
- Select the Apple icon
 in the top left corner of the screen.
 - Select System Preferences from the menu.
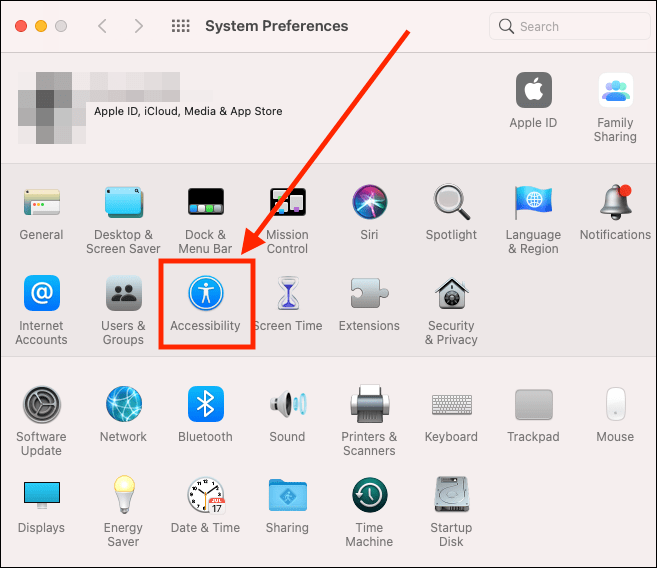
- On the System Preferences window, select the Accessibility icon.
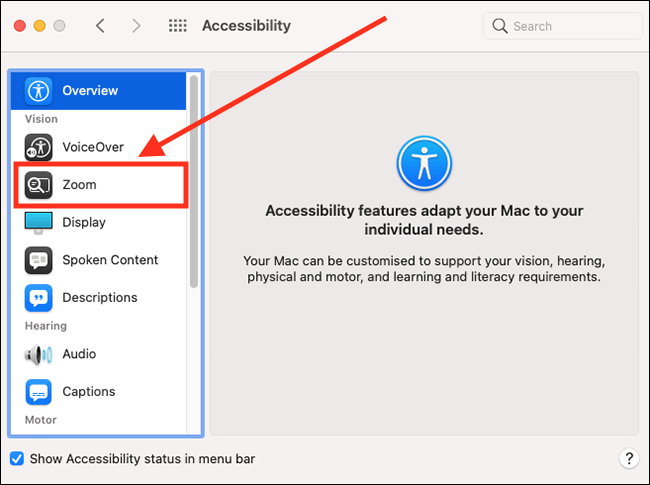
- On the Accessibility screen, select Zoom from the left-hand column.
- Tick the checkbox for Use keyboard shortcuts to zoom if you want to enable this option.
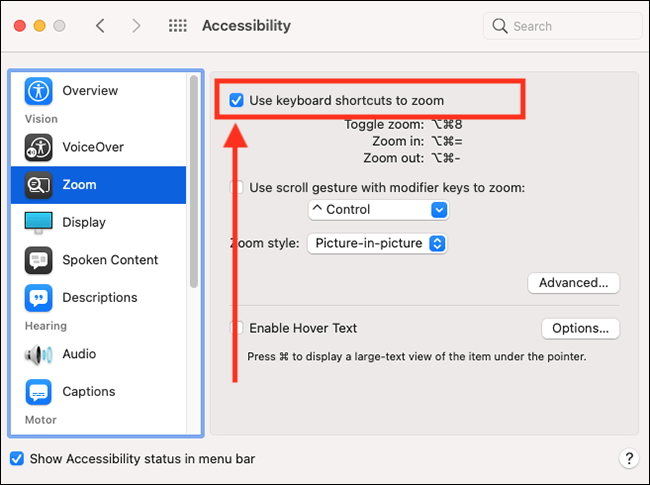
- Once enabled, you can turn zoom on and off using the keyboard shortcut Alt (⌥) + Command (⌘) + 8
- You can increase the level of Zoom using the keyboard shortcut Alt (⌥) + ‘Command (⌘) + = (equals)
- You can decrease the level of Zoom using the keyboard shortcut Alt (⌥) + Command (⌘) + - (hyphen)
- Note: By default, the entire screen is zoomed. To change to a different zoom style, see the How to change the Zoom style section, below.
- To use a trackpad or mouse to control zoom, tick the checkbox for Use scroll gestures with modifier keys to zoom.
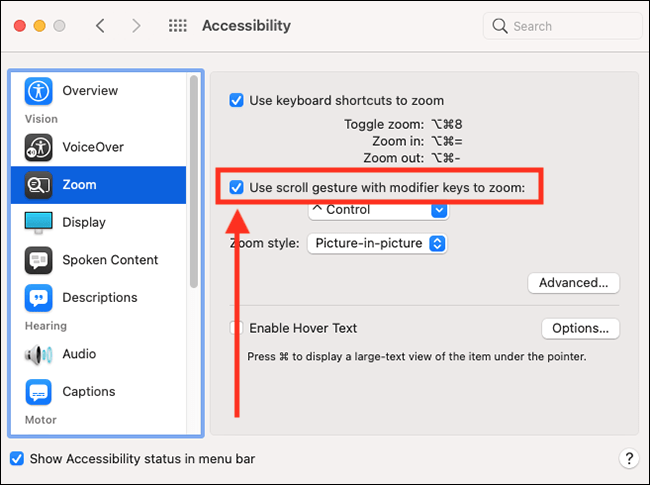
- Once enabled, you can zoom by holding down a modifier key (e.g., the Control key) and using a two-finger scroll gesture, or a mouse wheel, to zoom in and out. Note: By default, the entire screen is zoomed. To change to a different zoom style, see the How to change the Zoom style section, below.
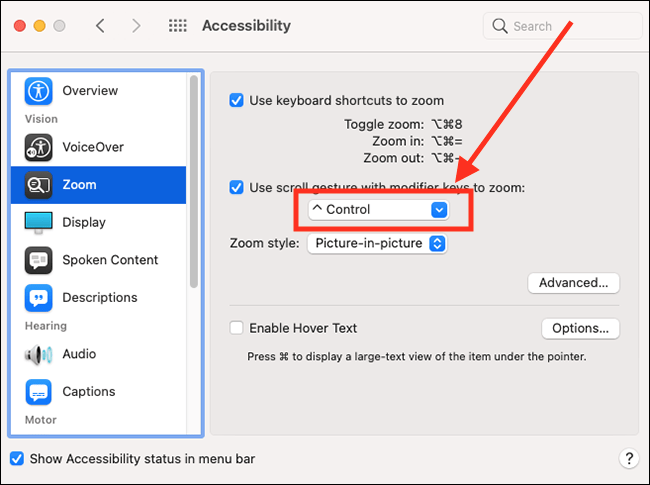
- To change the modifier key used with scroll gestures, select the drop-down menu under Use scroll gestures with modifier keys to zoom and choose from:
- Control (⌃)
- Option (⌥)
- Command (⌘)
How to change the Zoom style
There are three different zoom styles:
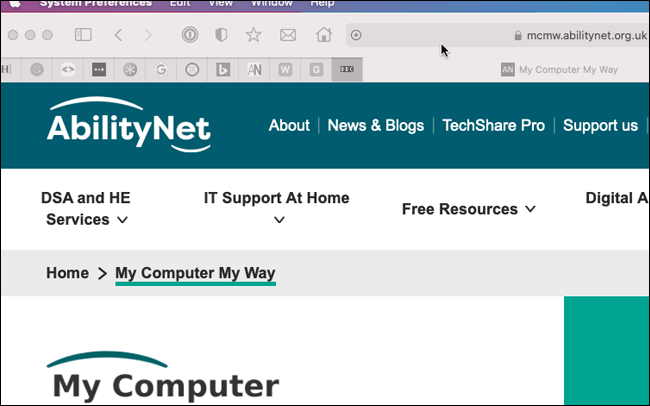
- Full screen – the entire screen is magnified
- Split screen – the screen is split into two sections. One section is a standard view, and you use this area to navigate and interact with the items on-screen as normal. The other section shows a magnified view of what you are doing.
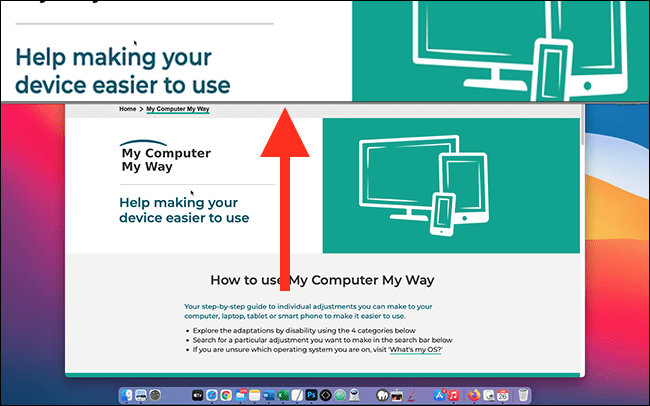
- Picture-in-picture – a small window magnifies the area around the cursor.
Full screen zoom
Split screen zoom
Picture-in-picture zoom
To change the zoom style
- Select the Apple icon in the top left corner of the screen.
- Select System Preferences from the menu.
- On the System Preferences window, select the Accessibility icon.
- On the Accessibility screen, select Zoom from the left-hand column.
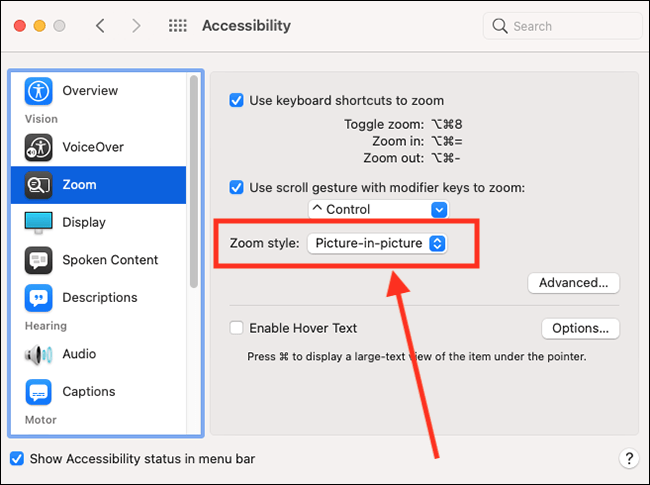
- In the right-hand column, select the drop-down menu for Zoom style and choose from:
- Full screen
- Slit screen
- Picture-picture
How to customise Zoom appearance
The options for Zoom appearance apply to each of the three zoom styles, with a couple of exceptions noted below.
- Select the Apple icon in the top left corner of the screen.
- Select System Preferences from the menu.
- On the System Preferences window, select the Accessibility icon.
- On the Accessibility screen, select Zoom from the left-hand column.
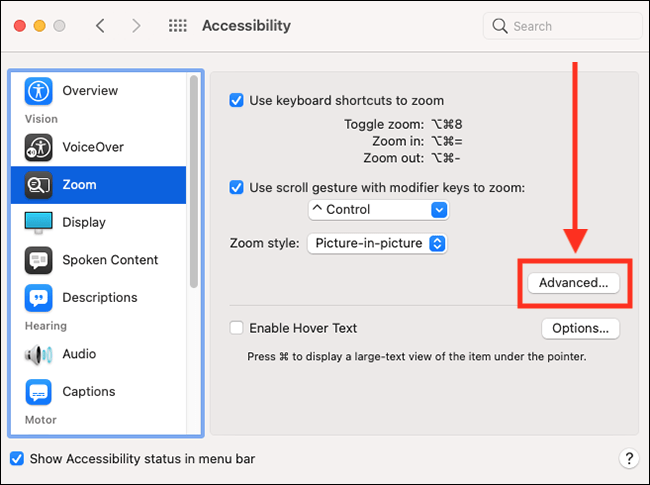
- In the right-hand column, select the Advanced button.
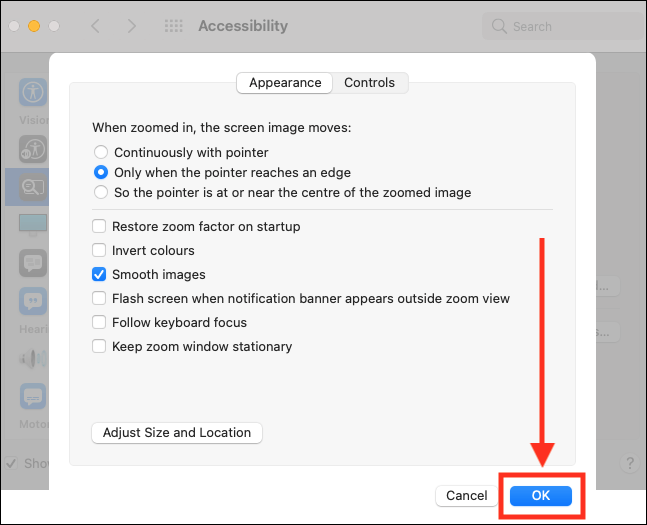
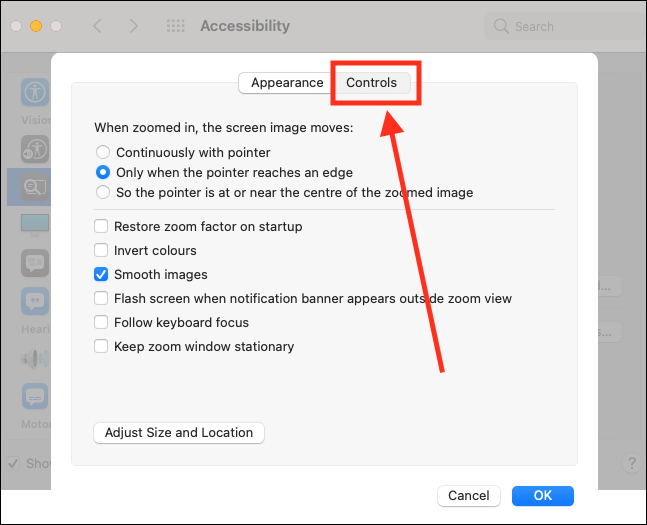
- In the next window, make sure the Appearance tab is selected.
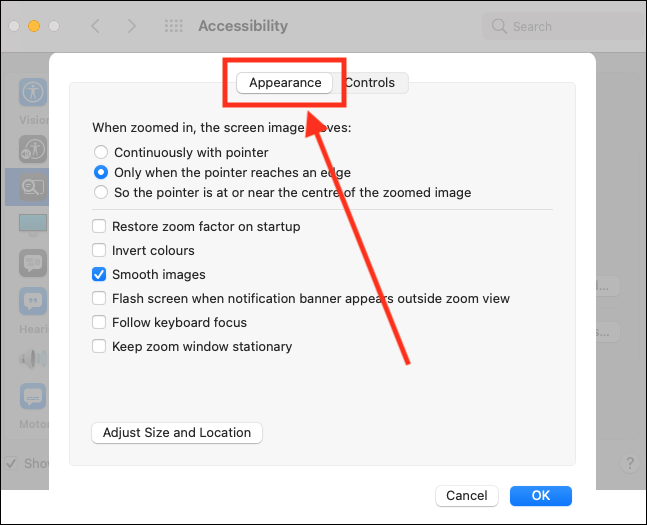
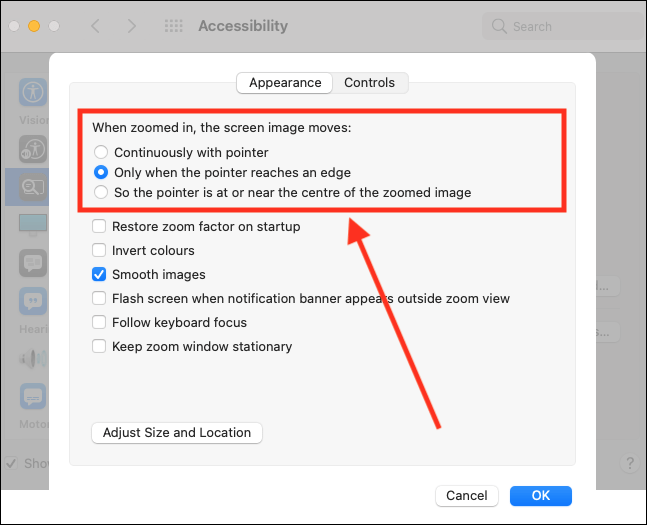
- Choose a movement option for When zoomed in, the screen image moves:
- Continuously with pointer – the zoomed screen moves as you move the pointer.
- Only when the pointer reaches an edge – the zoomed image remains stationary until the pointer reaches an edge of the screen. Once the pointer is touching an edge, keep moving the pointer and the screen will reposition.
- So the pointer is at or near the centre of the screen – when you move your mouse or your finger on the trackpad, the screen will move but the pointer will remain centred on the screen.
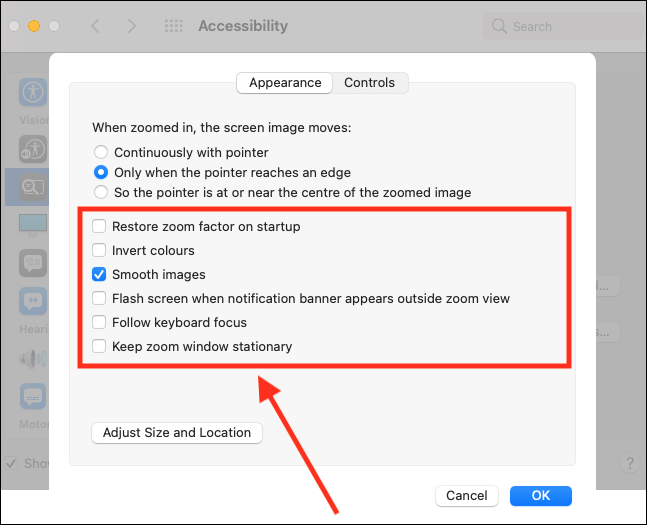
- Tick the checkbox for any of the following settings you would like to enable:
- Restore zoom factor on startup – apply the current level of zoom whenever you turn on zoom or restart your computer.
- Smooth images – when this setting is ticked, text and images will be smoothed to stop them appearing pixelated.
- Invert colours (Split screen and Picture-in-picture only) - the colours in the zoom view will be inverted.
- Flash screen when notifications banner appears outside zoom view - the entire screen will flash once when you receive a notification.
- Follow keyboard focus - magnify the area that has the keyboard focus.
- Keep zoom window stationary (Picture-in-picture only) – by default, when the pointer reaches the each of the picture-in-picture window, the window moves along with the pointer. If you tick this setting, the picture-in-picture window will stay in a fixed position on the screen.
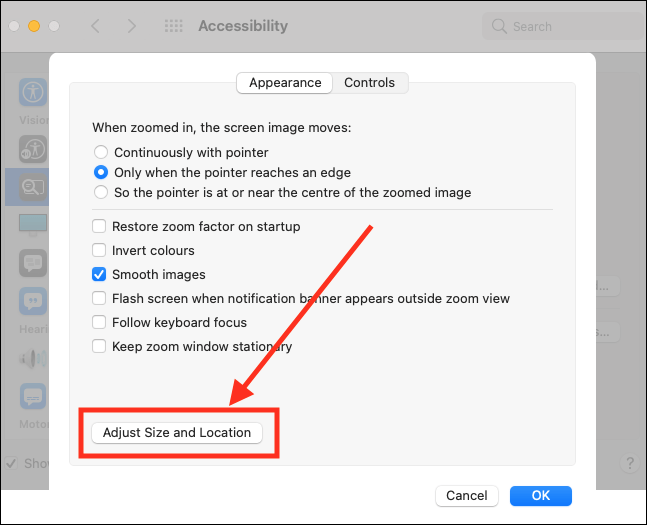
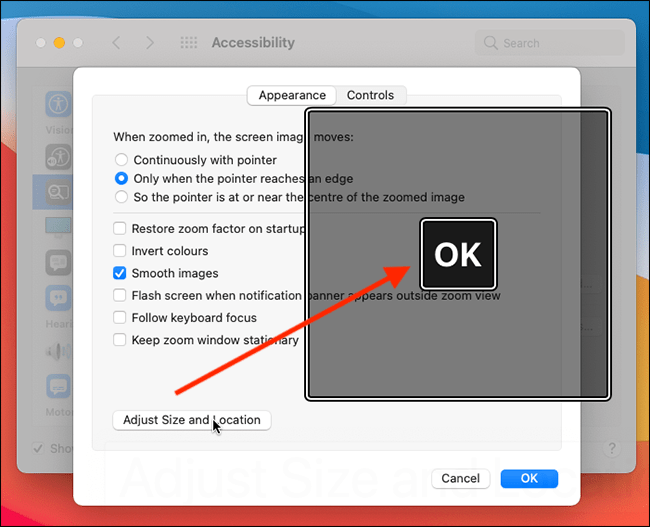
- If you are using Split-screen or Picture-in-picture, you can also adjust the size and location of the viewer. Select the Adjust size and location button.
- The viewer for your zoom style will appear. You can resize it by dragging one of the edges or corners. You can reposition the viewer by clicking and dragging from inside the view area. Note: if you are using Split screen you can position the viewer at the top or bottom, or the left or right side of the screen.
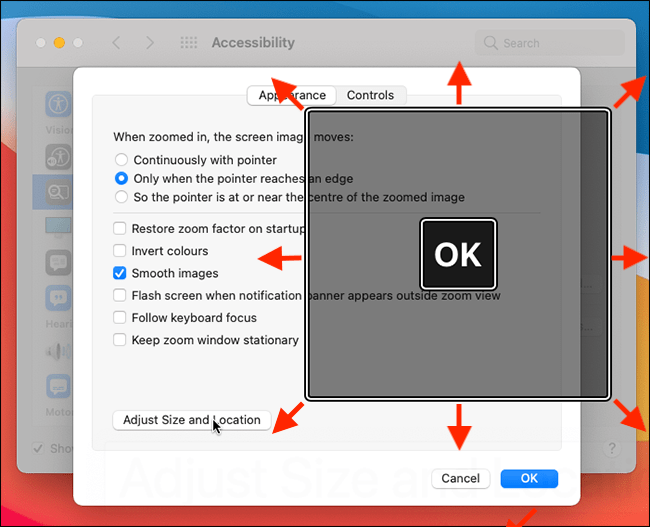
- When you have finished, select the OK button in the viewer.
- When you are happy with your appearance settings, select the OK button.
How to customise Zoom controls
The settings for Zoom controls apply to all three Zoom styles.
- Select the Apple icon in the top left corner of the screen.
- Select System Preferences from the menu.
- On the System Preferences window, select the Accessibility icon.
- On the Accessibility screen, select Zoom from the left-hand column.
- In the right-hand column, select the Advanced button.
- On the Appearance/Controls window, select the Controls tab.
- Tick the checkbox for any of the following settings you would like to enable:
- Hold ⌃ (Control) + ⌥ (Alt) to temporarily toggle zoom – when zoomed in you can temporarily view the screen at normal size whilst holding this shortcut.
- Hold ⌃ (Control) + ⌘ (Command) to temporarily detach zoom view from pointer – if you find it difficult to see the content underneath the pointer when you are zoomed in, use this shortcut to temporarily hide the pointer whilst moving around the screen.
- Press ⌥ (Alt) + ⌘ (Command) to toggle between full screen and picture-in-picture view – toggle the zoom style between Full screen and Picture in Picture.
- Use keyboard shortcuts to adjust the zoom window.
When this setting is enabled (Split screen and Picture-in-picture view only), you can resize the zoom window using the keyboard shortcut: ⌃ (Control) + ⌥ (Alt) + ⌘ (Command) + arrow keys
When this setting is enabled, you can shift the zoomed window/region using the keyboard shortcut: ⌥ (Alt) + ⌘ (Command) + arrow keys
- Use trackpad gestures to zoom
When this setting is enabled, you can zoom by double-tapping three finger.
When this setting is enabled, you can change zoom by double-tapping three fingers and dragging.
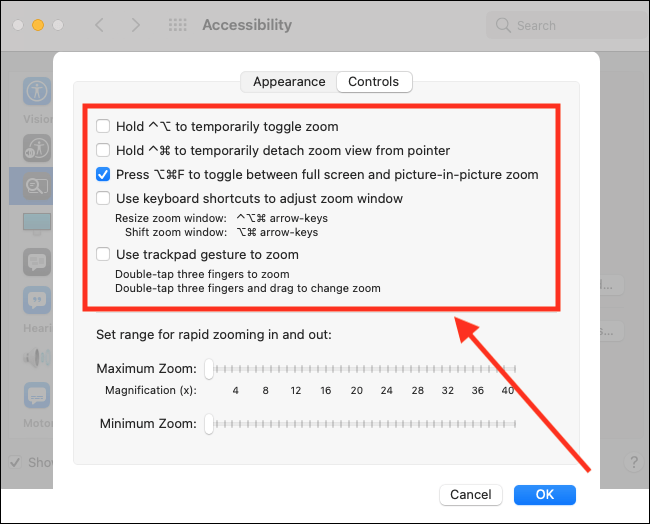
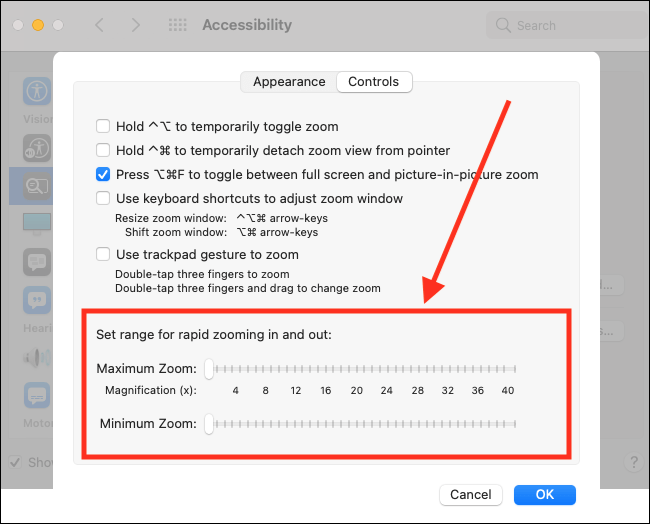
- Set the range for rapid zooming in and out – use the sliders to set a maximum and minimum level of magnification.
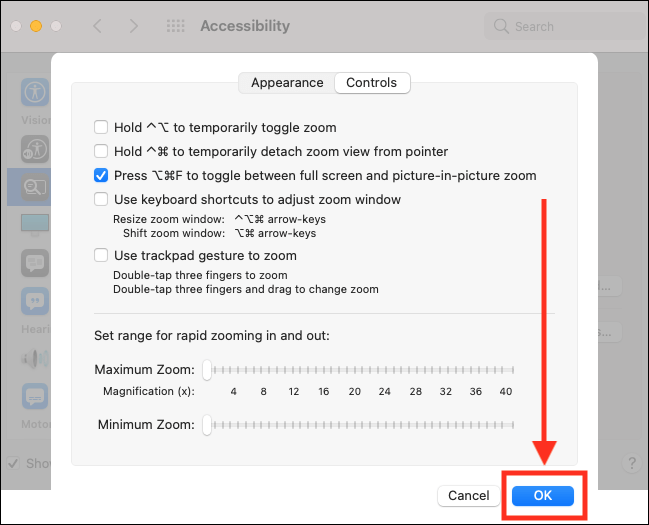
- When you are happy with your control settings, select the OK button.
How to enable Hover text
You can display a large-text view of the item that is under the pointer by holding down a modifier key – the default modifier key is ⌘ (Command). You can lock this feature by triple-clicking the modifier key.
To enable Hover text and customise how it appears:
- Select the Apple icon in the top left corner of the screen.
- Select System Preferences from the menu.
- On the System Preferences window, select the Accessibility icon.
- On the Accessibility screen, select Zoom from the left-hand column.
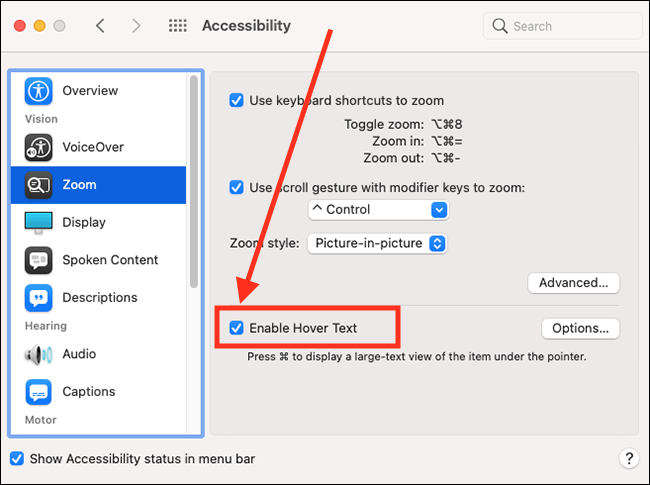
- In the right-hand column, tick the checkbox for Enable Hover Text.
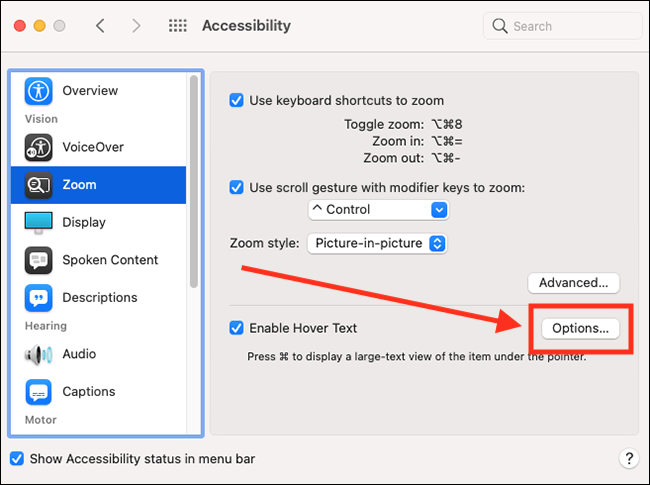
- To customise the appearance of Hover text, select the Options button.
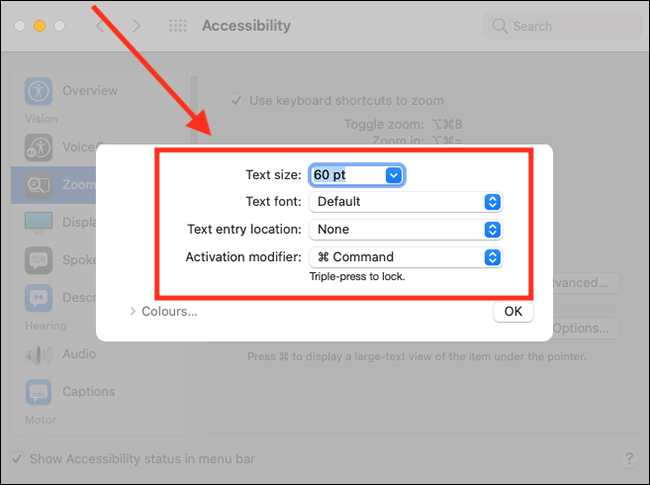
- In the Options window you can customise the following:
- Text size – select the drop-down menu for Text size and choose a new value.
- Text font – select the drop-down menu for Text font and choose from the available typefaces.
- Text entry location - the location of the window on the screen when you enter text. Select the drop-down menu for Text entry location and choose from the options. If you don’t want the window shown, choose None.
- Activation modifier - the key you press to activate Hover text. The default modifier key is ⌘ (Command). To change it, select the drop-down menu for Activation modifier and choose from:
- Control (⌃)
- Option (⌥)
- Command (⌘)
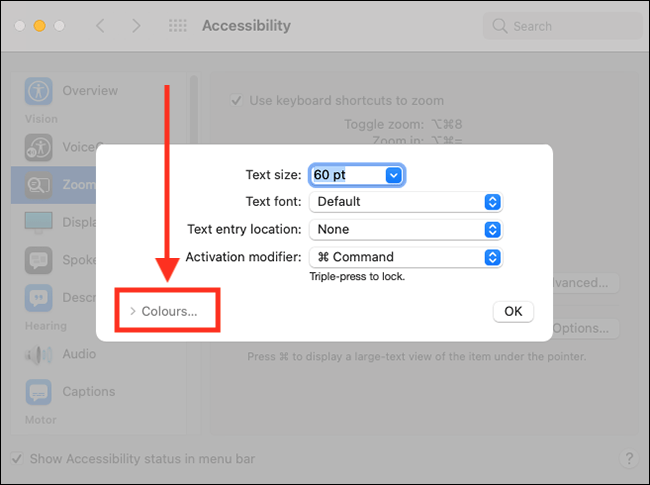
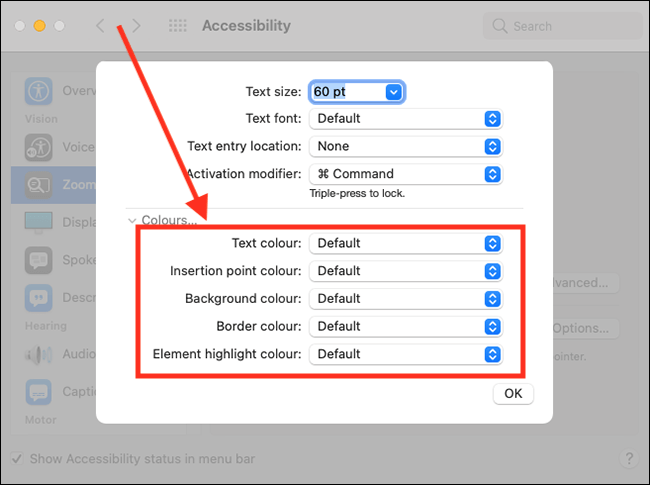
- Colours – you can change all the colours of the Hover text window. Select Colours to reveal the colour options.
- Choose your preferred colour for each item.
- When you are happy with your control settings, select the OK button.

Note: If this does not work, it could be because someone else manages your computer settings (an IT department or administrator). If this is the case, you will need to contact them to access these settings or for further help.
Need some more help?
Call our helpline 0300 180 0028 or email enquiries@abilitynet.org.uk
Need free IT Support at Home?
If you are older or disabled and need IT support at home, you can book a free home visit.