Call our helpline
0300 180 0028Short guide:
- Click the Apple icon
 in the top left corner of the screen and select System Preferences.
 - Click Accessibility.
- In the sidebar, click Spoken Content.
- Tick the checkbox for Speak selection.
- To change the settings for Speak selection, click the corresponding Options button.
- To use Speak selection, highlight the text you would like spoken, then press the Speak selection keyboard shortcut – the default shortcut is Option (Alt) + Esc.
- Use the on-screen controller to pause, stop, go back or forward one sentence, and speed up and slow down the speaking.
Before and after
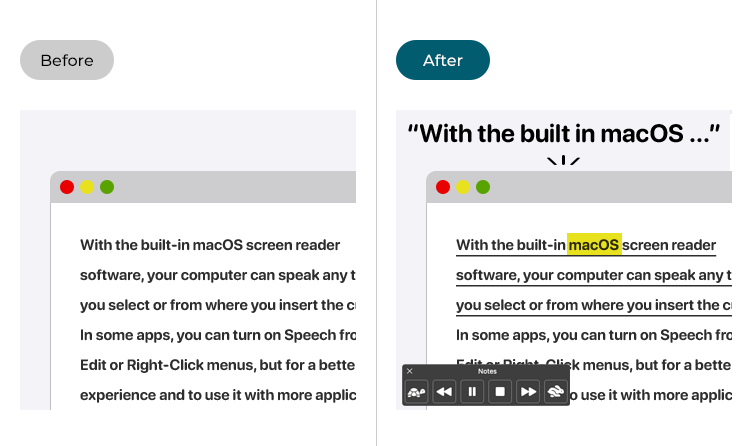
This section gives you step by step instructions on how to make your computer speak any text you have selected in macOS 12 Monterey, with pictures of the screens to help.
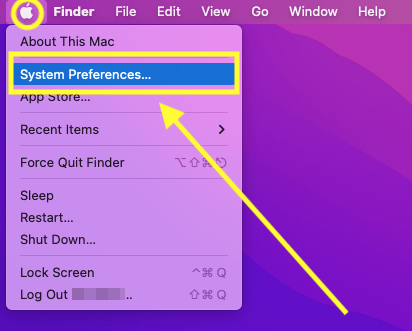
Open System Preferences
1. Click the Apple icon ![]() in the top left corner of the screen and choose System Preferences from the menu.
in the top left corner of the screen and choose System Preferences from the menu.
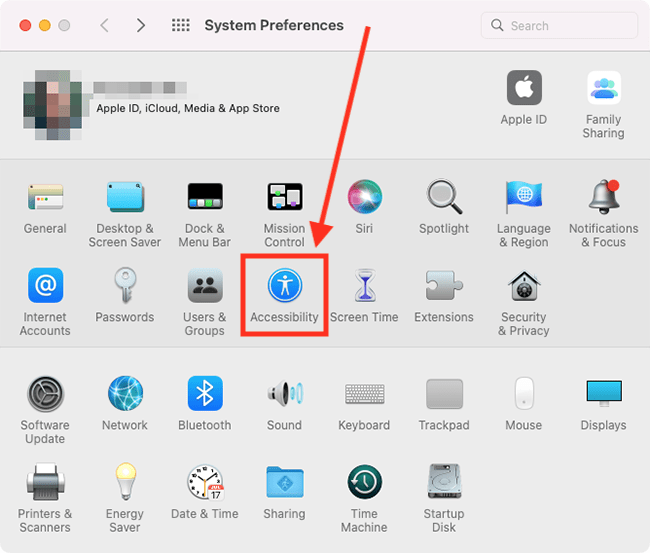
Open the Accessibility settings
2. In the System Preferences window, click Accessibility.
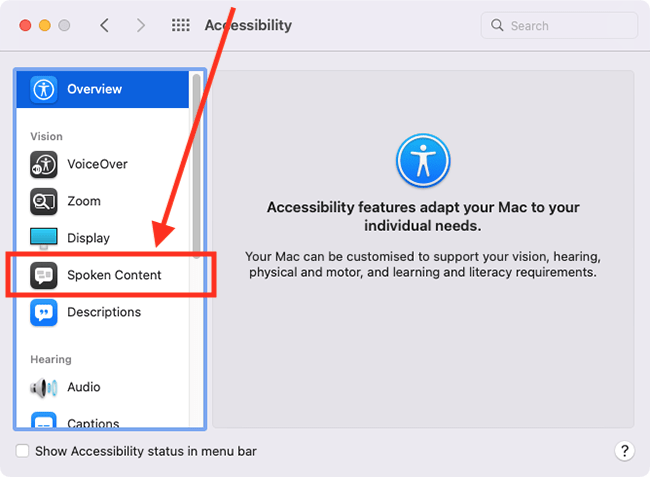
Find the Spoken Content settings
3. In the sidebar, click Spoken Content.
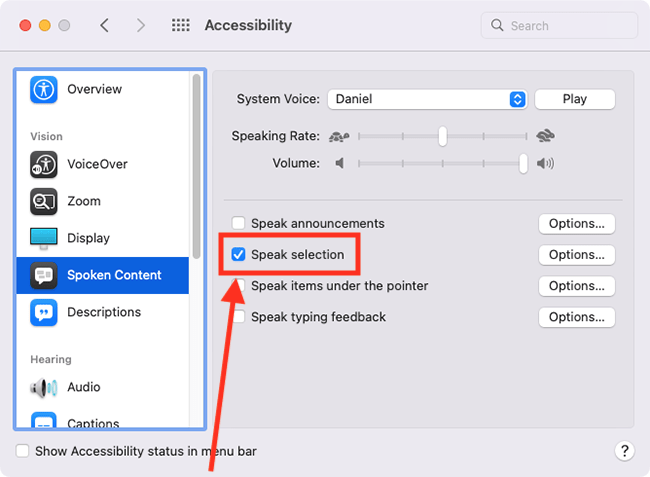
Turn on Speak selection
4. Tick the checkbox for Speak selection.
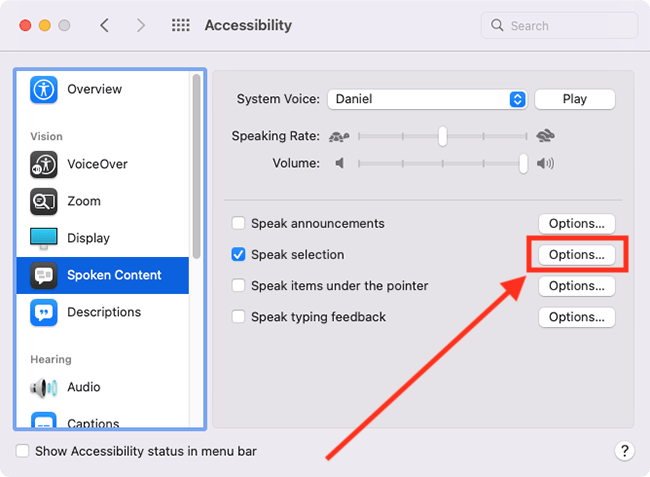
Customise the settings for Speak selection
5. Click the Options button for Speak selection.
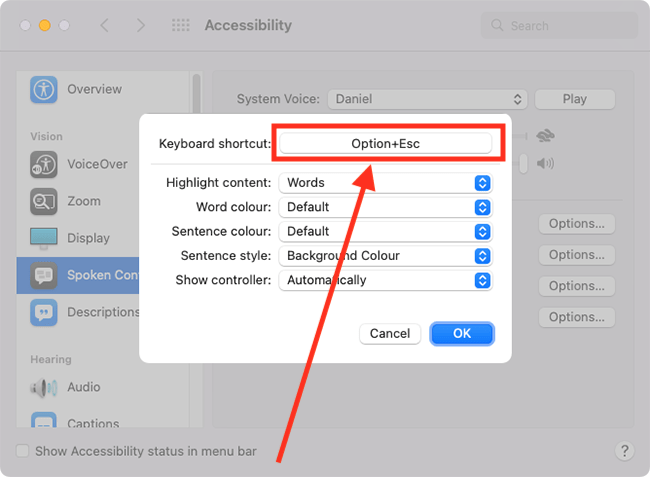
Change the keyboard shortcut for launching Speak selection
6. The default keyboard shortcut for launching Speak selection is Option (Alt) + Esc. To change it, select the box next to Keyboard shortcut and press the keys on your keyboard that you would like to use instead.
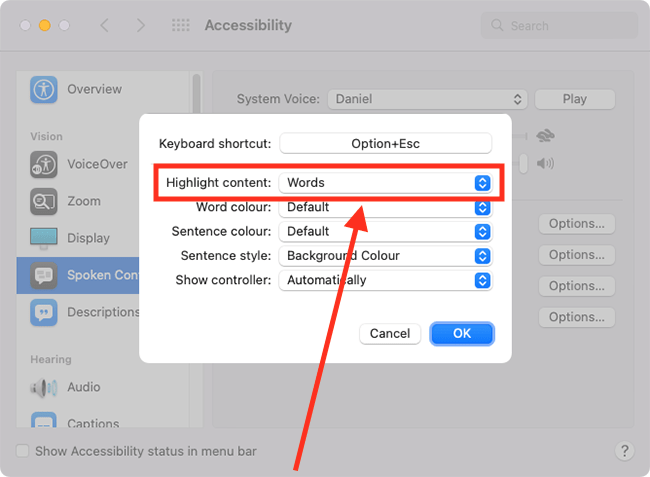
Choose which items are highlighted as the text is spoken
7. By default, each word is highlighted as it is spoken. To change this, select the drop-down menu for Highlight content and choose from Never, Words, Sentences, Words and Sentences.
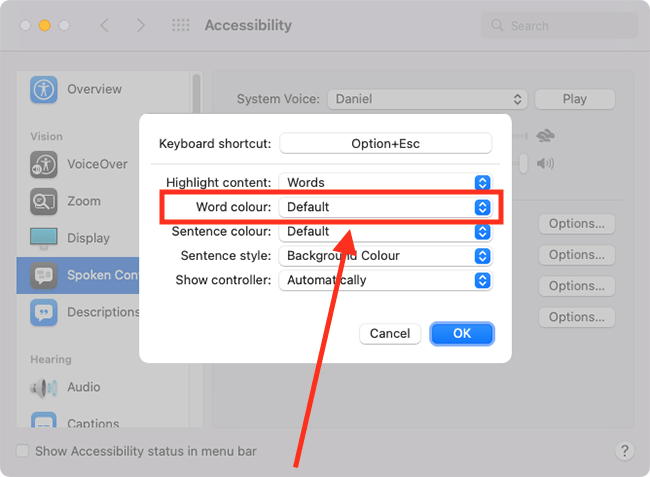
Change the highlight colour for words
8. Select the drop-down menu for Word colour and choose from the colour options.
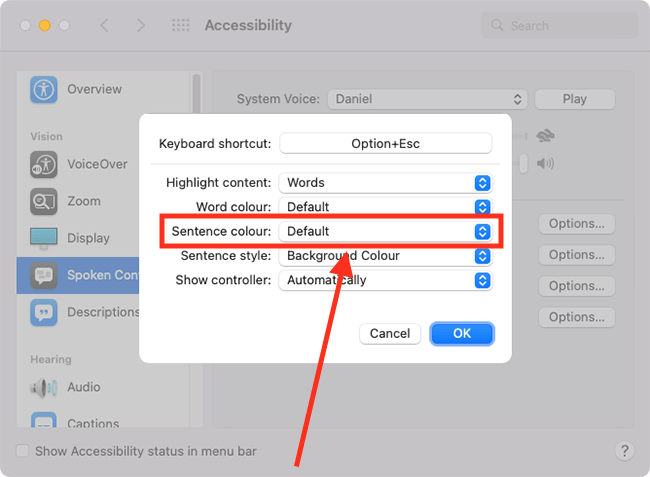
Change the highlight colour for sentences
9. Select the drop-down menu for Sentence colour and choose from the colour options.
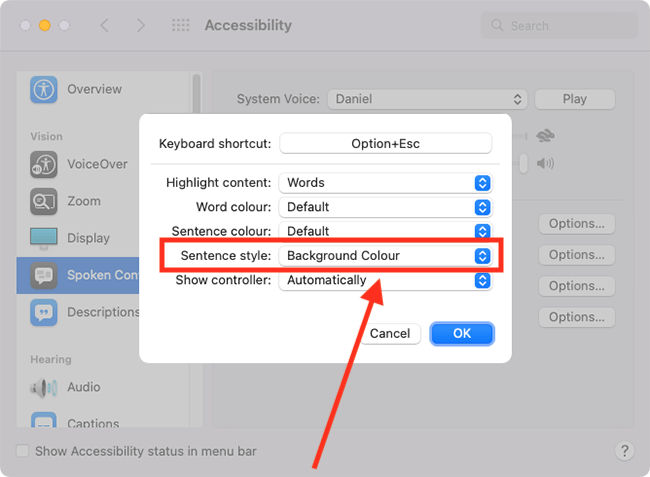
Change the way sentences are highlighted
10. By default, sentences are highlighted by underlining. If you would prefer a background highlight, select the drop-down menu for Sentence style and choose Background Colour.
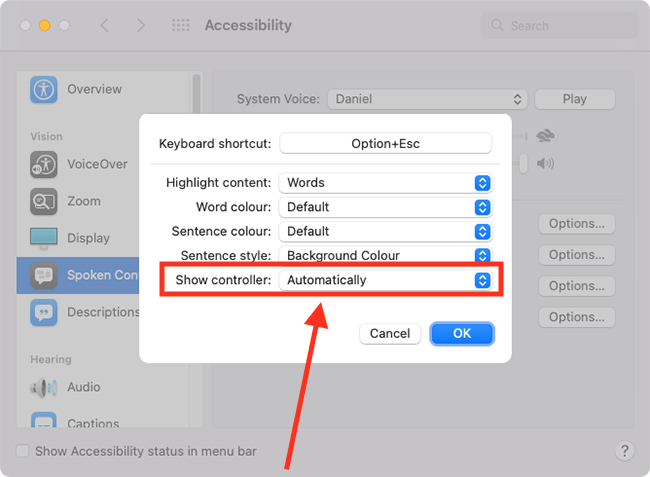
Show the on-screen Speak selection controller
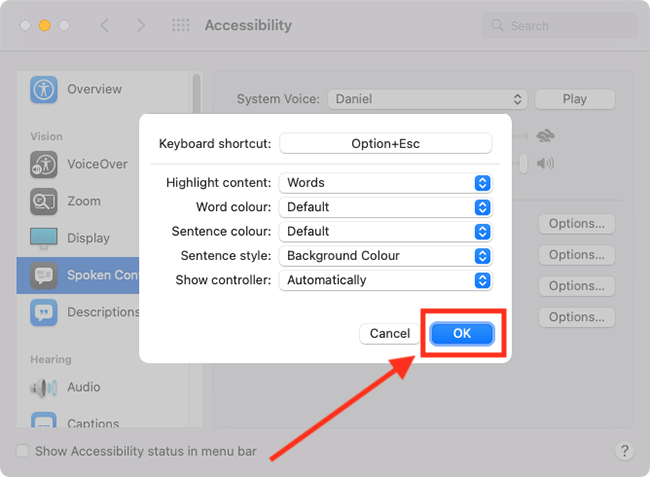
11. When you activate Speak selection, an on-screen controller appears. The controller enables you to pause and stop speech, go forward or back one sentence at a time, and speed up and slow down the speaking rate. In the drop-down menu for Show controller, you can choose whether the controller appears automatically, never appears, or always appears.
Save your changes
12. When you are happy with your settings for Speak selection, click the OK button.
Close System Preferences
13. When you are happy with your settings, close System Preferences by clicking the Close button (red circle) in the top-left corner of the window or using the Cmd + W keyboard shortcut.
Using Speak selection
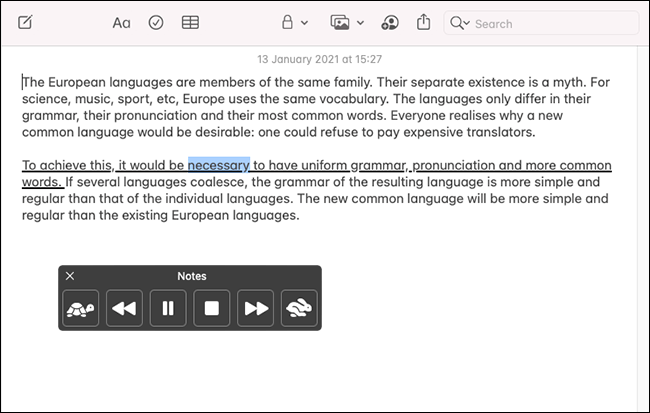
14. Highlight a piece of text or place your cursor where you would like to start reading from. Press the keyboard shortcut for launching Speak selection – by default, this is Option (Alt) + Esc.
Your computer will start speaking the text, and the Speak selection controller will appear on-screen (unless you have turned it off in settings). In applications that support it, the text will be highlighted as it is spoken.
To stop your computer speaking, press the Speak selection keyboard shortcut again or press the Stop button on the controller.
The Speak selection controller
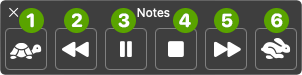
15. You can use the controller to pause and stop speech, go forward or back one sentence at a time, and speed up and slow down the speaking rate.
- Slow down speech
- Go back to the previous sentence.
- Pause / Play speech.
- Stop speech.
- Go forward to the next sentence.
- Speed up speech.
Speak text found in images
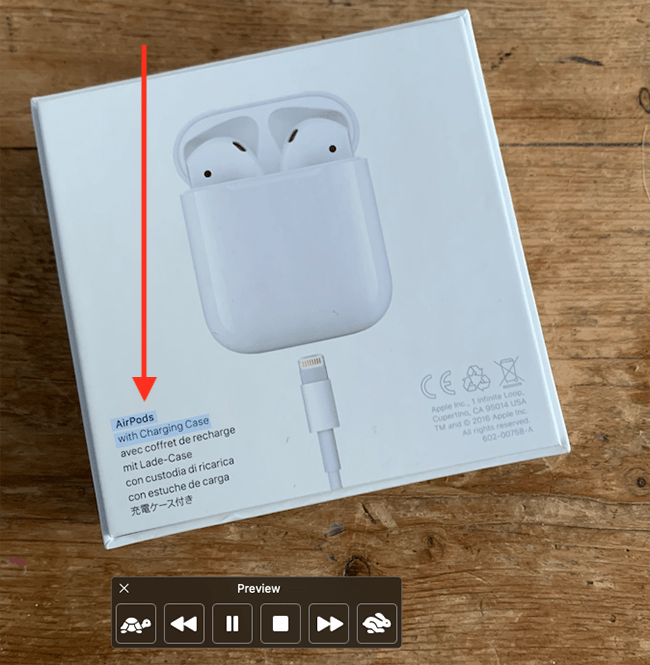
16. Your computer can recognise most text that appears in images, even handwritten text. You can use Speak selection to read it aloud. When your computer recognises text in an image, the pointer will turn into a cursor as you hover it. Simply drag the cursor over the text to highlight it, then press the Speak selection keyboard shortcut.
Note: If this does not work it could be because your computer settings are managed by someone else (an IT department or administrator for example). If so, you will need to contact them to access these settings or for help.
Need some more help?
Call our helpline 0300 180 0028 or email enquiries@abilitynet.org.uk
Need free IT Support at Home?
If you are older or disabled and need IT support at home, you can book a free home visit.