Call our helpline
0300 180 0028When combining Vocal Shortcuts with custom shortcuts created in the Shortcuts app, users can perform complicated multi-step actions using a single phrase.
To learn more about creating custom shortcuts, see Apple's guide Intro to Shortcuts on Mac.
Short guide:
- Click the Apple icon
 in the top left corner of the screen and select System Settings.
 - Click Accessibility in the sidebar.
- Click Vocal Shortcuts.
- Click the Set Up button.
- Click Continue on the intro screen.
- Choose an action from the list.
- Enter the phrase you want to use to run this action, then click Continue.
- Say the phrase three times to teach your device to recognise it.
- Click Continue to finish.
- Click the toggle switch for Vocal Shortcuts to turn it on.
- To use Vocal Shortcuts, just say one of your phrases to perform the action associated with it.
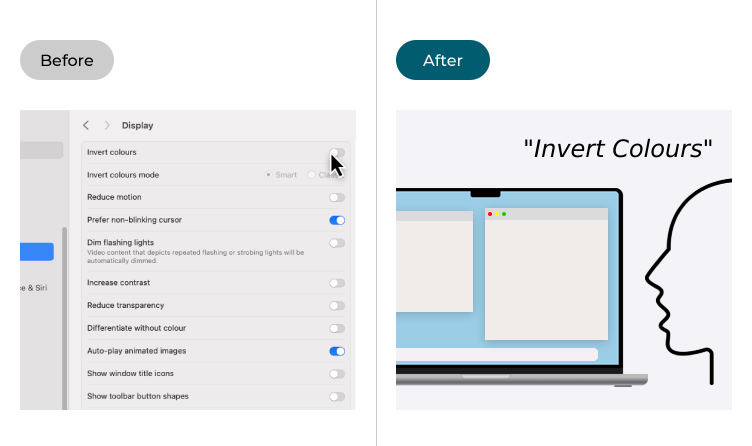
Before and after
This section gives you step by step instructions on how to enable Vocal Shortcuts in macOS 15 Sequoia, with pictures of the screens to help.
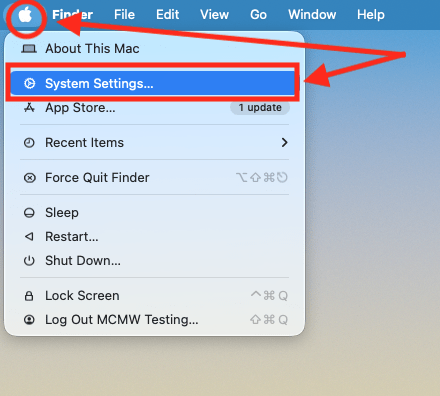
Open System Settings
1. Click the Apple icon ![]() in the top left corner of the screen and choose System Settings from the menu.
in the top left corner of the screen and choose System Settings from the menu.
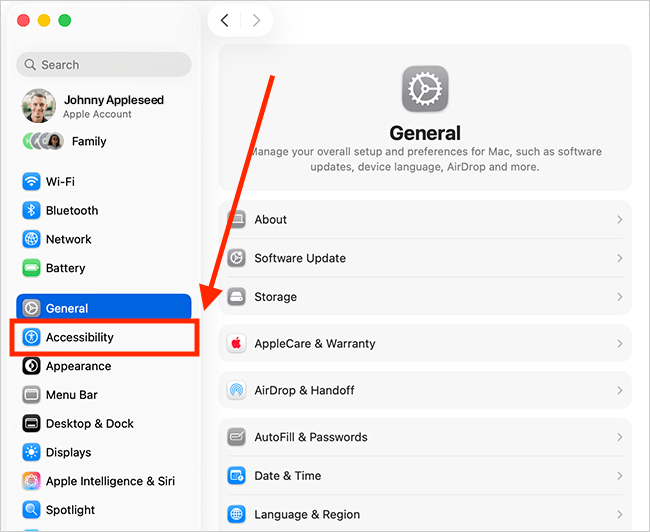
Open the Accessibility settings
2. In the System Settings window, click Accessibility in the sidebar.
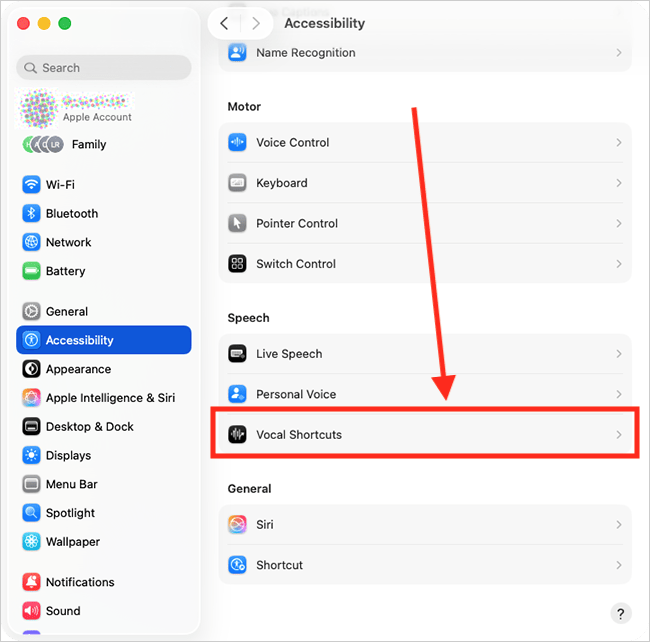
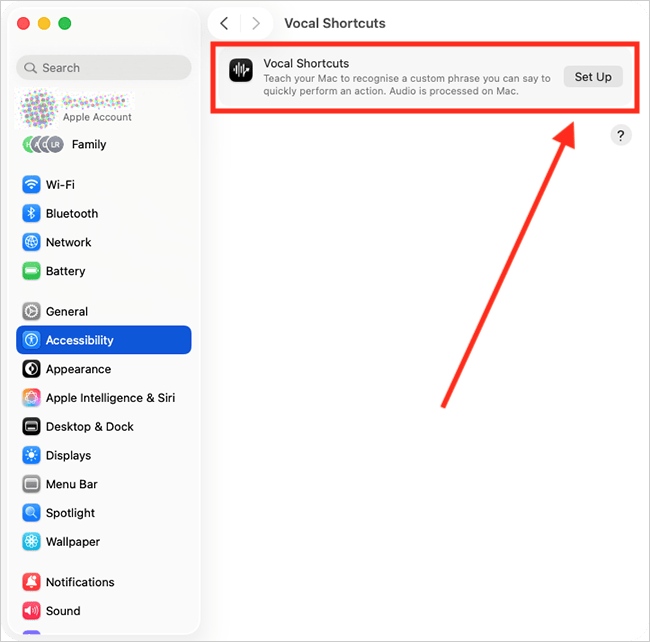
Open the Vocal Shortcuts settings
3. Select Vocal Shortcuts from the list of Accessibility options on the right.
Set up a Vocal Shortcuts
4. Click the button labelled Set Up.
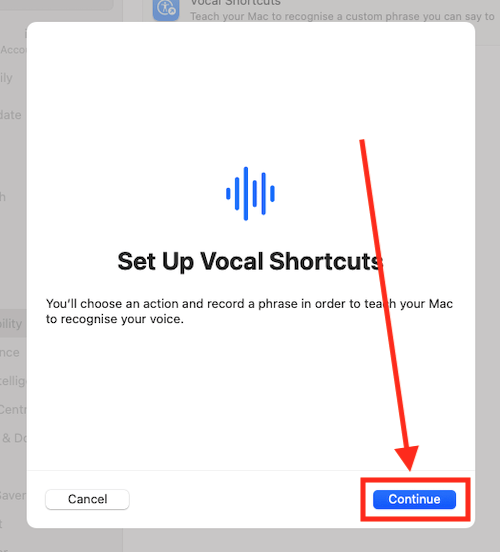
5. Click the Continue button on the Vocal Shortcuts intro screen.
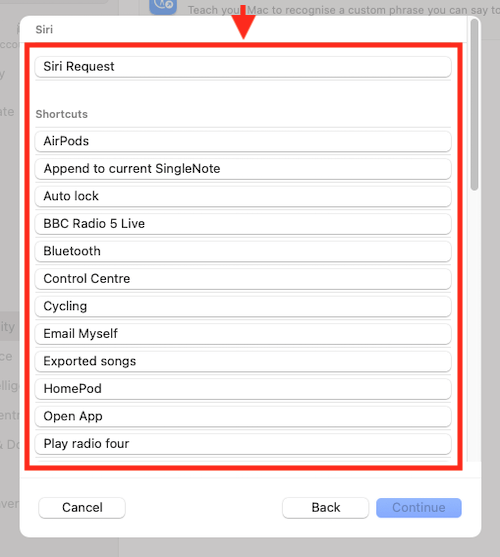
Choose an Action for this Vocal Shortcut to perform
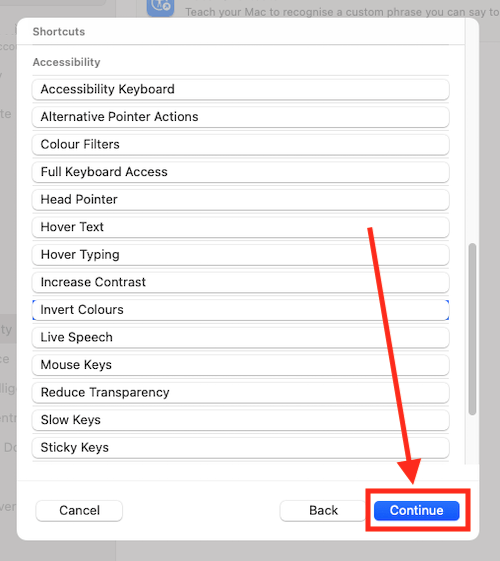
6. Choose an action from the list (scroll down to see the Accessibility options). If you choose Siri Request, type what you want your request to be when prompted, then press the Enter key.
7. Click the Continue button.
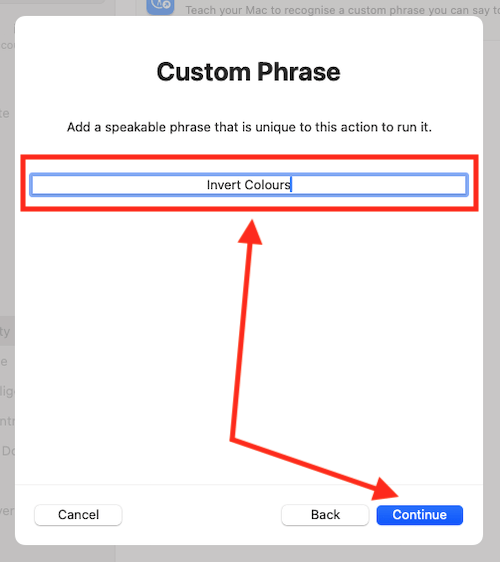
Add the phrase you would like to use to perform the action
8. Type the phrase you want to say to perform this action, then click the Continue button.
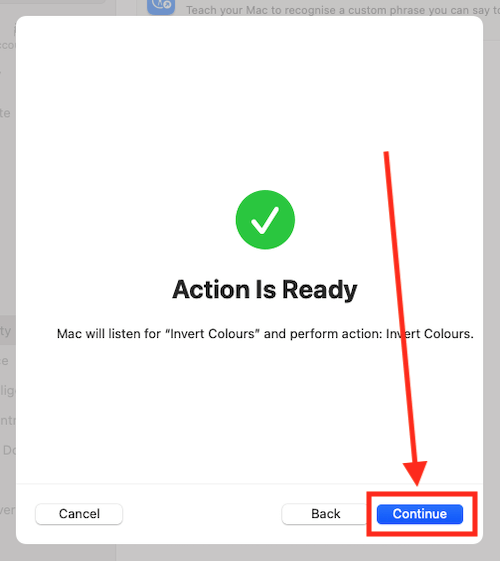
Teach your computer to recognise this phrase
9. When prompted, speak your phrase three times to teach your computer to recognise it.

10. When the screen saying Action is Ready appears, click the Continue button to finish. Then click Continue on the next screen, Improve Assistive Voice Features, to finish.
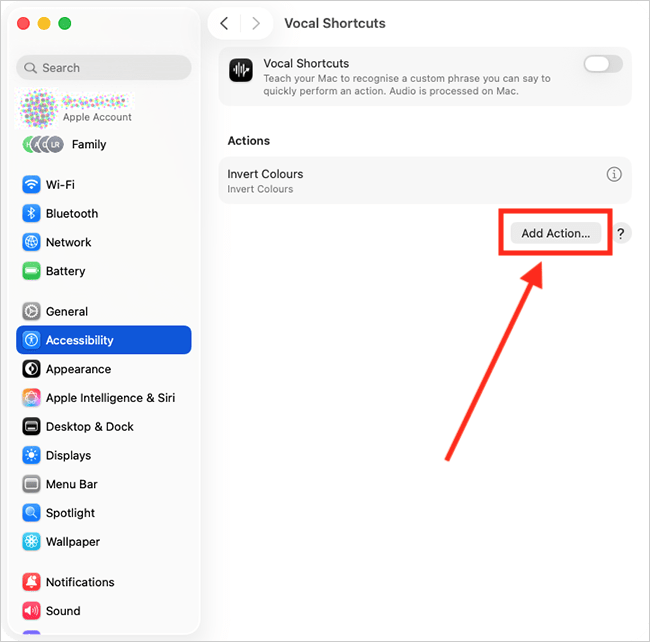
Add another Vocal Shortcut
11. To add another vocal shortcut, click the Add Action button and follow steps 5 - 10, above.
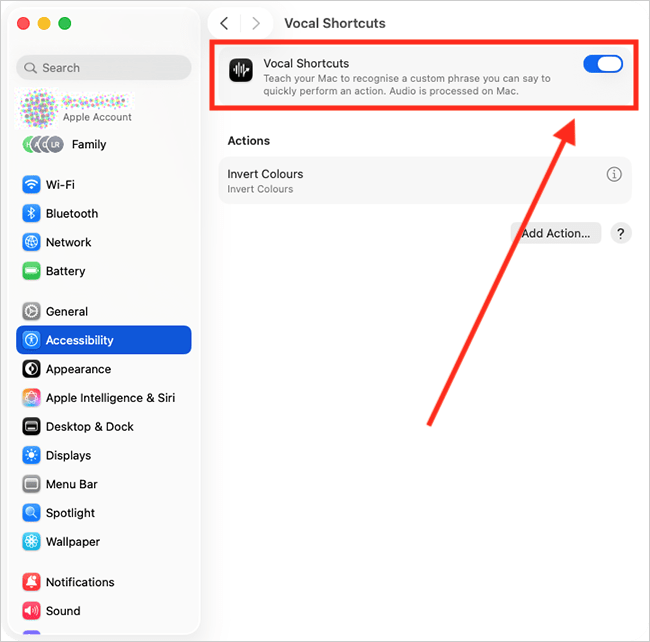
Enable Vocal Shortcuts
12. Finally, to start using Vocal Shortcuts, click the toggle swith for Vocal Shortcuts to turn it on.
Using Vocal Shortcuts
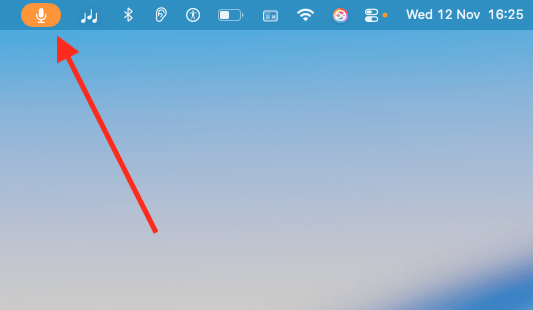
13. When Vocal Shortcuts is on, an orange microphone icon appears in the menu bar at the top of the screen. This shows that your computer is listening for your shortcuts. Just say one of your Vocal Shotcut phrases to perform the action associated with it.
Note: If this does not work, it could be because your computer settings are managed by someone else (an IT department or administrator, for example). If so, you will need to contact them to access these settings or for help.
Need some more help?
Call our helpline 0300 180 0028 or email enquiries@abilitynet.org.uk
Need free IT Support at Home?
If you are older or disabled and need IT support at home, you can book a free home visit.