Note: You will need a keyboard with a numeric keypad in order to use Mouse Keys.
Short guide
- Open the Accessibility settings by pressing the Windows key + U.
- Scroll down and select Mouse.
- On the right of the screen, click or tap the toggle switch under Control your mouse with a keypad to turn it on.
- Adjust the Pointer speed and Pointer acceleration sliders.
Before and after
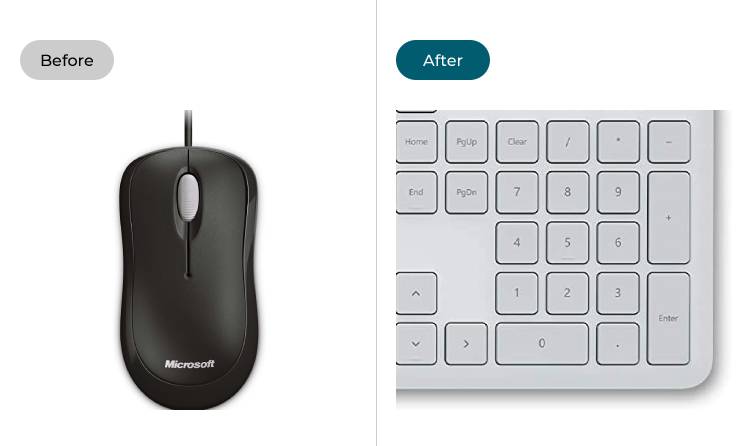
This section explains the steps you need to follow to use your keyboard to control the mouse in Windows 11. This is a step-by-step guide with pictures of the screens to help you.
Open the Accessibility settings
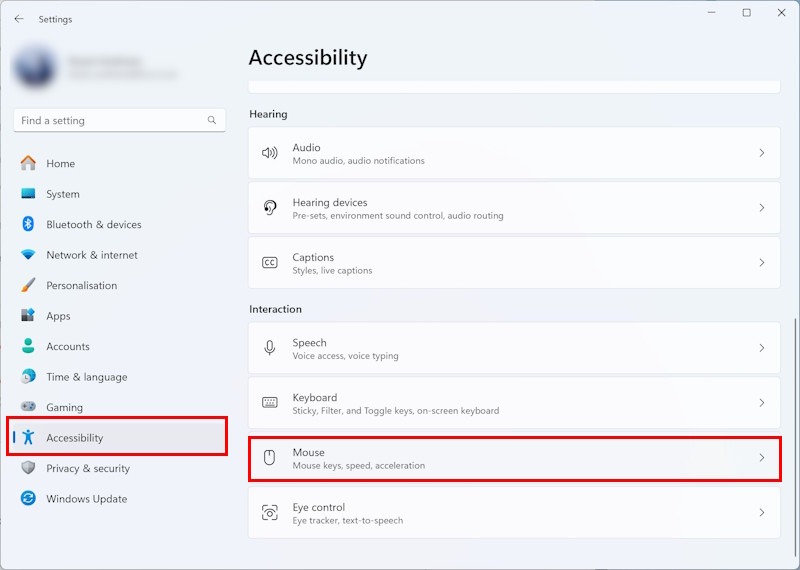
1. Open the Accessibility settings by pressing the Windows key + U on the keyboard. Scroll down and select Mouse in the right-hand column.
Enable Mouse Keys
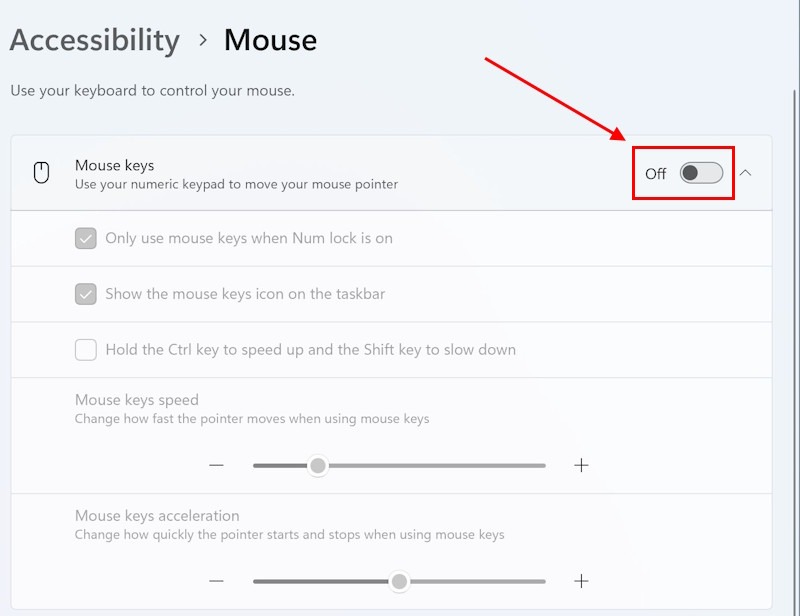
2. On the right of the screen, click or tap the toggle switch for Mouse Keys to enable the feature.
Adjust the Mouse Keys settings
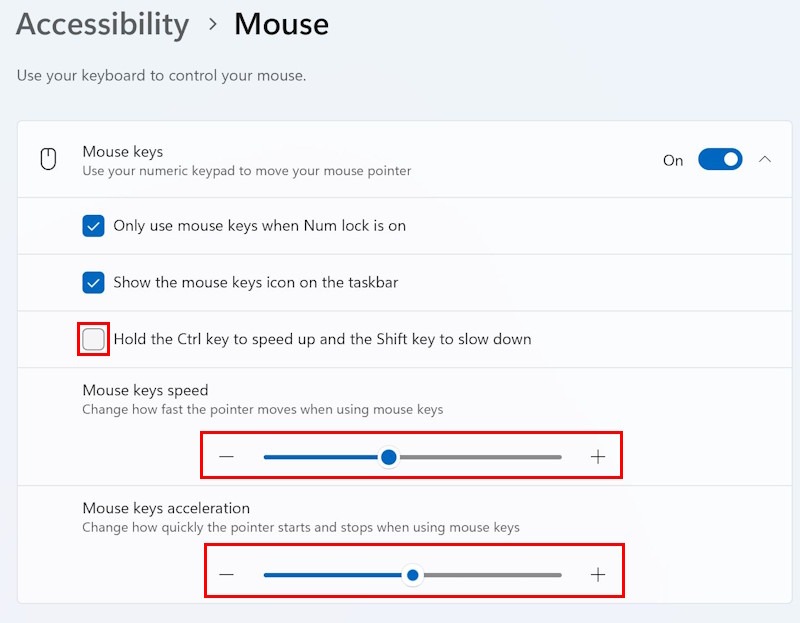
3. New settings will appear to adjust how Mouse Keys works. Use the sliders to adjust the Mouse keys speed and Mouse keys acceleration settings, then move the pointer around with the mouse keys to see if you need to turn those settings up or down. Keep moving the two sliders to the left or right until you are comfortable with the speed of the pointer as it moves across the screen. Tick the box next to Hold the Ctrl key to speed up and the Shift key to slow down if you want manual control over acceleration, using the Ctrl and Shift keys..
Using Mouse Keys
4. When Mouse Keys is enabled, you can use the 1-9 keys in the numeric keypad to move the pointer around the screen. You can speed up how quickly it moves by holding down the Ctrl key or slow it down again by holding down the Shift key.
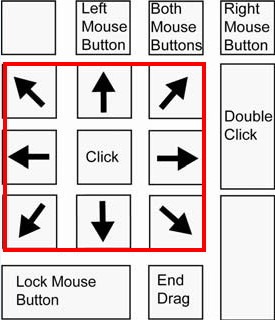
Clicking with mouse keys
5. Press the divide ÷ or / key then the 5 key to left-click or the minus or - key then the 5 key to right-click. Press the plus or + key then 5 to double-click.
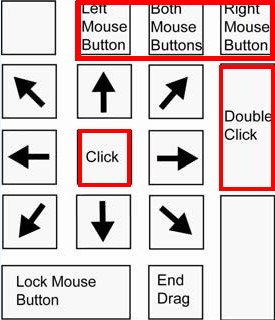
Drag and drop with Mouse keys
6. To drag and drop an item using mouse keys, press the zero 0 key to click and drag it, then move the pointer to the location where you would like to drop the item. Press the decimal point key . to drop it.
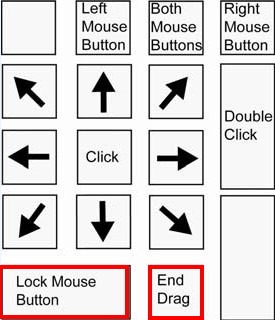
You can download a printable version of this diagram in PDF format here.
Note: If this does not work it could be because your computer settings are managed by someone else (an IT department or administrator for example). If this is the case you will need to contact them to access these settings or for further help.