Call our helpline
0300 180 0028AutoCorrect
Although AutoCorrect is primarily used to correct spelling mistakes it can also be used to reduce the amount you need to use the keyboard. As an example, we’ll add the acronym ‘imho’ to AutoCorrect and set it to be corrected to ‘in my humble opinion’ every time we type it.
- Start Microsoft ‘Word’ and create a new document.
- Click ‘Tools’ on the toolbar to open the dropdown menu or press ‘Ctrl’ + ‘Fn’ + ‘F2’ to highlight the Apple logo, press ‘T’ to select ‘Tools’ then press ‘Enter’, see Fig 1.
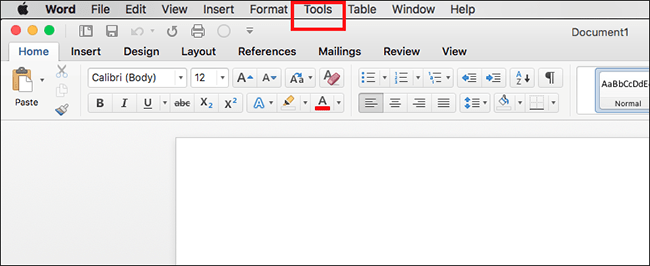
Fig 1 - Click on ‘AutoCorrect’ or select it with the arrow keys then press ‘Enter’, see Fig 2.
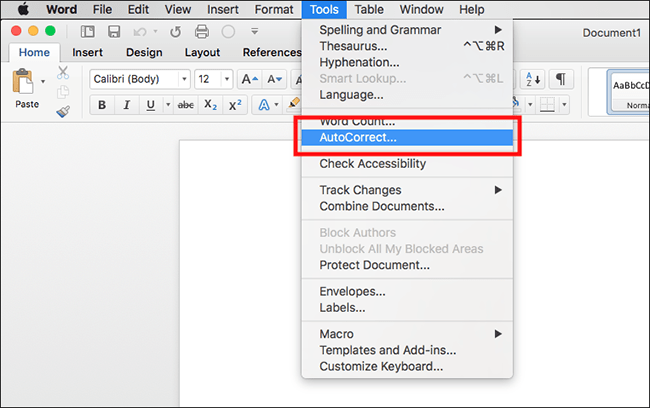
Fig 2 - Click in the ‘Replace’ box, or press ‘Tab’ until it is selected, see Fig 3. For this example, we will enter ‘imho’.Note: It is advised that text entered into ’Replace’ should be in lower case.
- Click in the ‘With’ box, or press ‘Tab’ until it is selected, see Fig 3. Type ‘in my humble opinion’.
- Click the ‘Add’ button or press ‘Enter’ to add the phrase to AutoCorrect, see Fig 3.
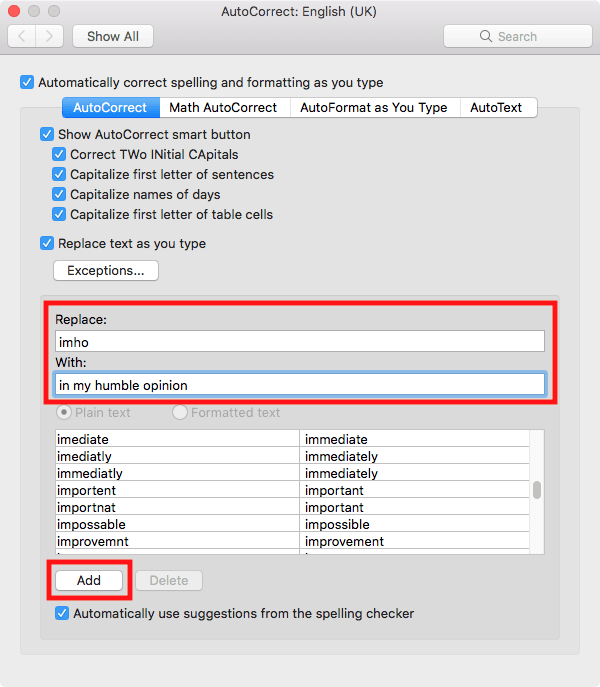
Fig 3
In a Word document, if you now type ‘imho’ followed by either ‘Spacebar’, ‘Tab’ or ‘Enter’ you will see that the acronym is corrected to read ‘in my humble opinion’.
AutoText
With ‘AutoText’ you can create blocks of text, such as addresses or frequently typed phrases that you can insert into your documents without having to type them.
In our example, we are going to add the following address to AutoText:
Joe Bloggs
123 Any Street
Townsville
- Open a new document and type a phrase you would like to add, for this example type in the address above.
- Highlight the address by either clicking and dragging over it or by pressing ‘Shift’+ ‘Up arrow’ repeatedly to select it.
- Click ‘Insert’ on the toolbar to open the dropdown menu or press ‘Ctrl’ + ‘Fn’ + ‘F2’ to highlight the Apple logo, press ‘I’ to select ‘Insert’ then press ‘Enter’, see Fig 4.
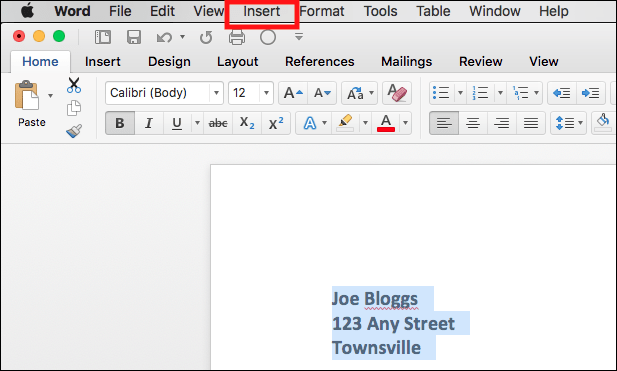
Fig 4 - Hover over ‘AutoText’ to open the sub-menu and click ‘AutoText…’ or use the arrows to select ‘AutoText’, press ‘Enter’ to open the sub-menu, then press ‘Enter’ again, see Fig 5.
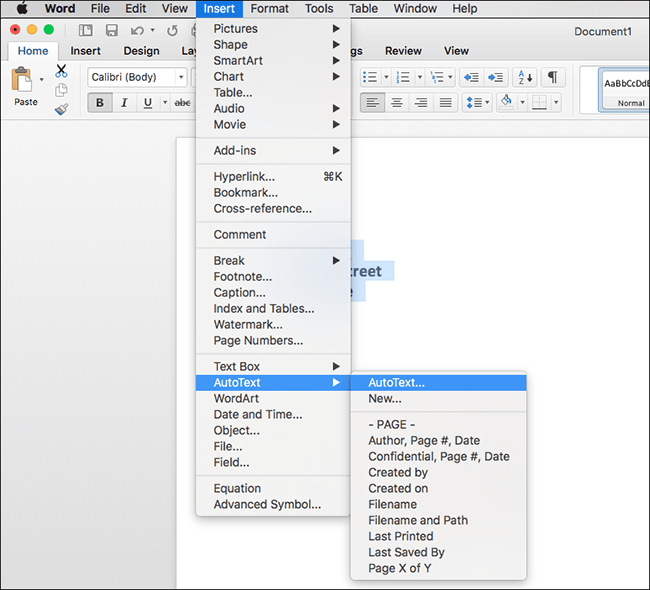
Fig 5 - In the ‘Enter AutoText entries here’ box you can see the name given to this entry and you will see a preview of the full text in the box to the right. See Fig 6.
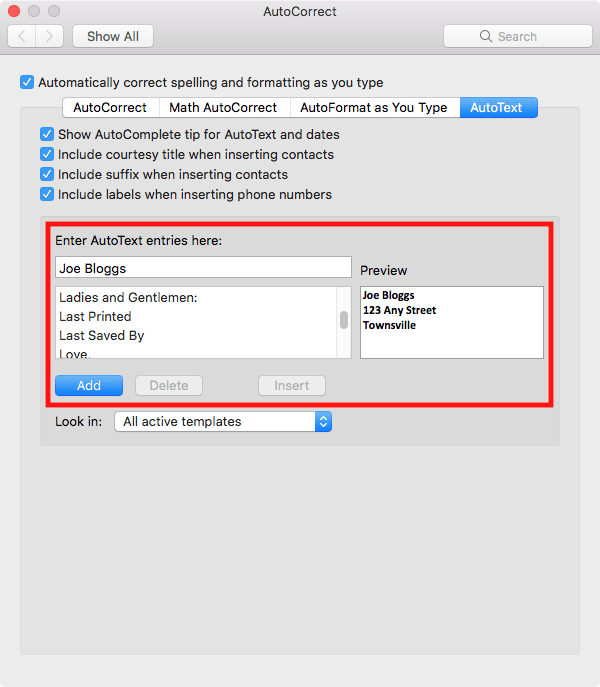
Fig 6 - Click the ‘Add’ button or press ‘Enter’ to save this entry, see Fig 6
Using AutoText
To insert an AutoText entry into your document:
- Start typing the phrase you want to enter such as ‘Joe B’ from our address example.
- After a certain amount of characters have been typed, you will notice a small pop-up suggesting an AutoText entry which can be inserted. Press ‘Enter’ or ‘Tab’ to insert the entry into your document, see Fig 7.
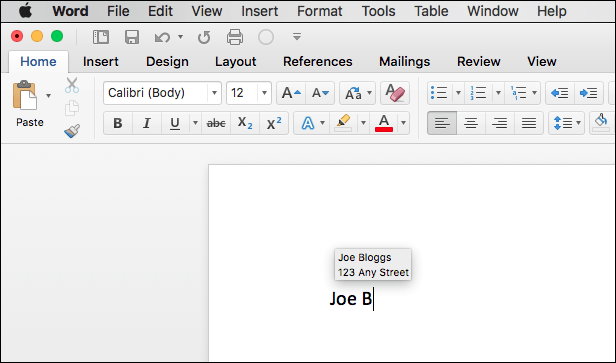
Fig 7
Alternatively, you can insert an entry directly from the AutoText library.
- Click on ‘Insert’ on the toolbar or press ‘Ctrl’ + ‘Fn’ + ‘F2’ to highlight the Apple logo, press ‘I’ to select ‘Insert’ then press ‘Enter’, see Fig 4, above.
- Hover over ‘AutoText’ to open the sub-menu and click ‘AutoText…’ or use the arrows to select ‘AutoText’, press ‘Enter’ to open the sub-menu, then press ‘Enter’ again, see Fig 5, above.
- Scroll the list of AutoText entries and click on the one you wish to use or press ‘Tab’ until the ‘Enter AutoText entries here’ box is highlighted them use the arrow keys to scroll through the list. See Fig 8.
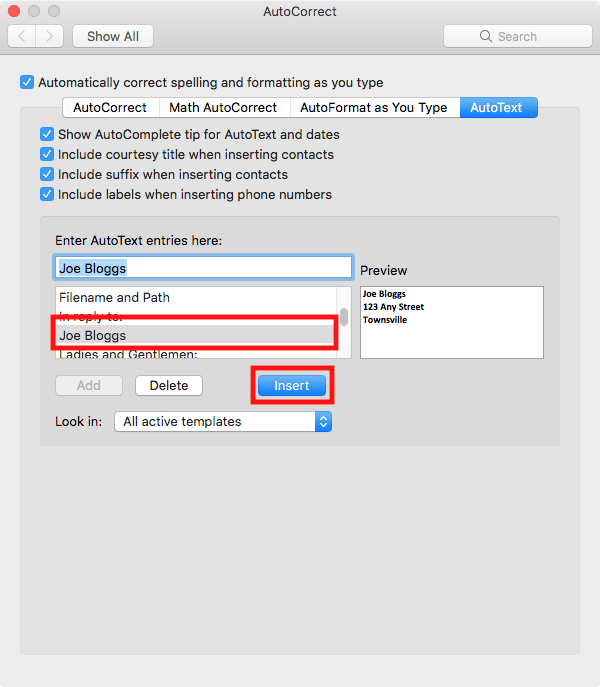
Fig 8 - Click the ‘Insert’ button or press ‘Enter’ to insert the entry into your document, see Fig 8, above.
Note: If this does not work it could be because your computer settings are managed by someone else (an IT department or administrator for example). If this is the case you will need to contact them to access these settings or for further help.
Need some more help?
Call our helpline 0300 180 0028 or email enquiries@abilitynet.org.uk
Need free IT Support at Home?
If you are older or disabled and need IT support at home, you can book a free home visit.