Short guide:
- Open the Settings app and tap Accessibility. Scroll down and tap Switch Access.
- Tap the toggle switch for Use Switch Access to turn it on. Tap Allow.
- Select which type of switch you’re going to use. Tap Next. Select your Bluetooth device from the list and tap Next.
- Select either the One switch or Two switch method. Tap Next. Choose Linear scanning, Row-column scanning or Group selection. Tap Next.
- Now select the buttons or keys to assign each switch action to. Tap Next.
- Practice using switches, then tap Next, then Finish.
Before and after
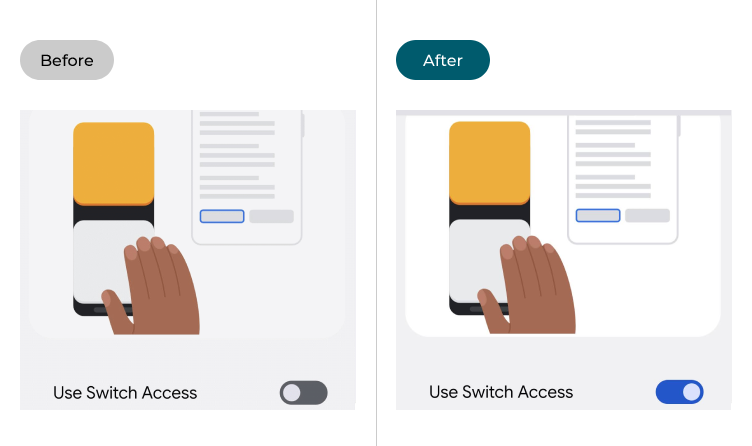
This section explains how to set up external switches in Android 12. This is a step-by-step guide with pictures of the screens to help.
Open the Accessibility settings
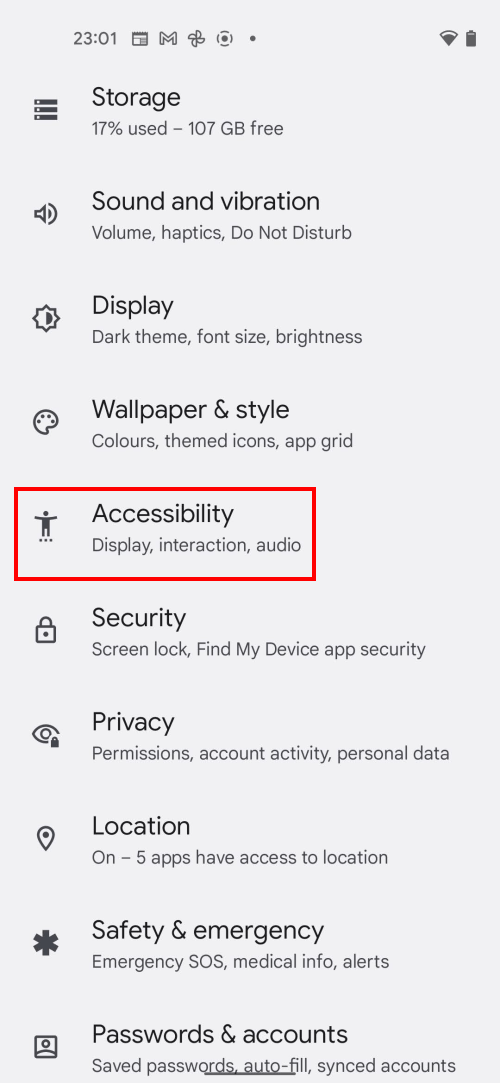
1. Open the Settings app and tap Accessibility.
Find Switch Access
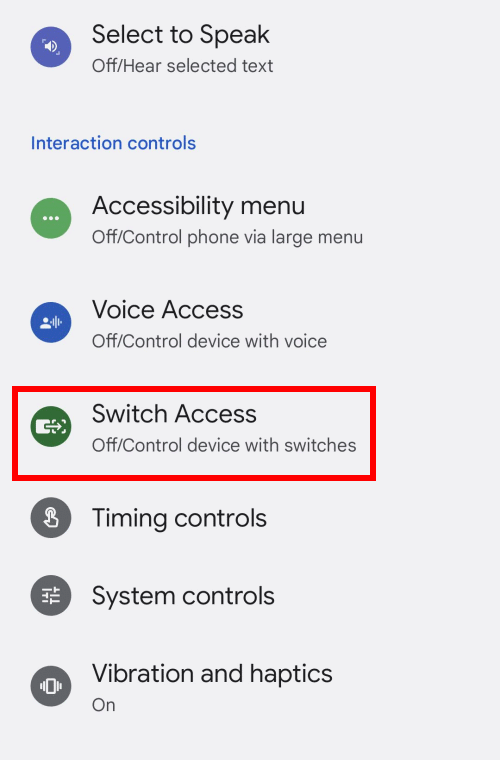
2. Scroll down to the Interaction controls section and tap Switch Access.
Enable Switch Access
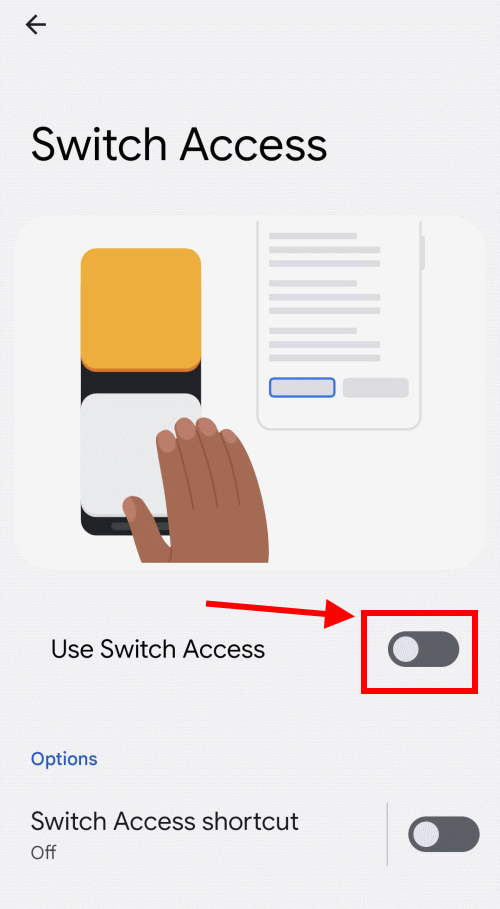
3. Tap the toggle switch for Use Switch Access to turn it on. You’ll see a message asking you whether to allow Switch Access to have full control our your device. Tap Allow.
Select your switch
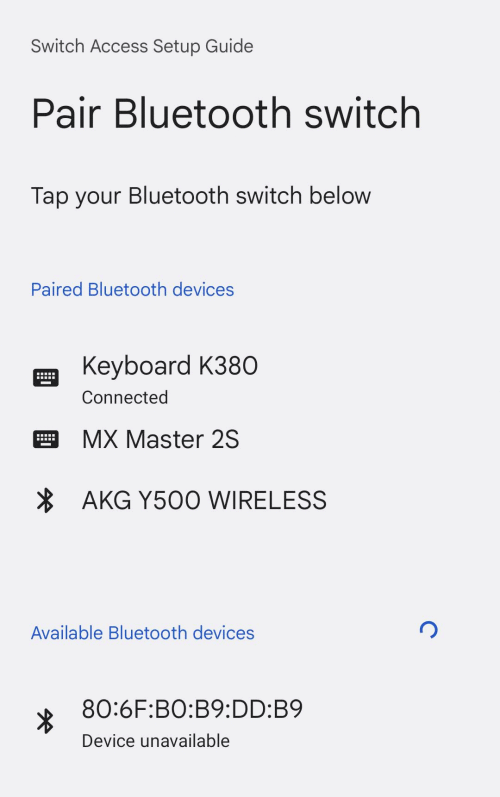
4. Select which type of switch you’re going to use. Here we’re using a Bluetooth keyboard, so we select Bluetooth switch. Tap Next. Select your Bluetooth device from the list of paired or available devices. Tap Next.
One switch or two?
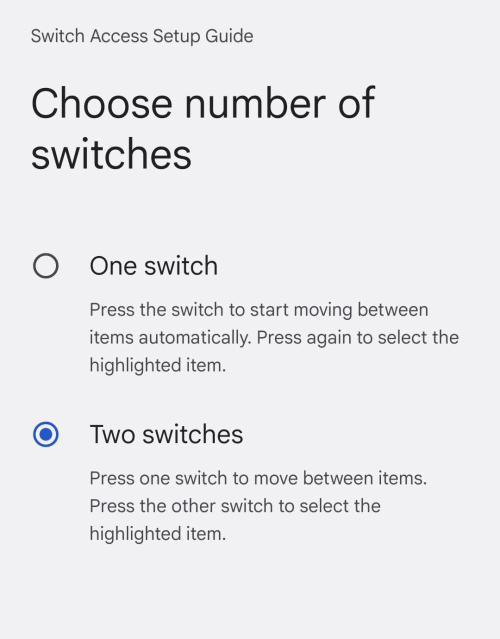
5. Select the number of switches you would like to use. With One switch, you press the switch once to start cycling through items on the screen, then again to select the current item. With Two switches, you press one to start cycling and the other to select. Tap Next.
Pick your scanning method
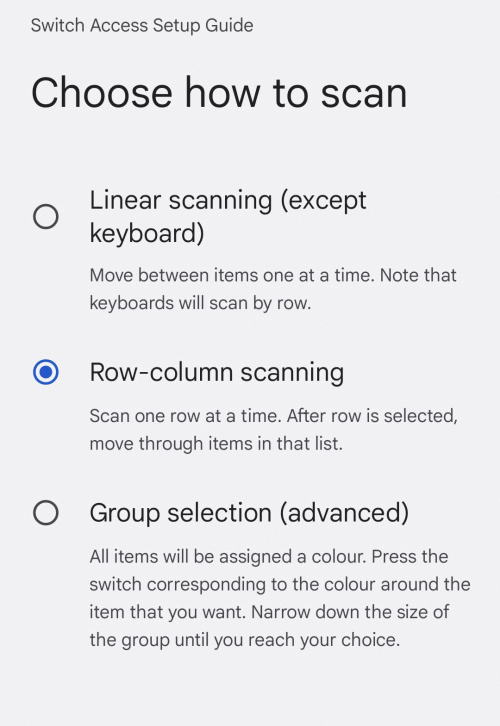
6. Select your scanning method. Linear scanning moves between items on at a time, or – on a keyboard – one row at a time. With Row-column scanning, you cycle through each row of items, then select the item within the row. With Group selection, items are grouped by colour and you select the colour group containing the item you want to select. Tap one of the three selection buttons, then tap Next.
Assign your switches
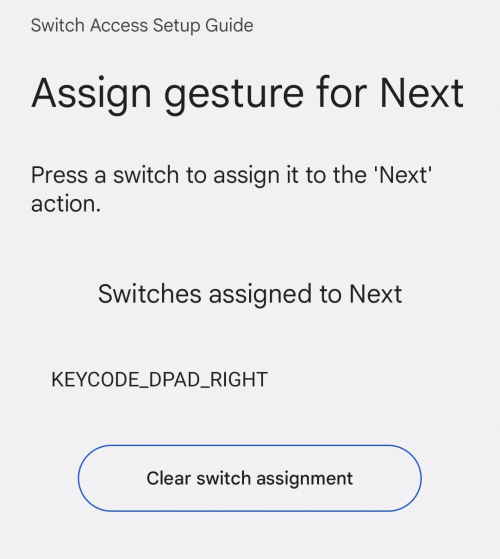
7. Now select the buttons or keys to assign each switch action to, pressing one for the Next item and one for Select. Tap Next.
Try your switches out
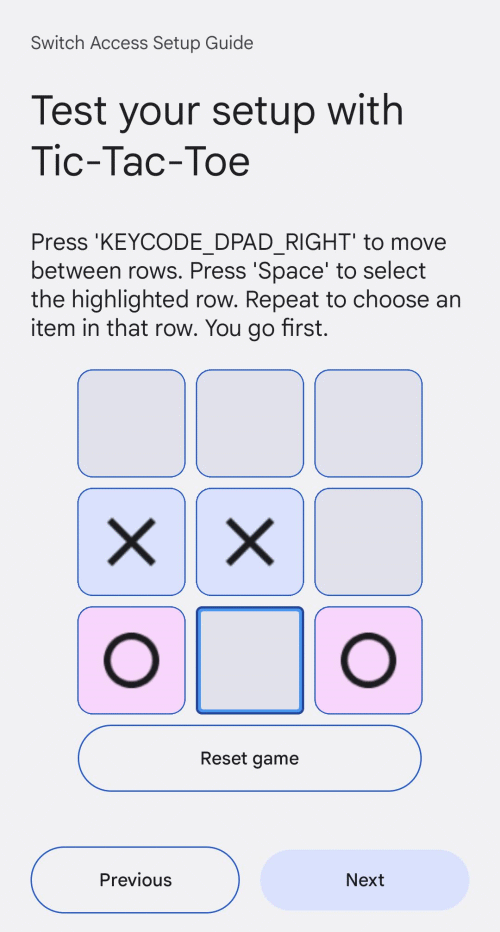
8. Finally, you can practice using switches by playing a game of noughts and crosses (or, as Google calls it, Tic-Tac-Toe. Tap Next to complete the setup, then tap Finish.
Keep using the on-screen keyboard
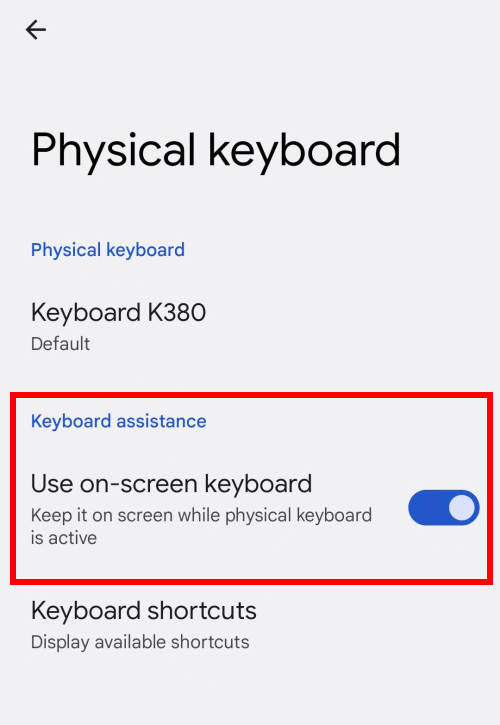
9. When you connect an external switch or keyboard, you can lose access to the on-screen keyboard. To fix this, go to Settings, tap System, then Languages and input. Tap Physical keyboard, then tap the toggle switch next to Use on-screen keyboard to turn it on.
Note: We have written these instructions for devices running the standard version of the Android operating system. You may find some minor presentation differences if the manufacturer has customised the theme.