Short guide
- Click on the Time widget in the bottom-right corner of the screen, then click on the Settings icon .
- In the Settings window, select Accessibility from the left-hand column. Click Keyboard and text input in the right-hand panel.
- Click on the toggle switch next to Dictation to turn it on.
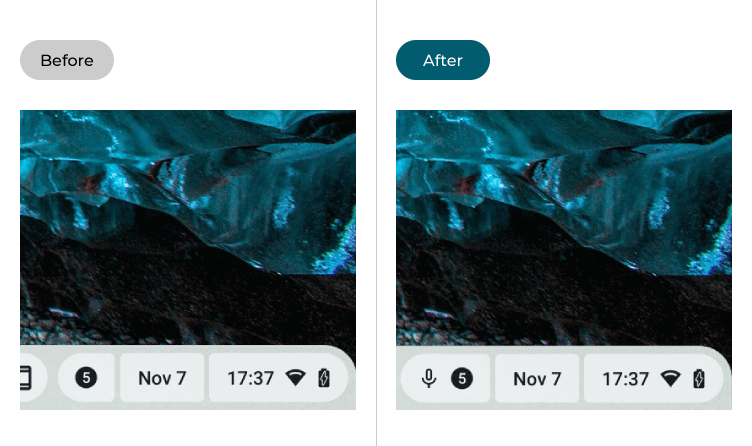
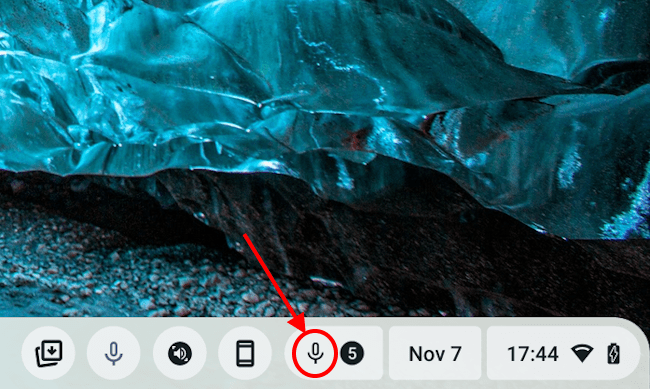
- A new microphone button will appear in the status bar in the bottom-right of the screen. Click on it to start dictation.
Before and after
Video guide
This guide takes you step-by-step through enabling voice dictation in Chrome OS, complete with pictures of the screens to help.
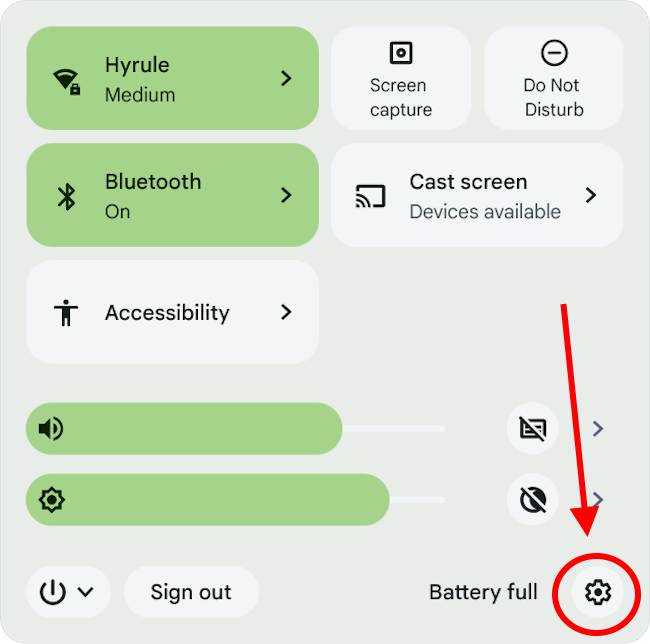
Open the settings
1. Click on the Time widget in the bottom-right corner of the screen to open the Quick Settings menu, then click the Settings button ![]() .
.
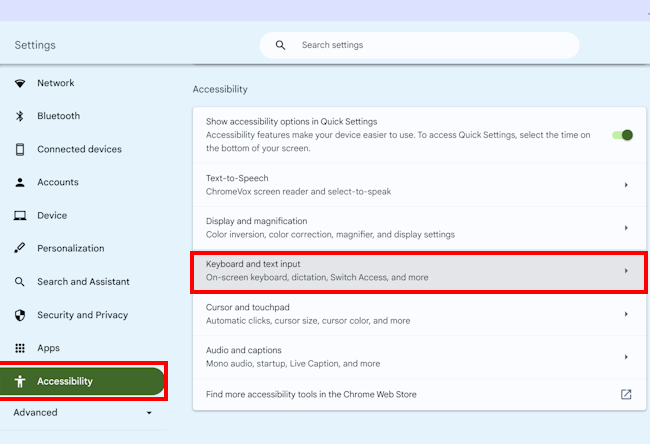
Find the Keyboard and text input settings
2. Select Accessibility from the column on the left-hand side, then click Keyboard and text input in the right-hand panel.
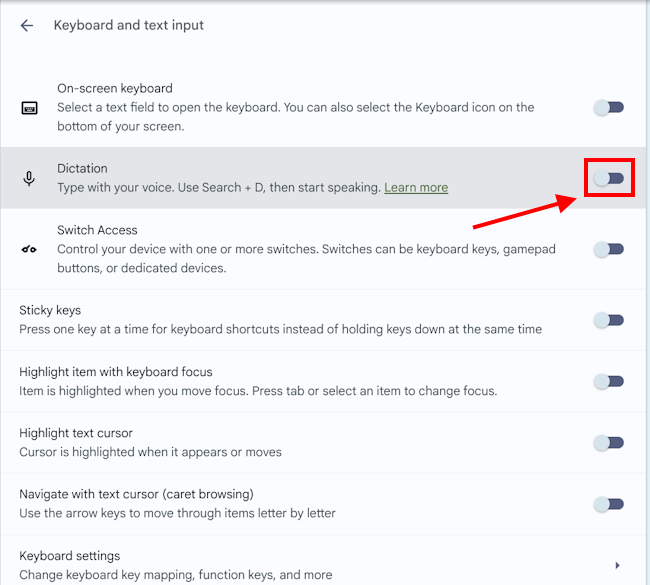
Enable dictation
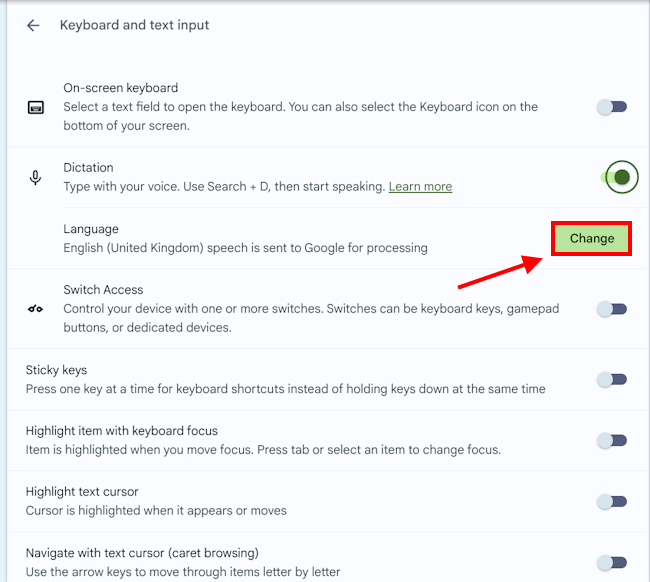
3. Click the toggle switch next to Dictation to turn dictation on.
Switching language
5. If you need to dicate in a different language, or even just another variant of English, go to Language and click Change.
Using dictation
6. When you enable dictation, a microphone button appears in the status bar in the bottom-right of the screen. When the cursor is in an area where you can enter text, click the button and start talking. The words will appear on the screen as you speak. Dictation will end automatically if you stop talking, or you can click the microphone button again to turn it off.
Note: If this does not work it could be because someone else manages your computer settings (an IT department or administrator). If this is the case, you will need to contact them to access these settings or for further help.
Need some more help?
Call our helpline 0300 180 0028 or email enquiries@abilitynet.org.uk
Need free IT Support at Home?
If you are older or disabled and need IT support at home, you can book a free home visit.