Short guide:
- Press Fn + Alt (Option) + Cmd + F5 to open the Accessibility Shortcuts menu. If your computer has Touch ID, you can triple-press Touch ID (power button) to open the Accessibility menu.
- Tick the checkboxes for the accessibility options you would like to turn on.
- Click Done to close the Accessibility Shortcuts menu.
This section explains how to enable Accessibility Shortcuts in macOS 26 Tahoe. This is a step-by-step guide with pictures of the screens to help.
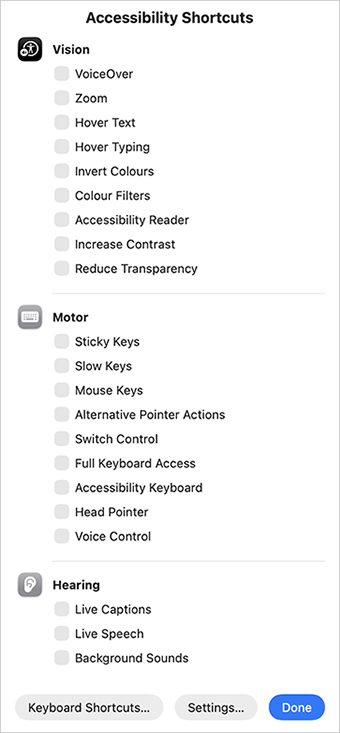
Open the Accessibility Shortcuts menu
1. Press Fn + Alt (Option) + Cmd + F5 to open the Accessibility Shortcuts menu. If your computer has Touch ID, you can triple-press Touch ID (power button) to open the Accessibility menu.
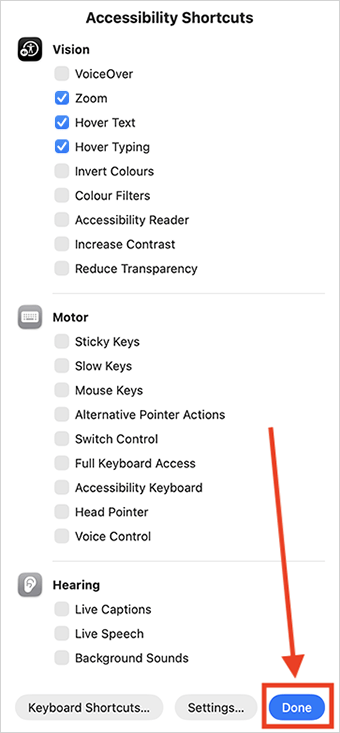
Turn on Accessibility features
2. Tick the checkboxes for the accessibility options you would like to turn on. Click Done to close the menu.
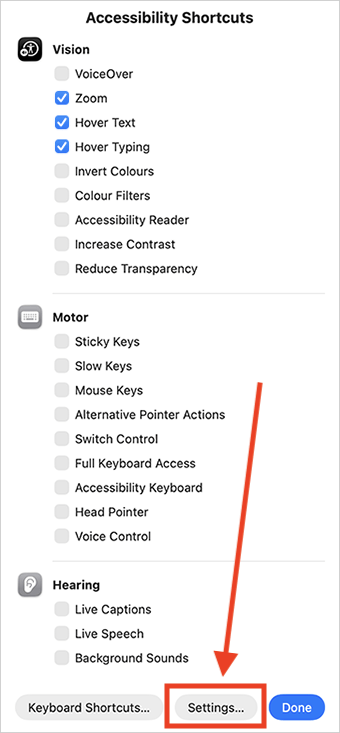
Change the items that appear in the menu
3. Open the Accessibility Shortcuts menu (as above), then click the Settings button to open System Settings.
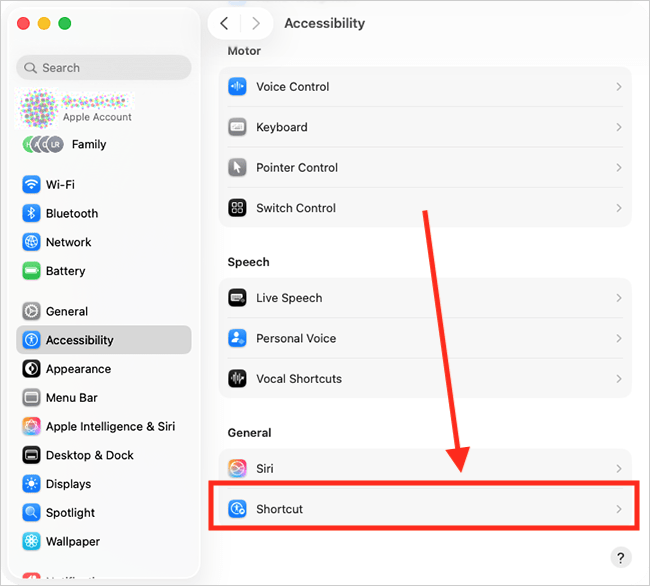
Find the Shortcuts settings
4. On the System Settings page (the right-hand column), scroll down to the bottom and click Shortcut.
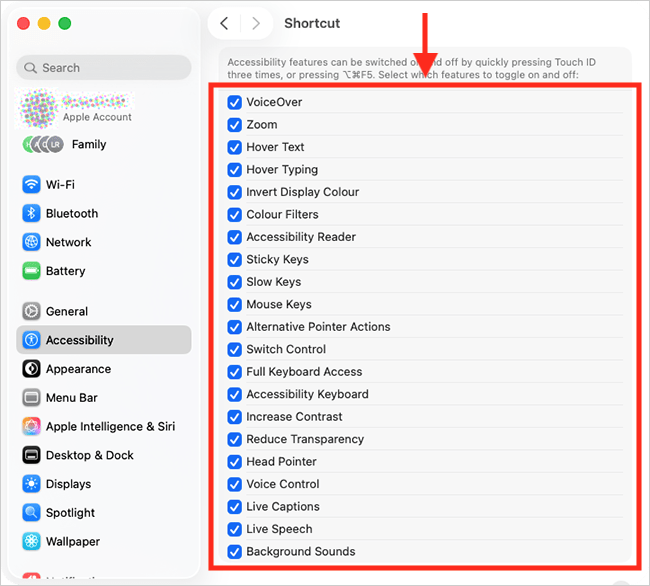
Choose which items appear in the Accessibility Shortcuts menu
5. Tick the checkboxes for all the items you would like to appear in the Accessibility Shortcuts menu.
Close System Settings
6. When you are happy with your settings, close System Settings by clicking the Close button (red circle) in the top-left corner of the window or using the Cmd + W keyboard shortcut.
Note: If this does not work it could be because your computer settings are managed by someone else (an IT department or administrator for example). If so, you will need to contact them to access these settings or for help.
Need some more help?
Call our helpline 0300 180 0028 or email enquiries@abilitynet.org.uk
Need free IT Support at Home?
If you are older or disabled and need IT support at home, you can book a free home visit.