Short guide:
- Press the Windows key +U to open the Accessibility settings. Click on Captions under Hearing.
- Click on the toggle switch for Live captions to turn it on.
- Click on the Settings icon in the top-right corner, then click Position to change where the captions appear.
- Pick Floating on screen and you can move and resize the captions panel. Click the X button in the top-right corner to stop Live captions.
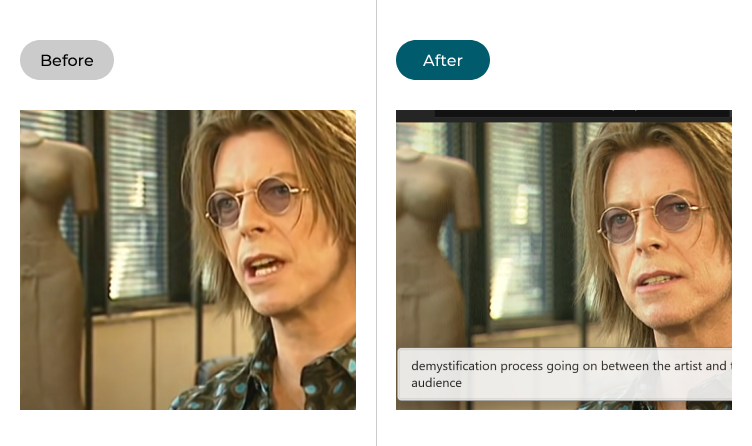
Before and after

This section takes you step-by-step through enabling and using Live captions in Windows 11, complete with pictures of the screen to help.
Find the Hearing accessibility features
1. Open the Settings and click Accessibility on the left-hand side or press the Windows key + U to open the Accessibility settings. Click on Captions under Hearing.

Enable Live captions
2. Click on the toggle switch for Live captions to turn it on.

Find the Live captions settings
3. By default, the Live captions panel opens at the top of the screen, automatically transcribing any speech it detects in audio or video. To change where the panel appears, click on the Settings icon in the top-right corner.

Change the position
4. Click Position followed by Above screen, Below screen or Overlaid on screen.

Resizing and moving the floating captions box
5. If you pick Overlaid on screen, the captions will appear in a mobile and resizable box that floats on top of your window. You can drag this into place then pull the corners out to resize it. Click the X button in the top-right corner of the box to stop Live captions.

Note: If this does not work it could be because your computer settings are managed by someone else (an IT department or administrator for example). If so, you will need to contact them to access these settings or for help.