Short guide
- To launch the on-screen keyboard, press the Windows key + Ctrl + O.
- Click the Options key. Use the top three options for audio and visual indicators and a virtual numeric pad.
- Select Hover over keys or Scan through keys to set how a key is selected and pressed. Use the Hover duration or Scanning speed sliders to make these options easier to use.
- Use the Text prediction options to enable text prediction and add a space automatically after each word.
Before and after
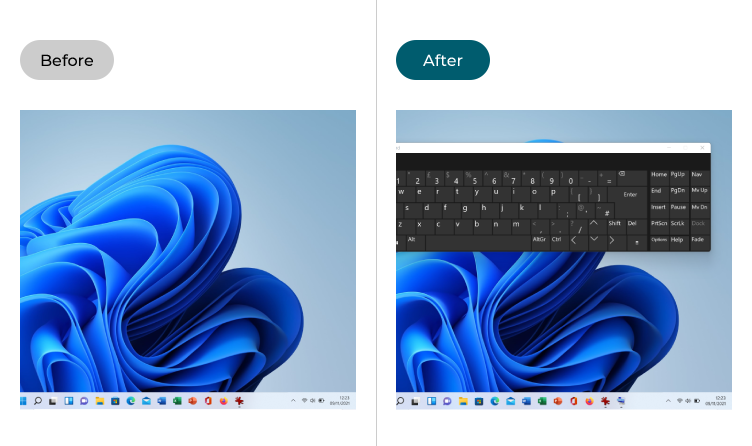
This section explains how to launch, use and customise the on-screen keyboard in Windows 11. This is a step-by-step guide with pictures of the screens to help.
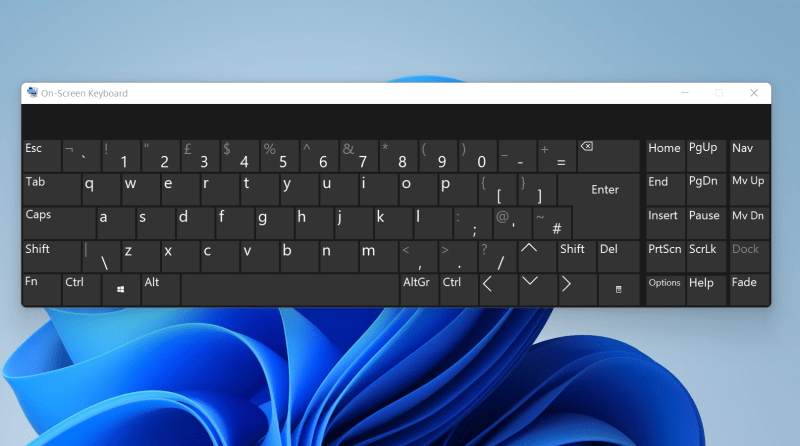
Launch the on-screen keyboard
1. To launch the on-screen keyboard, press the Windows key + Ctrl + O. You can press a key on the keyboard by tapping on it with a touchscreen or clicking on it with a mouse, trackpad or other pointing device.
Find the Options
2. To customise how the on-screen keyboard works, click the Options key.

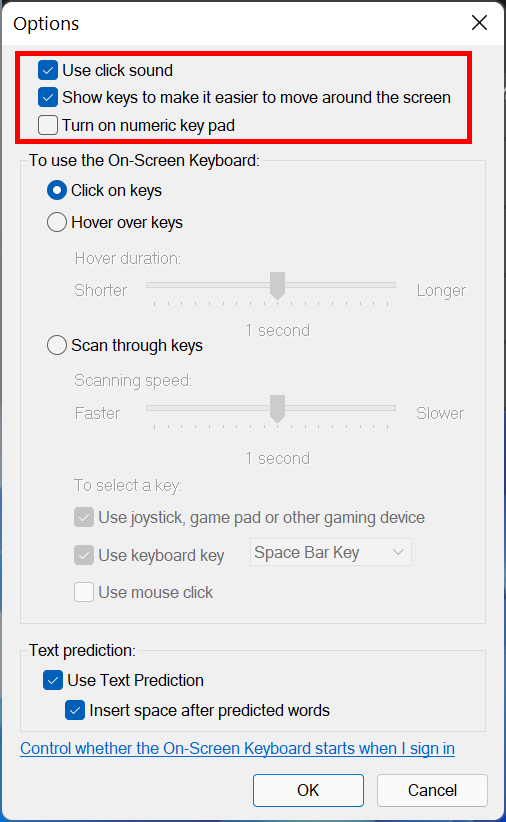
Make it easier to use the keyboard
3. Tick the checkbox for Use click sound to hear a sound when a key is pressed, or click Show keys to make it easier to move around the screen to make the keys light up as you type. Turn on numeric keypad extends the on-screen keyboard with a virtual numeric pad.
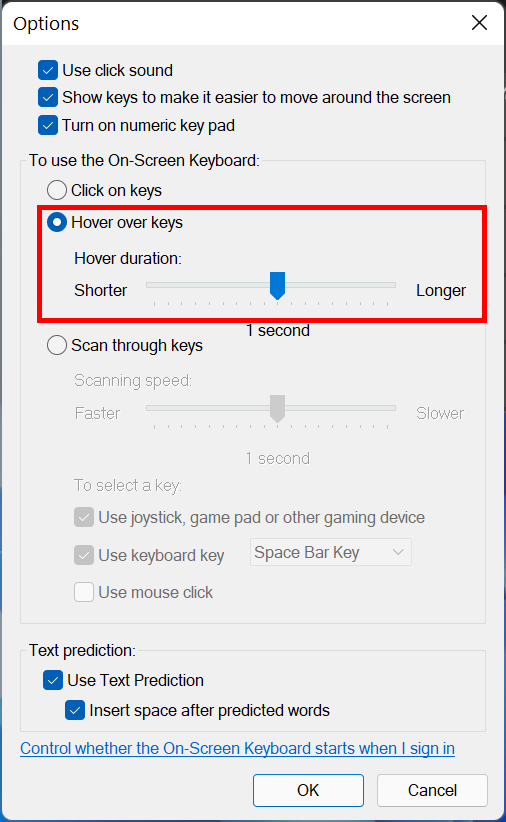
Switch to Hover mode
4. Switch from Click on keys to Hover over keys to have keys pressed when the mouse pointer hovers over them for a specified time. Use the Hover duration slider to adjust how long this time will be.
Switch to Scan mode
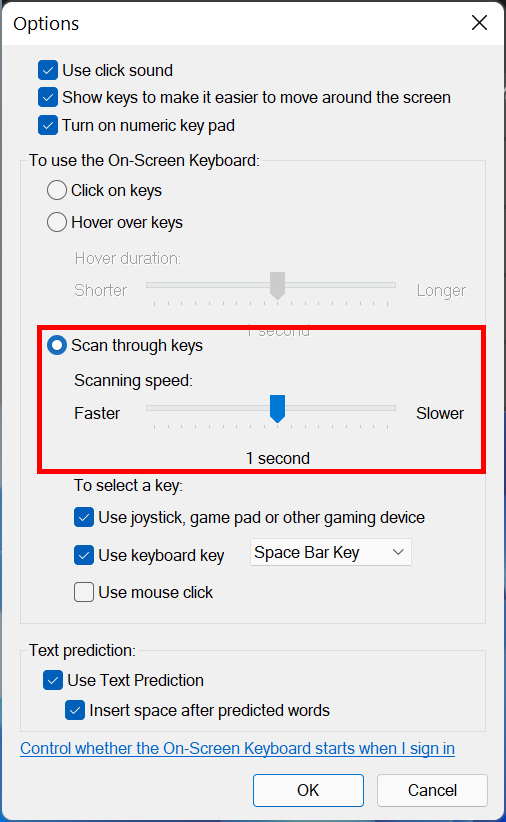
5. Switch to Scan through keys to press a key through a highlight that cycles through the keys on the keyboard, first row by row, then in groups, then key by key. Use the Scanning speed slider to adjust how fast this option scans through the keys.
Select a device
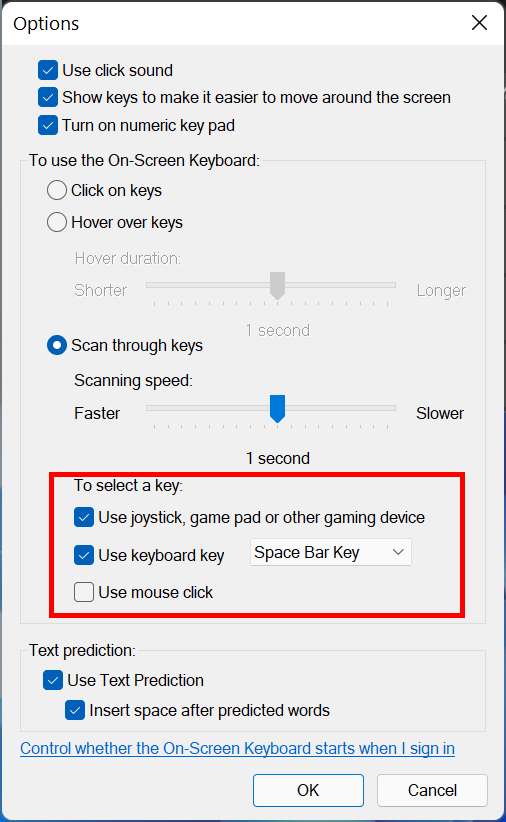
6. You can also select which device you use to select a key while scanning. You can choose from a joystick or a game controller, the Space bar or another key, or a mouse or touchpad click.
Enable Text prediction
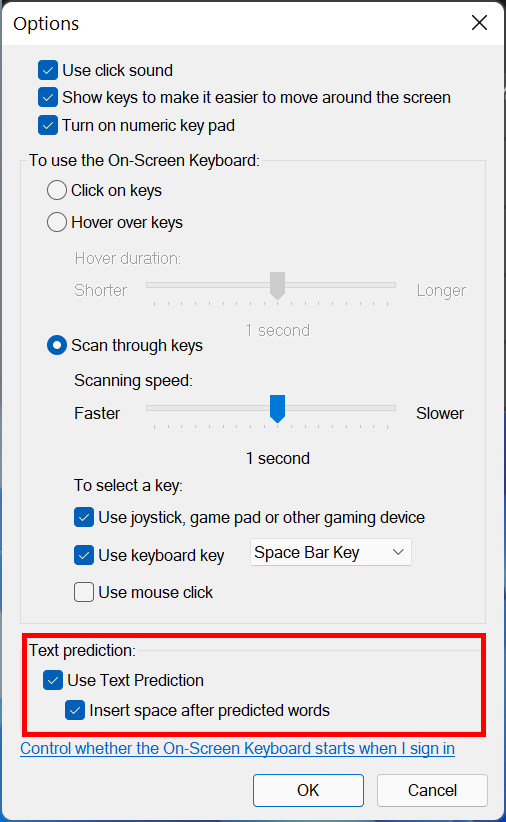
7. Select Use Text Prediction to enable text prediction, which can make it faster to type with the on-screen keyboard. Click the Insert space option to have a space appear automatically after you select a word. Again, this can save a lot of time and effort.
Set the keyboard to launch when Windows starts
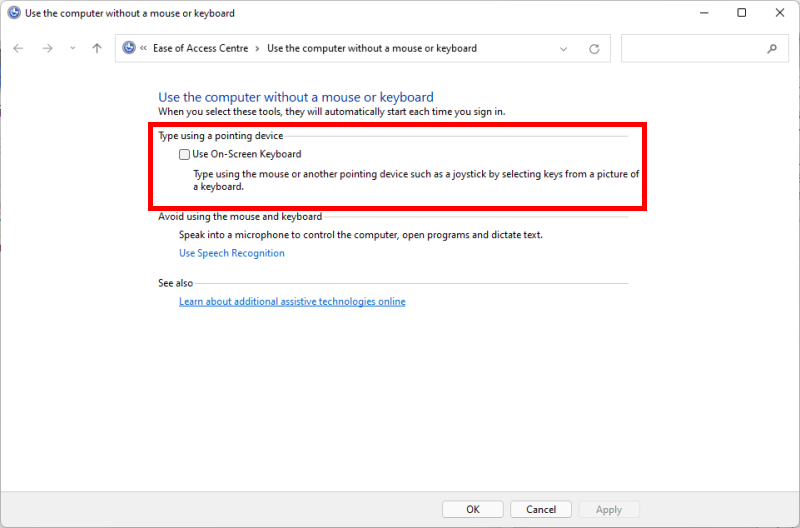
8. Click the link for Control whether the On-screen keyboard starts when I sign in if you want the on-screen keyboard to launch when Windows starts. Tick the checkbox nest to Use On-Screen Keyboard and click OK.
Note: If this does not work it could be because your computer settings are managed by someone else (an IT department or administrator for example). If this is the case you will need to contact them to access these settings or for further help.
Need some more help?
Call our helpline 0300 180 0028 or email enquiries@abilitynet.org.uk
Need free IT Support at Home?
If you are older or disabled and need IT support at home, you can book a free home visit.