Note: You can use Voice access using your laptop's built-in microphone, but if you have trouble getting your commands recognised then switching to a USB microphone or headset can help. You will also need a USB microphone or headset if you use a desktop PC.
Short guide:
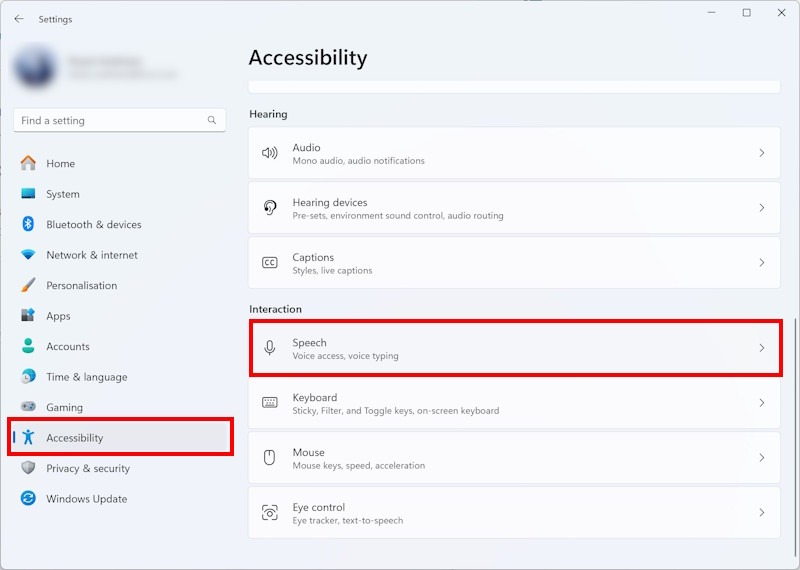
- Press the Windows key and U to open the Accessibility settings. Click on Speech.
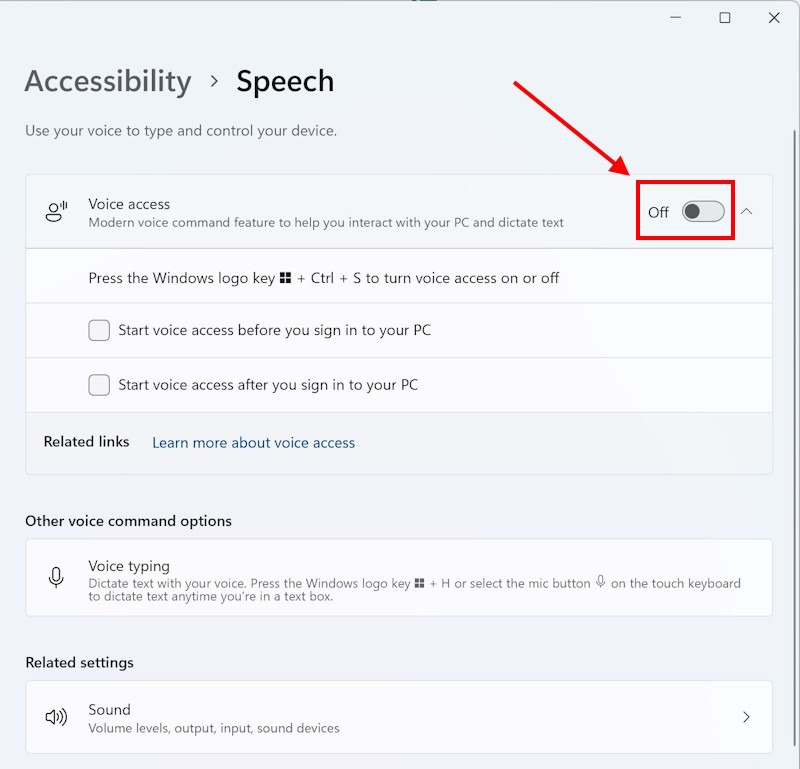
- Click the toggle switch for Voice access to turn it on. Click Continue if you get a warning.
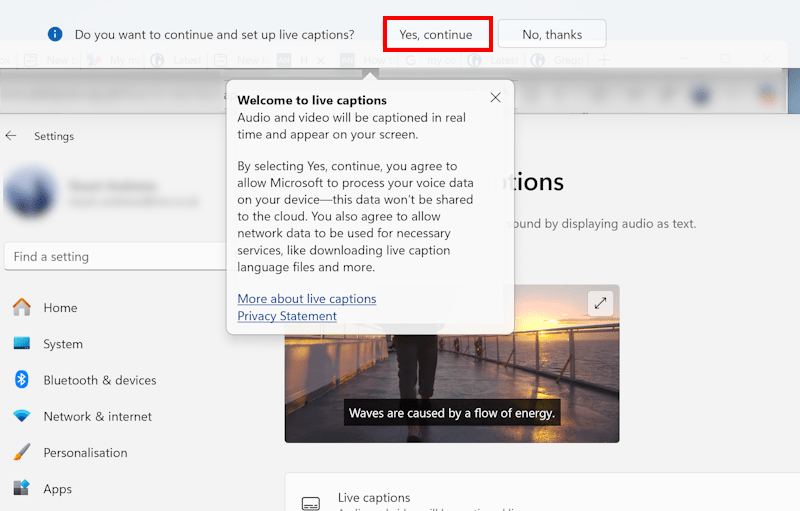
- The Voice access control bar should appear at the top of the screen. Click Yes, continue.
- Follow the setup routine then say ‘click start guide’ to run the tutorial.
- Click the Microphone icon in the top-left corner to turn voice access on and off. Click the Settings icon in the top-right corner to access the options.
- Say ‘show numbers’ to select an item by its number, or ‘show grid’ to narrow down your selection through a series of smaller grids.
Before and after
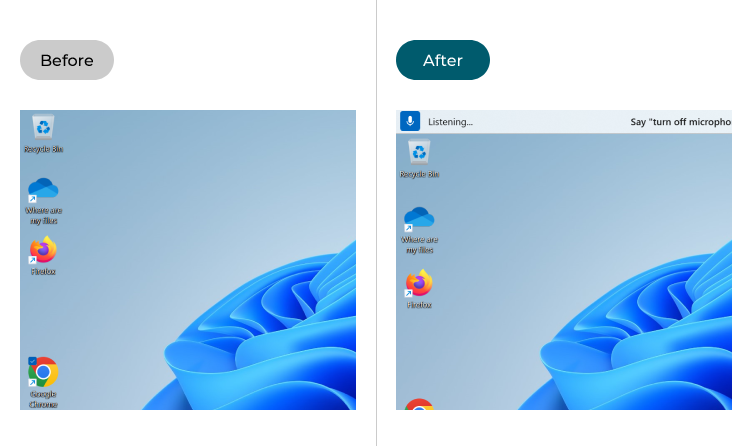
This section takes you step-by-step through enabling and using Voice access in Windows 11, complete with pictures of the screen to help.
Find the Speech accessibility features
1. Open the Settings and click Accessibility on the left-hand side or press the Windows key and U to open the Accessibility settings. Click on Speech under Interaction.
Enable Voice access
2. Click the toggle switch for Voice access to turn it on. You may get a warning telling you that it’s designed to work in U.S. English. If so, click Continue.
Allow voice processing
3. The Voice access control bar should appear at the top of the screen. Click Yes, continue to allow Voice access to record and process your voice.
Follow the setup routine
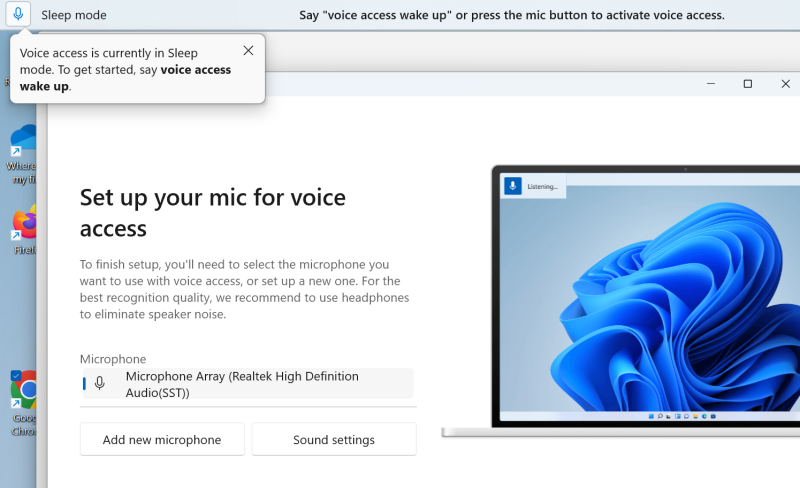
4. You’ll now go through a short setup routine. Say ‘Voice access wake up’ then follow the instructions until you’re all set up.
Start the tutorial
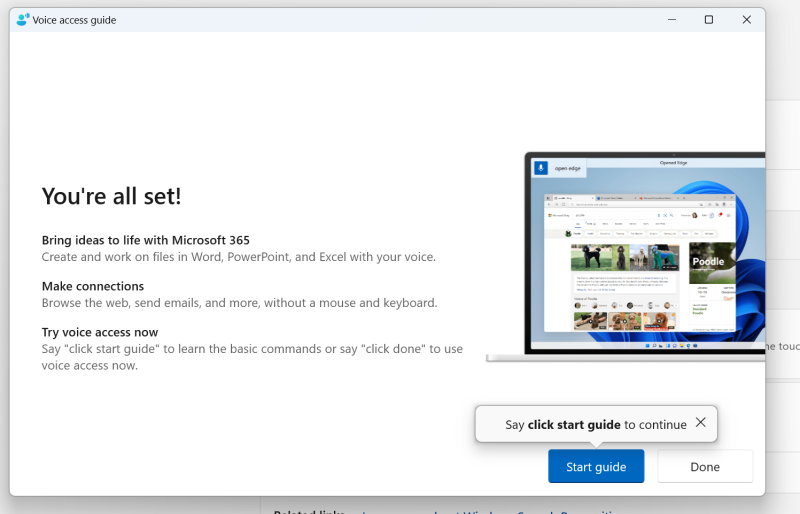
5. You can start using Voice access now, but it’s a good idea to run through the welcome tutorial. Say ‘Click start guide’ to continue.
Finish the tutorial
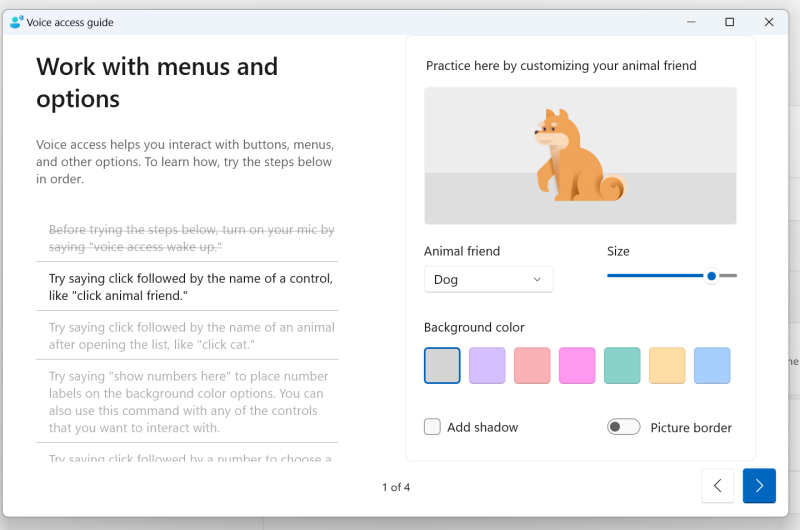
6. Now follow the tutorial and learn how to use Voice access and its features.
Pausing and restarting Voice access
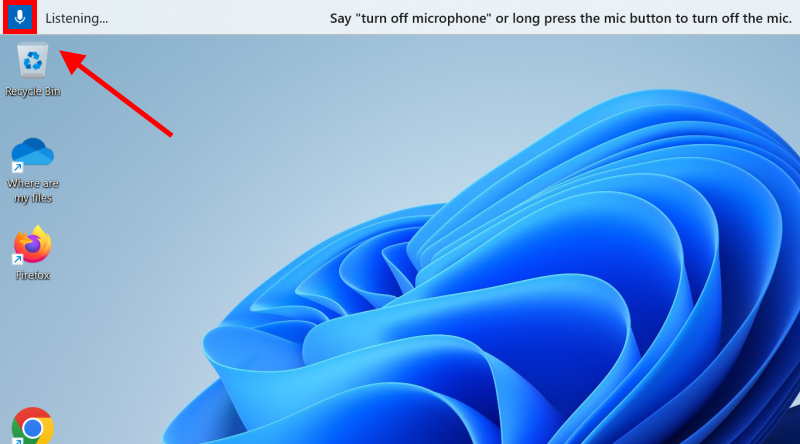
7. While Voice access is enabled you can click the microphone icon in the top-left corner to pause and restart voice processing.
Change the Voice access options
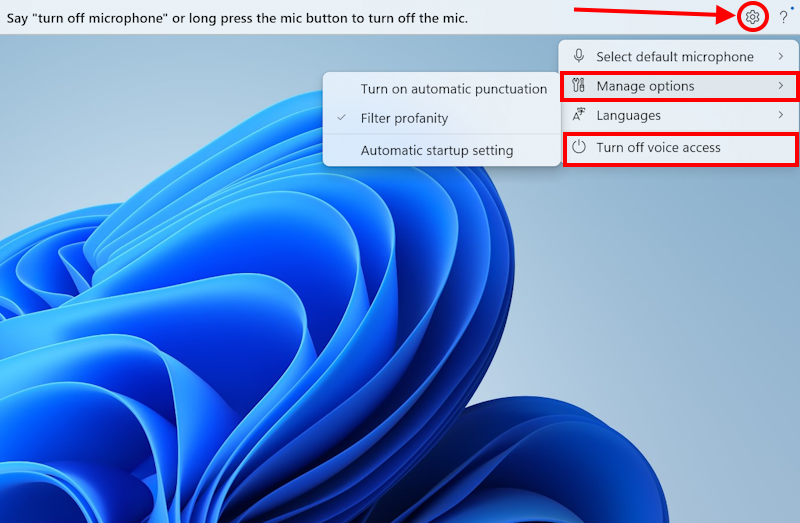
8. Click the Settings icon in the top-right corner to change the Voice access options or turn Voice access off.
Use numbers to select
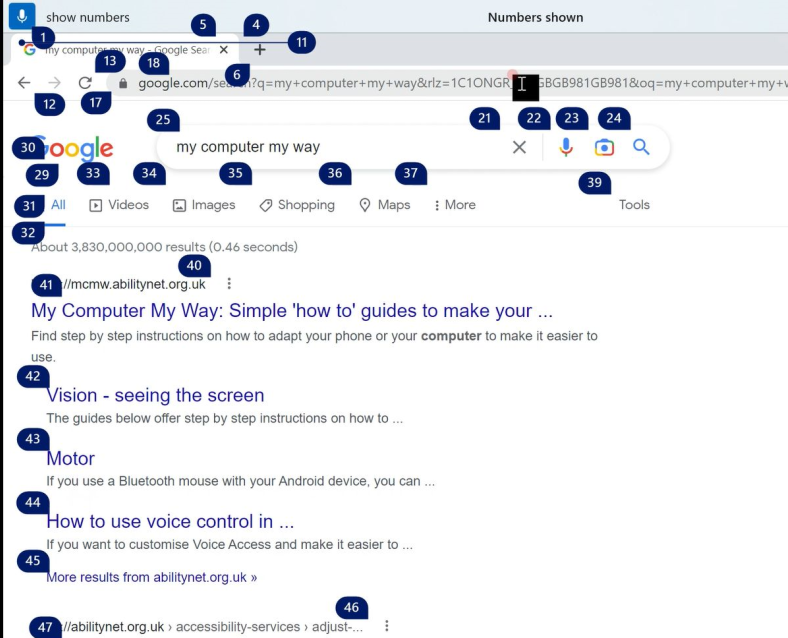
9. If you have a screen with a lot of buttons, links or icons, you can say ‘Show numbers’. Ever item you can interact with will have a numbered label attached. Say ‘click’ followed by the number to click on that item, or ‘double-click’ to double click on it.
Use the grid to select
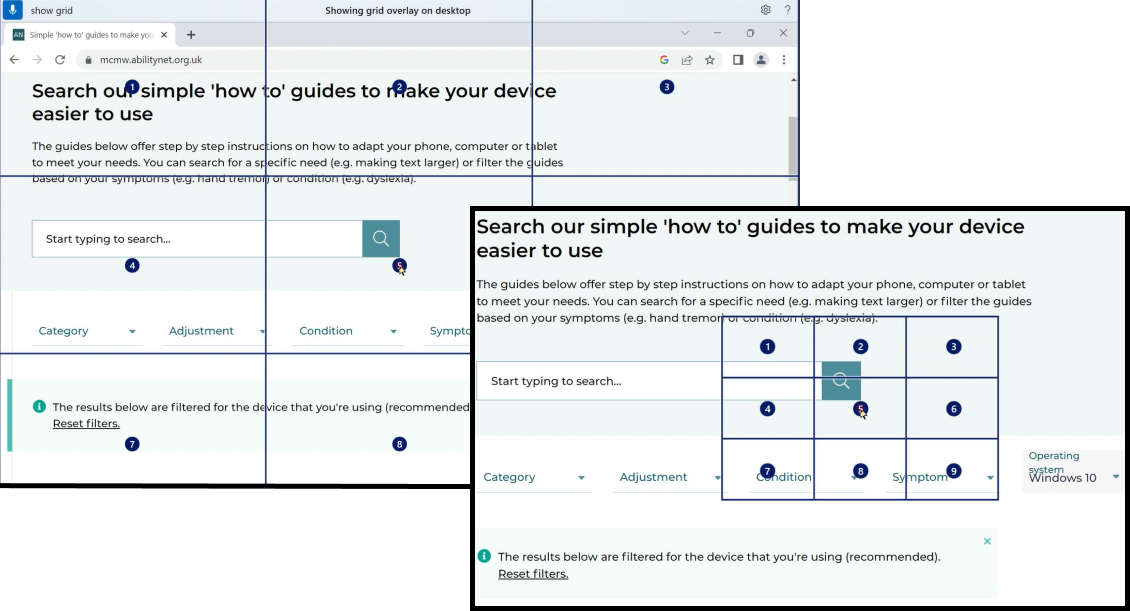
10. Alternatively, say ‘show grid’ to overlay a grid on the screen. Say the number of the box with the item you want to click in it, and you’ll get a smaller grid, enabling you to select a smaller section of that area. Continue until you click on the item you want to click on.
Note: If this does not work it could be because your computer settings are managed by someone else (an IT department or administrator for example). If so, you will need to contact them to access these settings or for help.