Switch Control
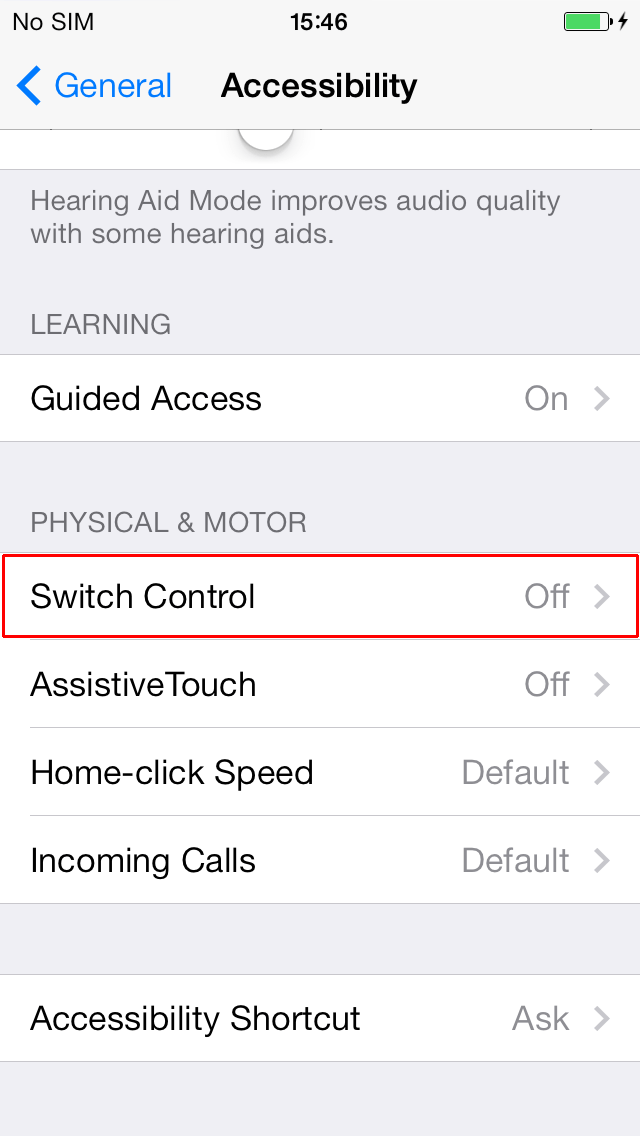
- To activate the 'Accessibility' features on your device select 'Settings' + 'General' + 'Accessibility'.
- Tap to select the ‘Switch Control’ button under ‘Physical & Motor’.
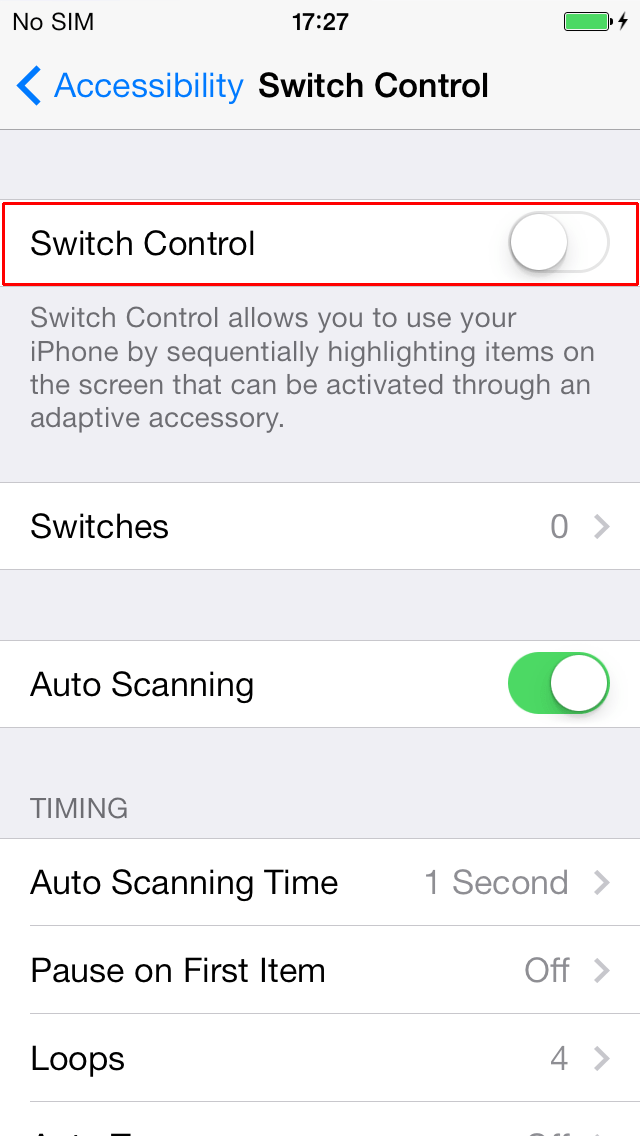
- To activate ‘Switch Control’ tap the toggle switch for ‘Switch Control’.
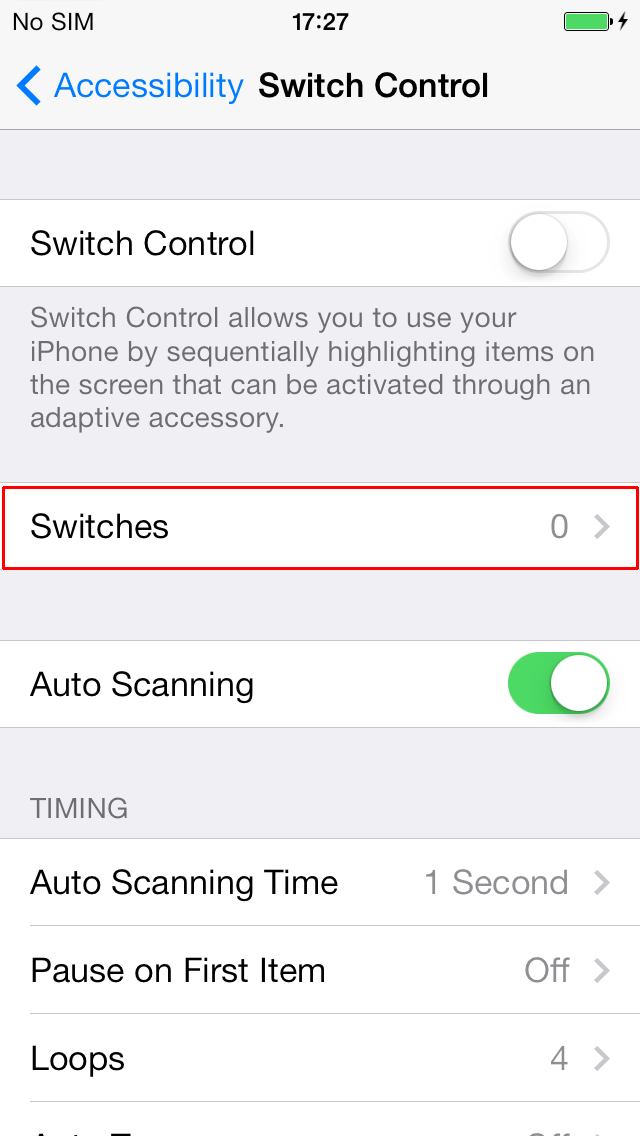
- To add a new switch, first tap the ‘Switches’ button.
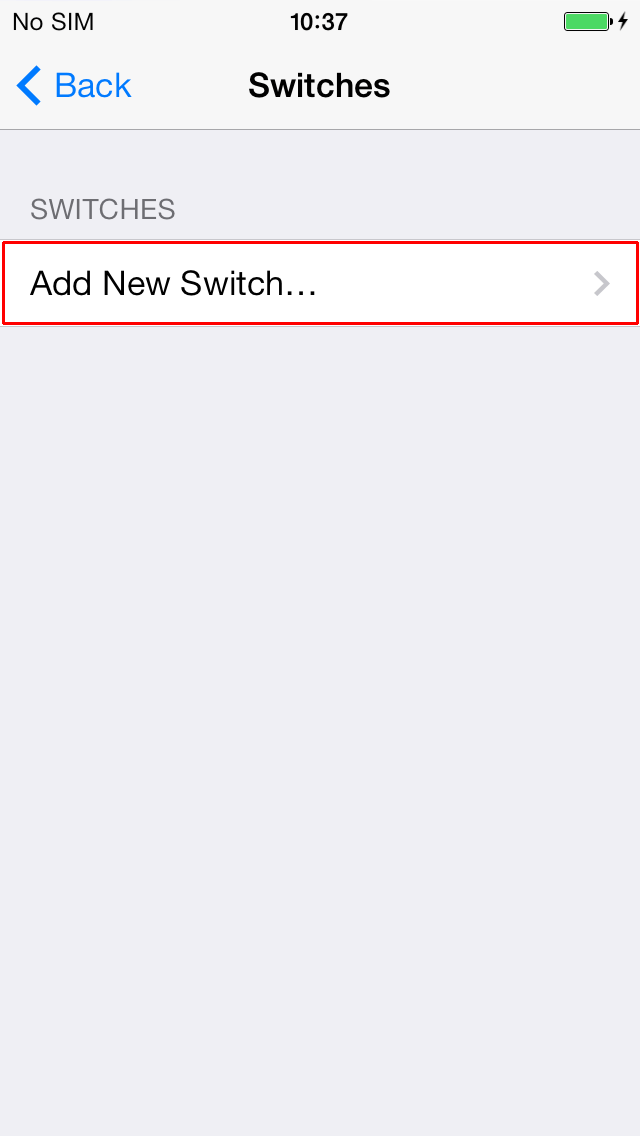
- Tap to select the ‘Add New Switch’ button under ‘Switches’.
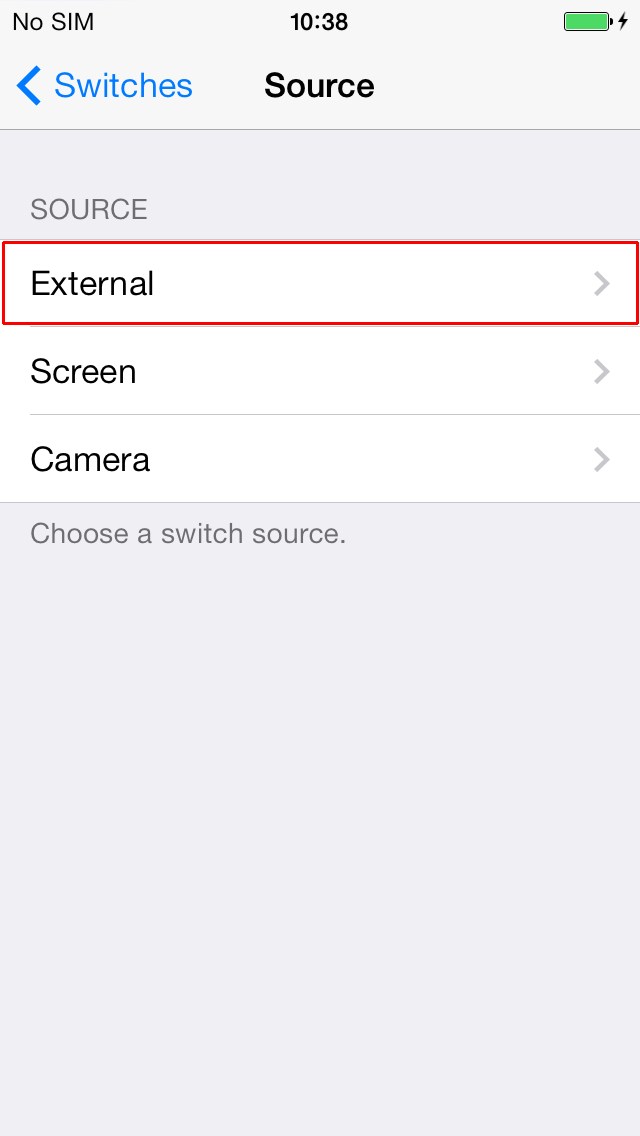
- To add an external switch, tap the ‘External’ button under ‘Source’.
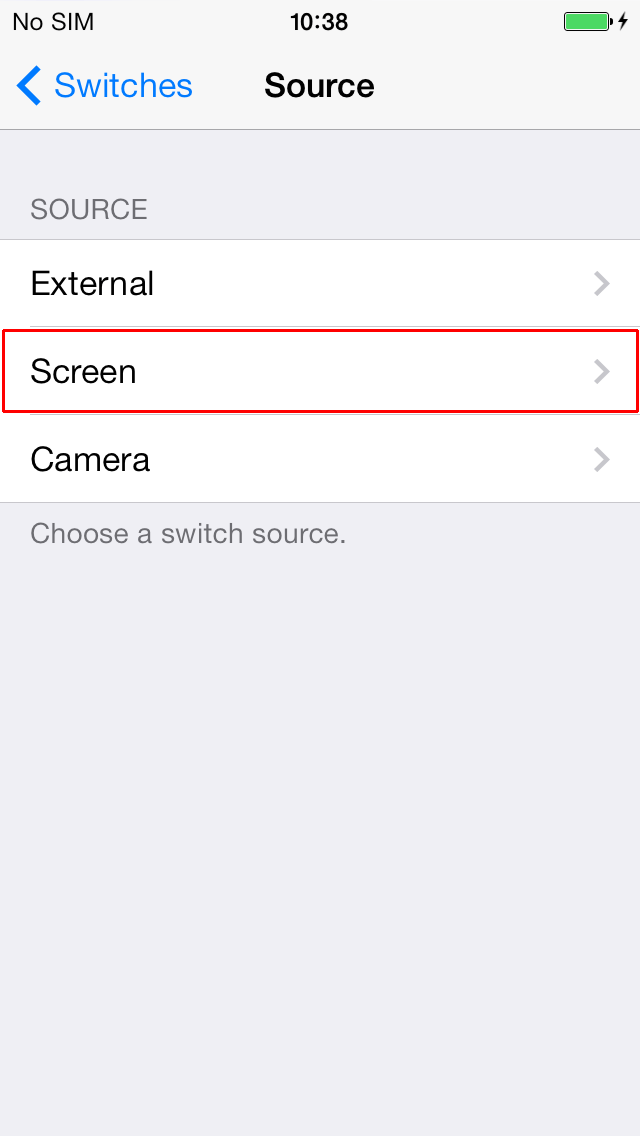
- To add a screen switch, tap the ‘Screen’ button under ‘Source’.
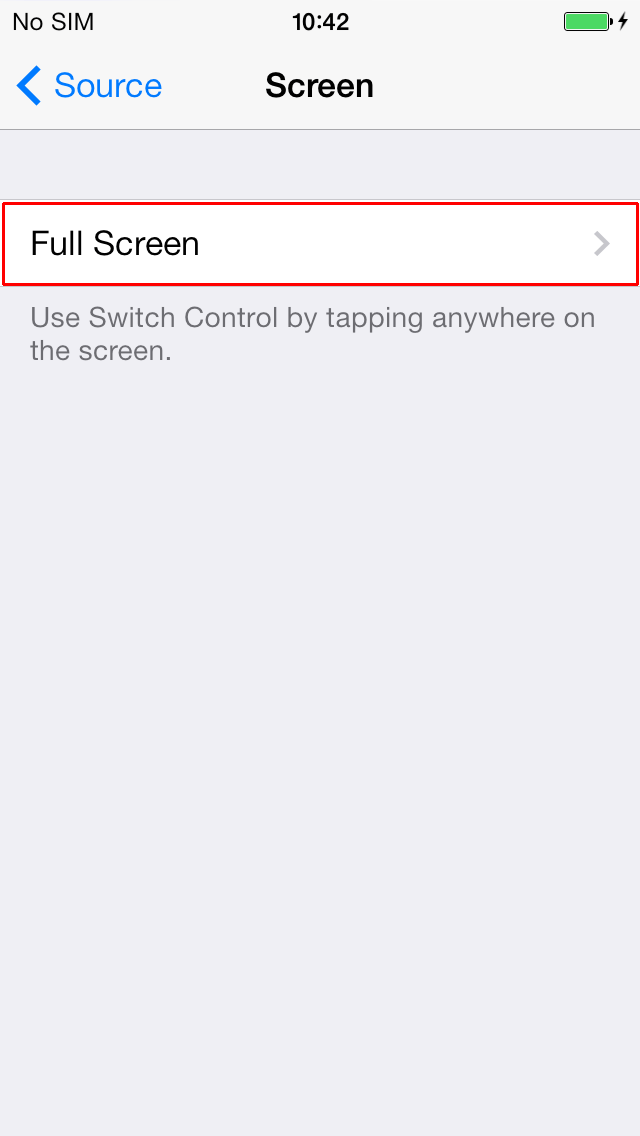
- Tap to select the ‘Full Screen’ button.
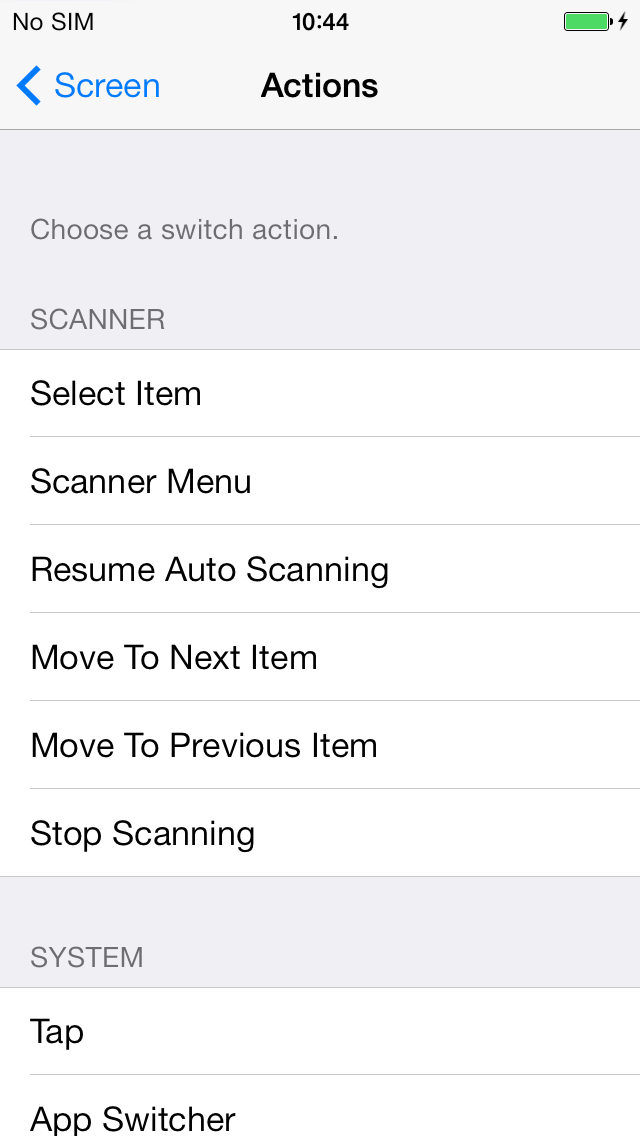
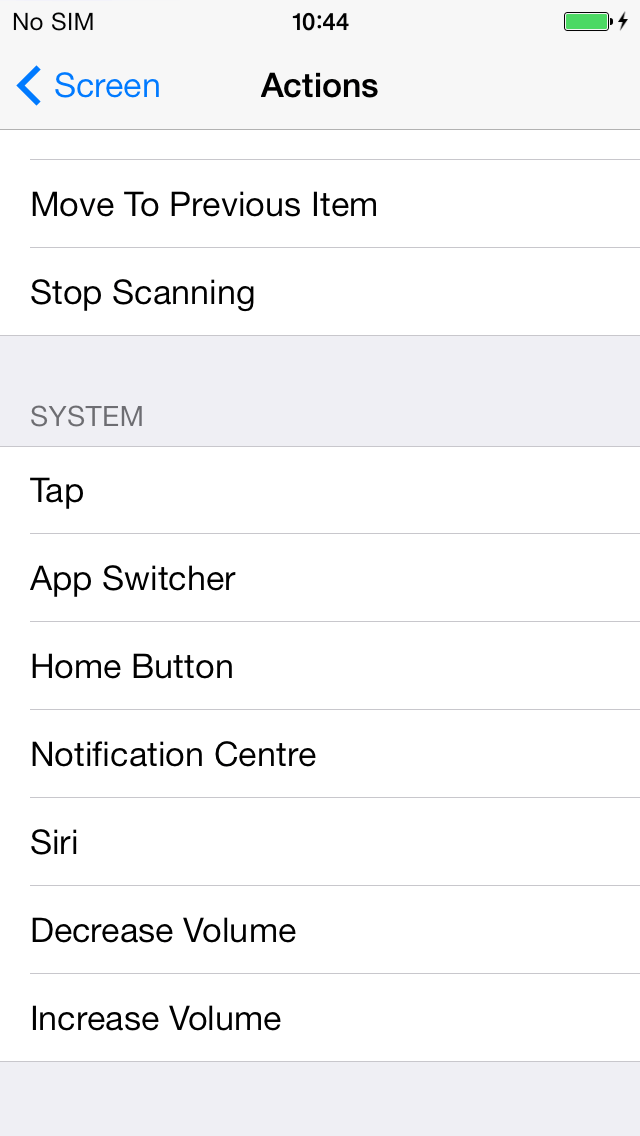
- You can then choose a switch action from a large list of options under ‘Scanner’ and ‘System’.
- To add a camera switch, tap the ‘Camera’ button under ‘Source’.
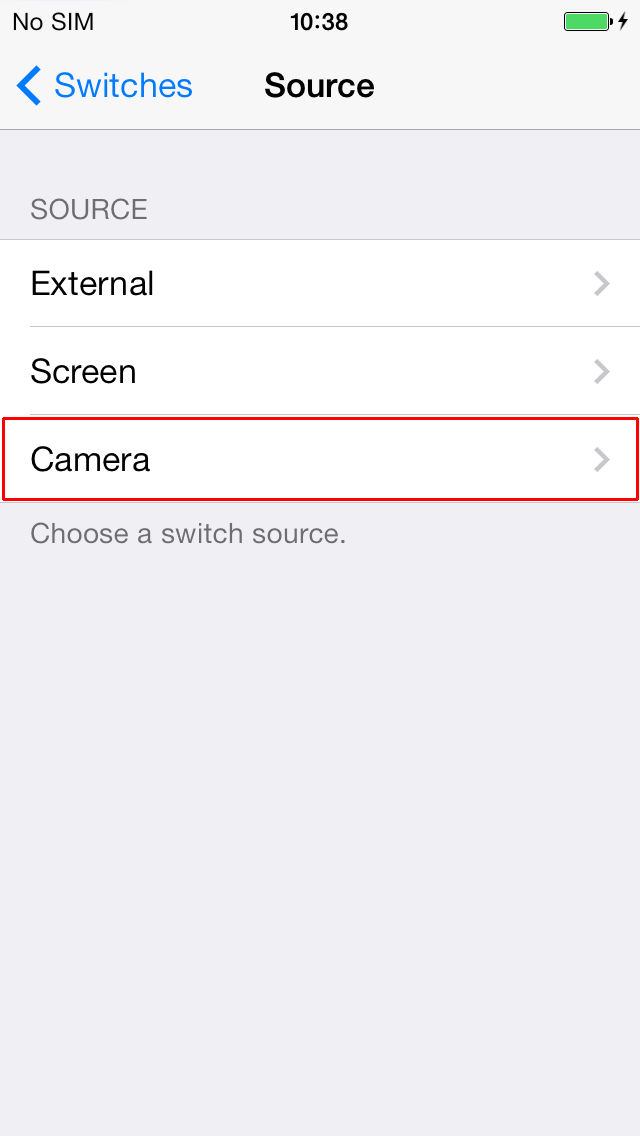
- Tap to select either the ‘Left Head Movement’ or ‘Right Head Movement’ button. You can then choose a switch action from a large list of options under ‘Scanner’ and ‘System’.

Timing
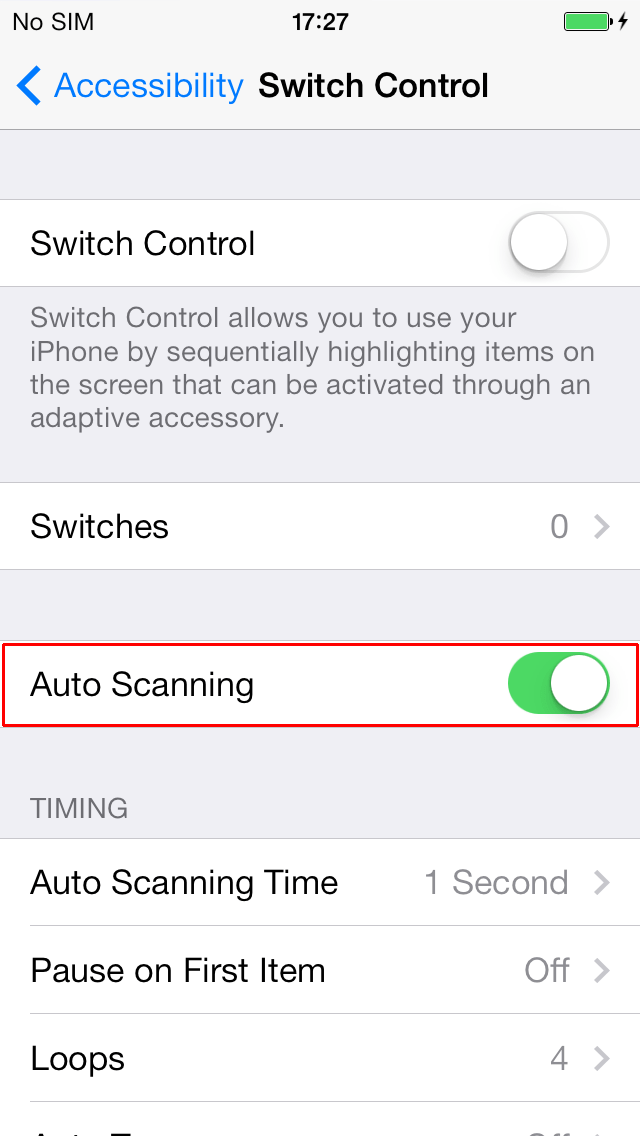
It is important to ensure ‘Auto Scanning’ is turned on or else single switch access is not possible.
- To activate ‘Auto Scanning’ tap the toggle switch for ‘Auto Scanning’.
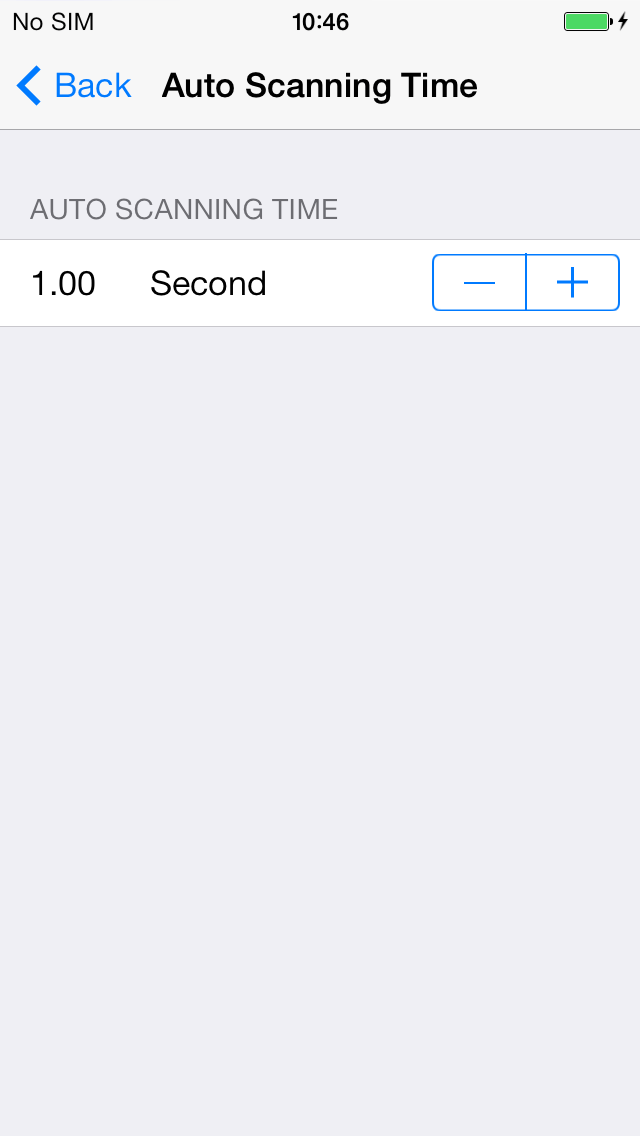
‘Auto Scanning Time’ is the speed at which the scanning highlight cursor moves around the screen.
- Tap to select the ‘Auto Scanning Time’ button under ‘Timing’.
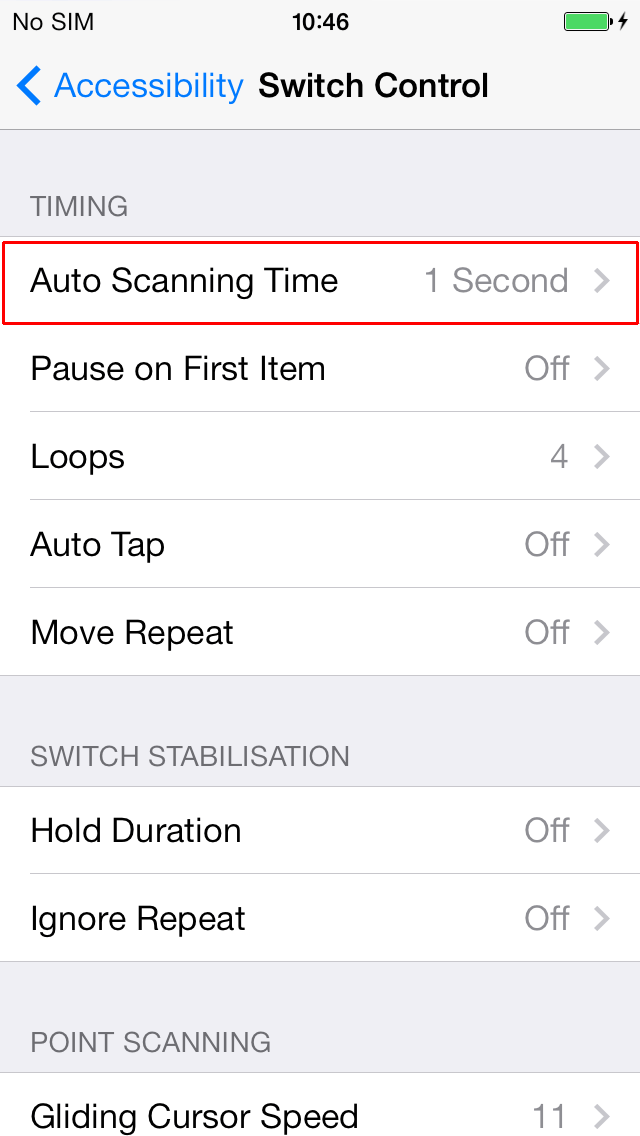
- The timing speed can be adjusted by tapping the current digits beside ‘Second’ (which brings up the numeric keyboard). Alternatively, the decrement or increment buttons can be tapped to decrease or increase the time.
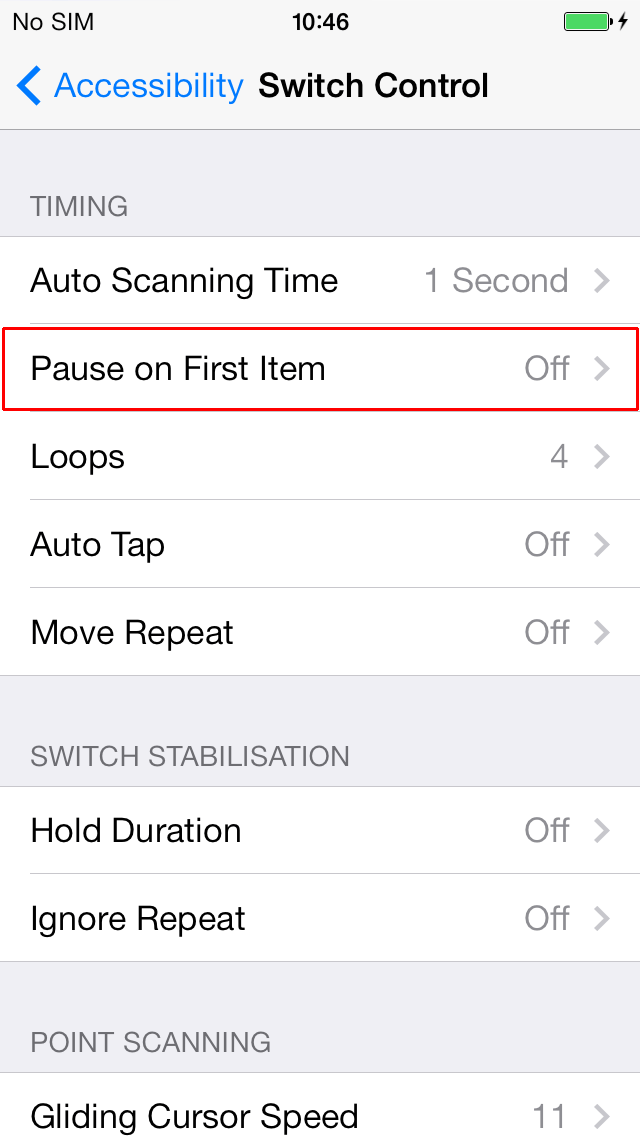
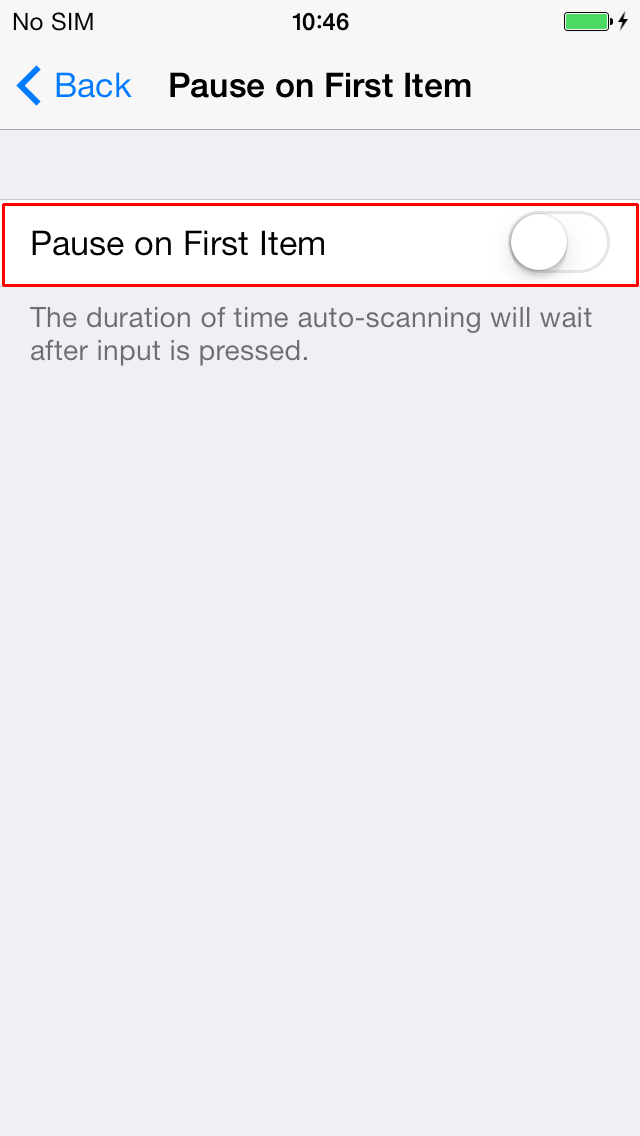
‘Pause on First Item’ is the duration of time auto-scanning will wait after input is pressed.
- Tap to select the ‘Pause on First Item’ button under ‘Timing’.
- To activate ‘Pause on First Item’ tap the toggle switch for ‘Pause on First Item’.
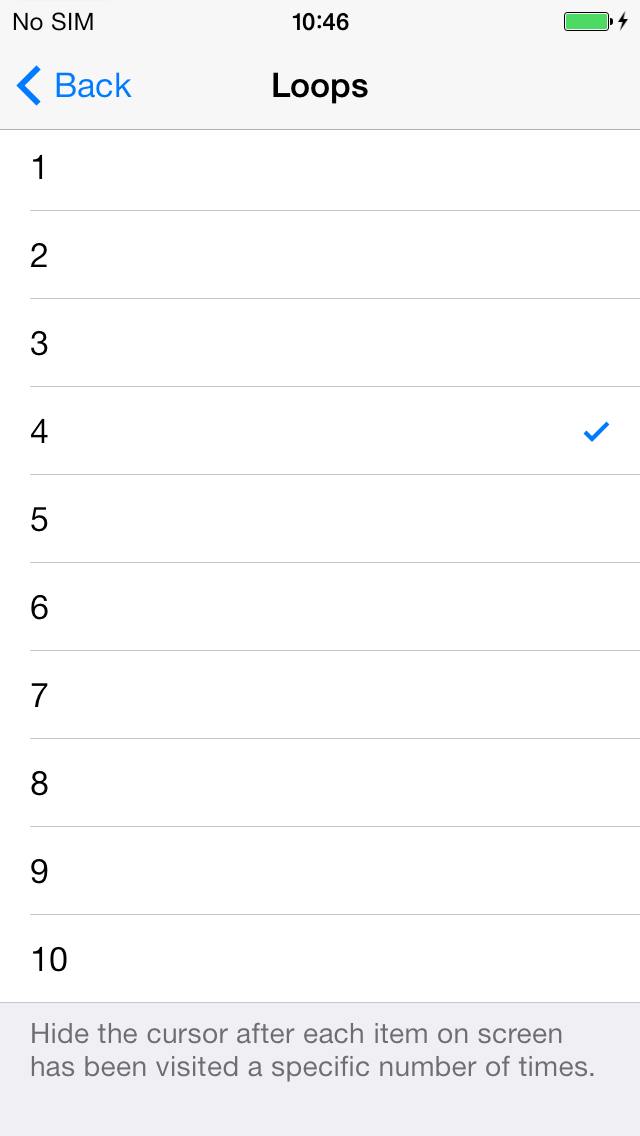
‘Loops’ is the number of times of times the scan will cycle through items on the screen before stopping and hiding the cursor.
- Tap to select the ‘Loops’ button under ‘Timing’.
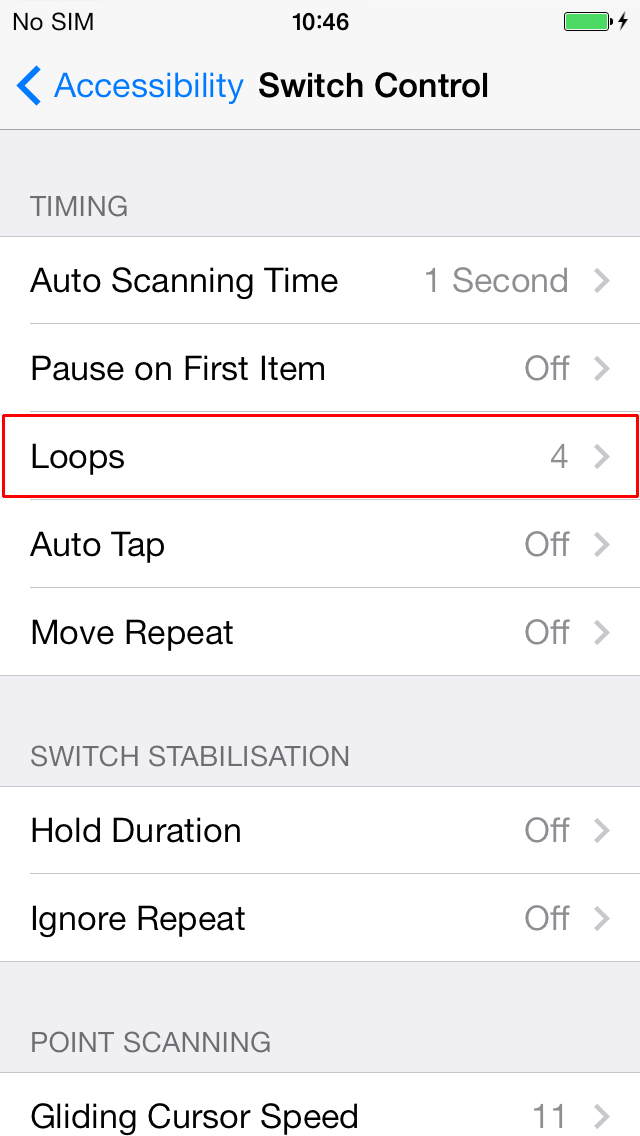
- Tap to select a number of loops from 1–10.
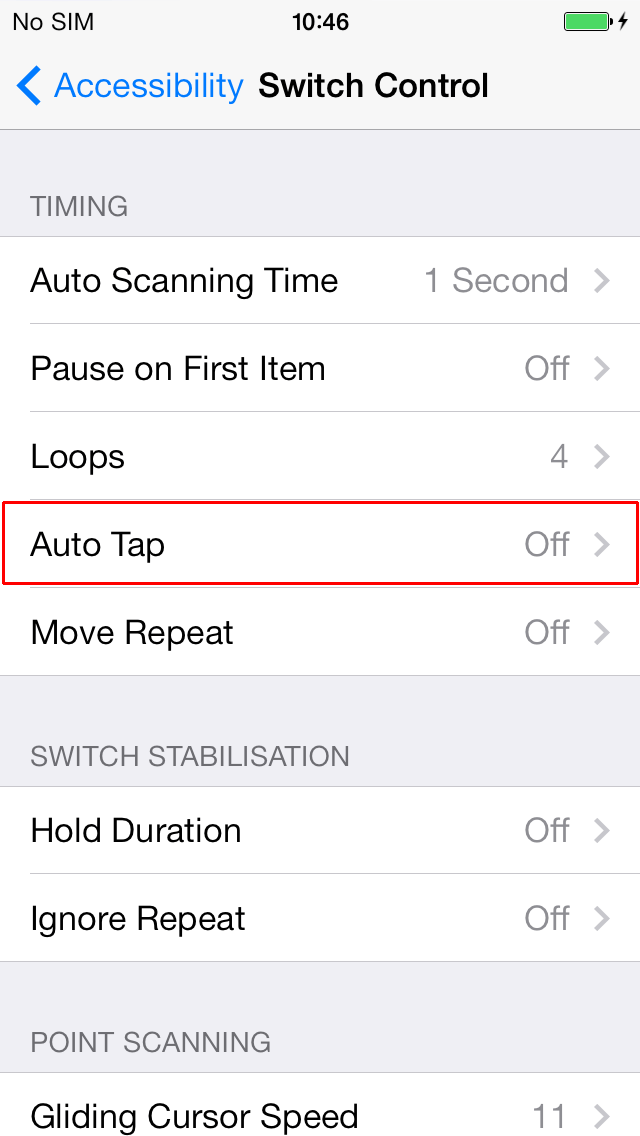
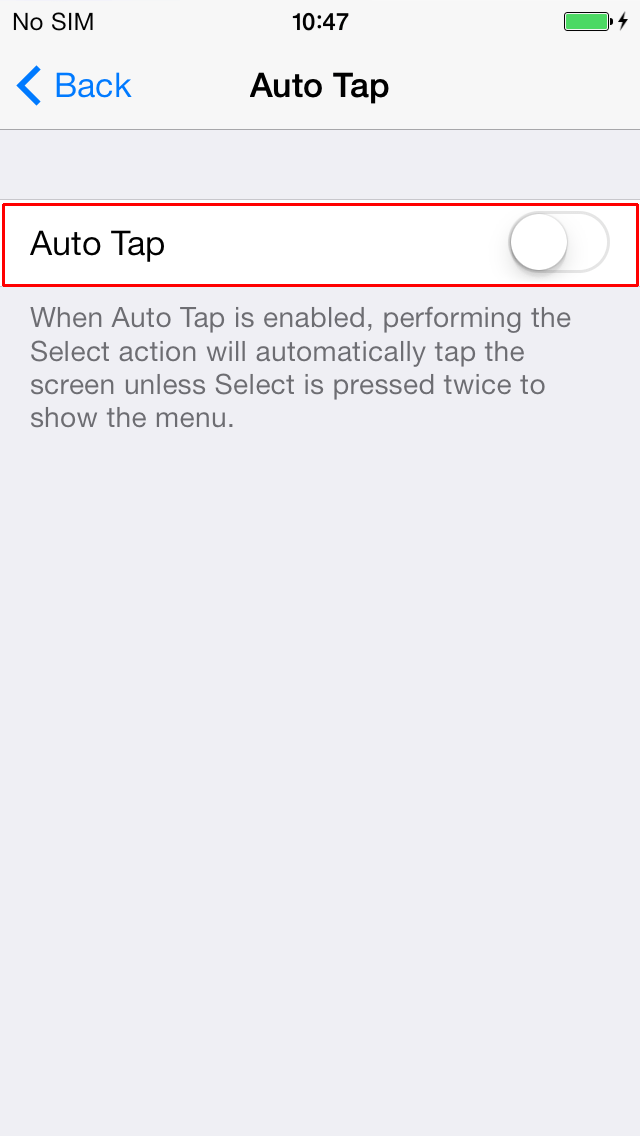
‘Auto Tap’ is a feature which, when enabled, will automatically tap the screen to select after the switch is pressed, unless a quick double tap is made to show the onscreen menu.
- Tap to select the ‘Auto Tap’ button under ‘Timing’.
- To activate ‘Auto Tap’ tap the toggle switch for ‘Auto Tap’.
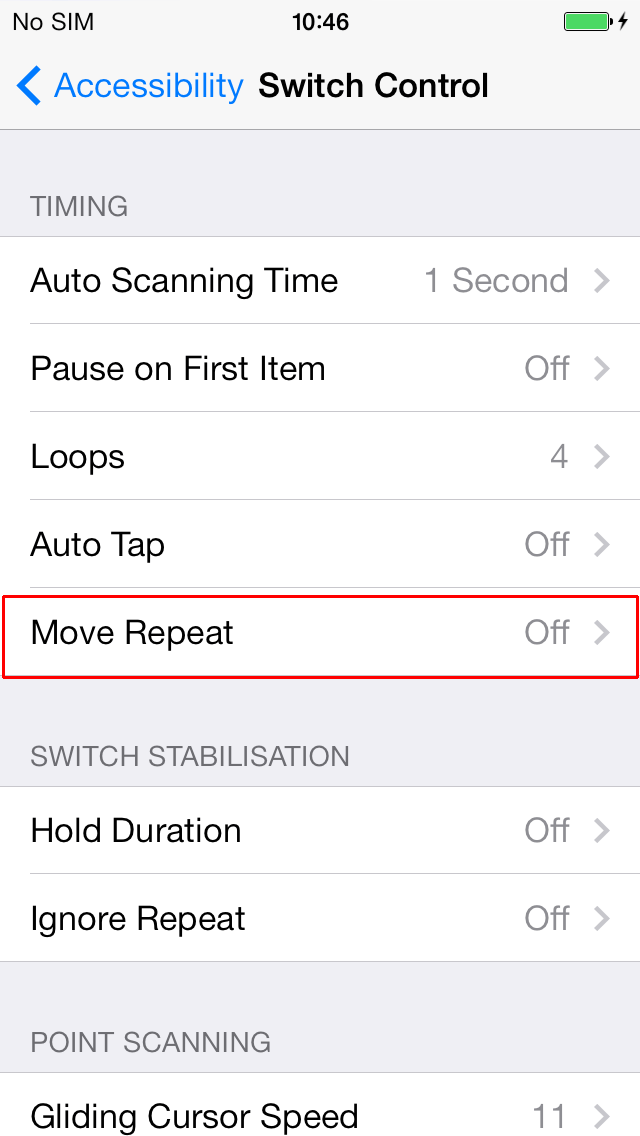
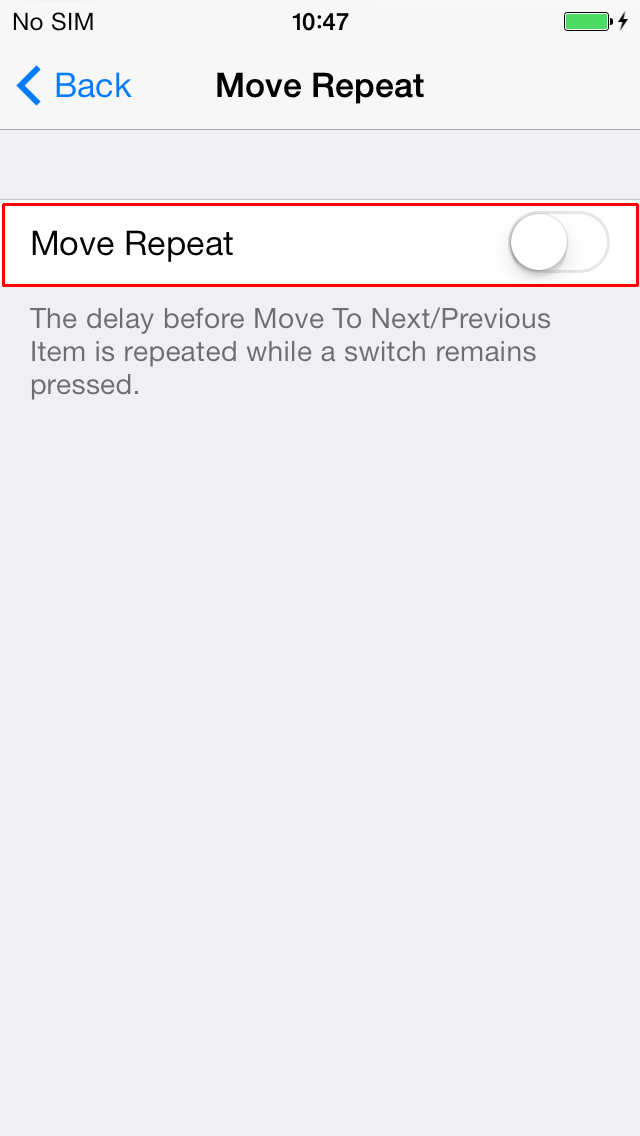
‘Move Repeat’ is the delay while a switch remains pressed before Next/Previous Item is repeated.
- Tap to select the ‘Move Repeat’ button under ‘Timing’.
- To activate ‘Move Repeat’ tap the toggle switch for ‘Move Repeat’.
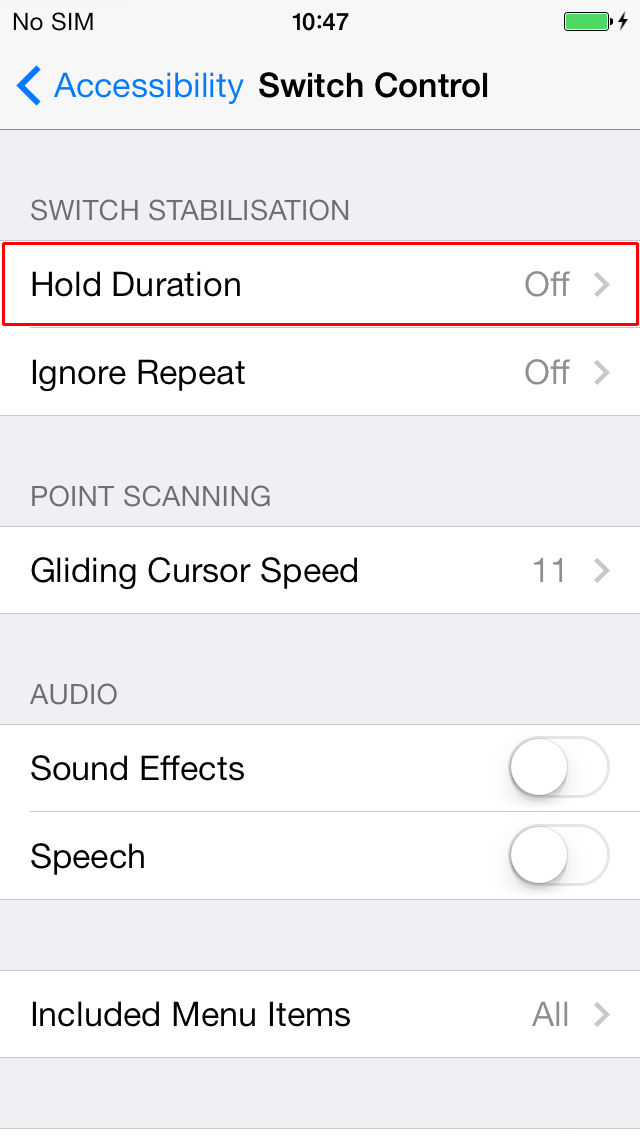
Switch Stabilisation
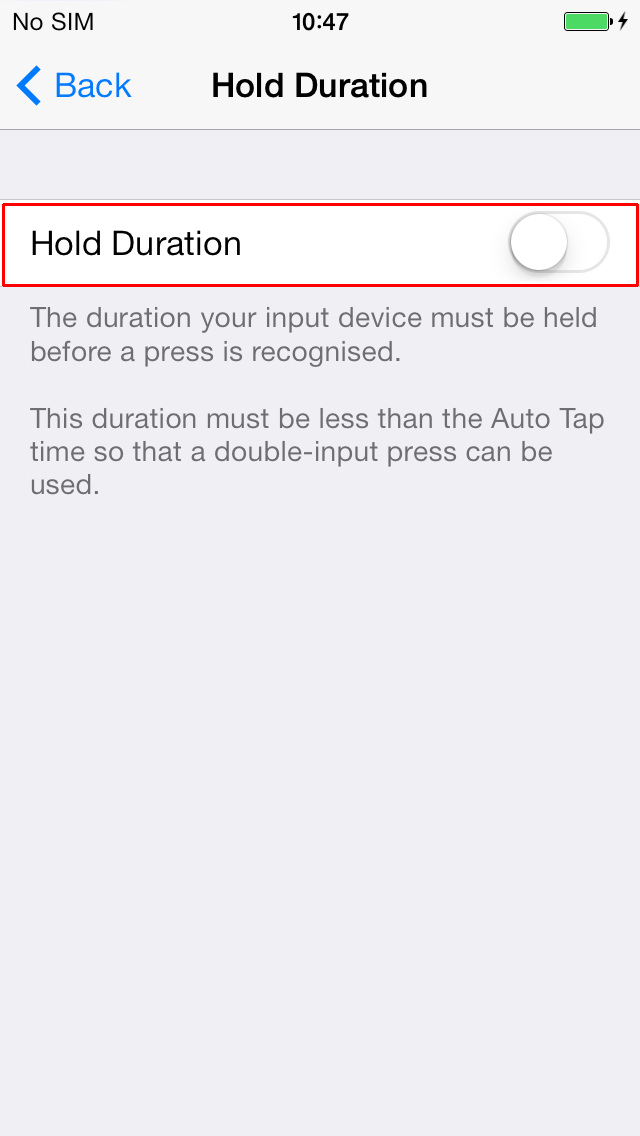
‘Hold Duration’ is the length of time a switch must be held before a press is recognised. This is useful for users who make accidental mishits with their switch, which more likely to occur with shorter duration presses. Turning on this feature means your device will only respond to slightly longer and more deliberate switch presses.
- Tap to select the ‘Hold Duration’ button under ‘Switch Stabilisation’.
- To activate ‘Hold Duration’ tap the toggle switch for ‘Hold Duration’.
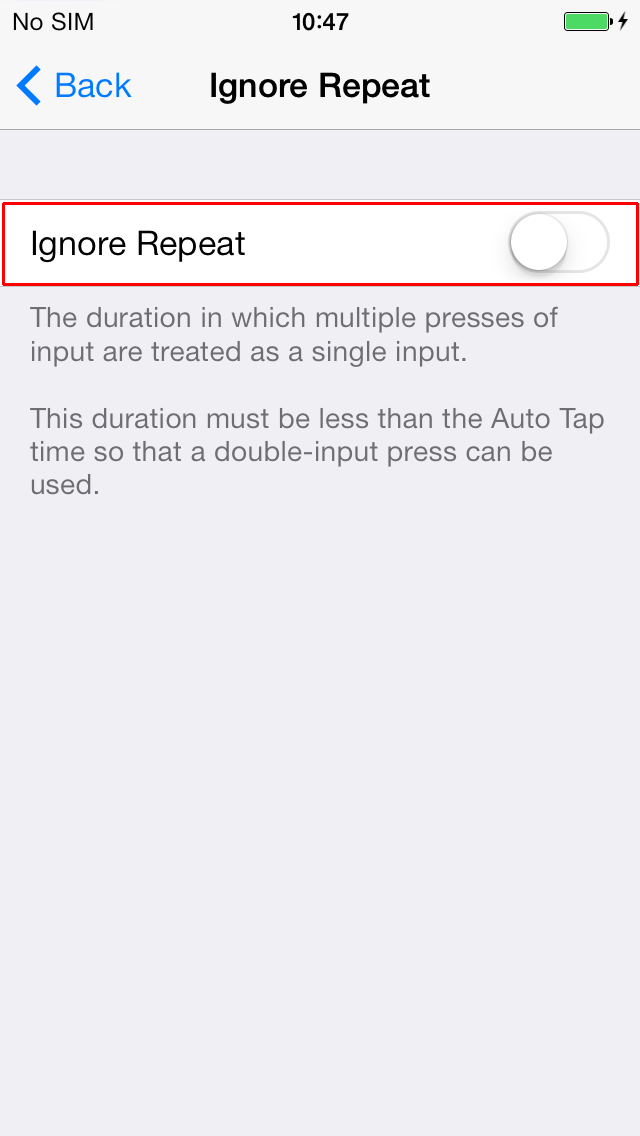
‘Ignore Repeat’ can be enabled and this will ignore any second accidental presses. This can be particularly useful for users with fine motor or dexterity impairments.
- Tap to select the ‘Ignore Repeat’ button under ‘Switch Stabilisation’.

- To activate ‘Ignore Repeat’ tap the toggle switch for ‘Ignore Repeat’.
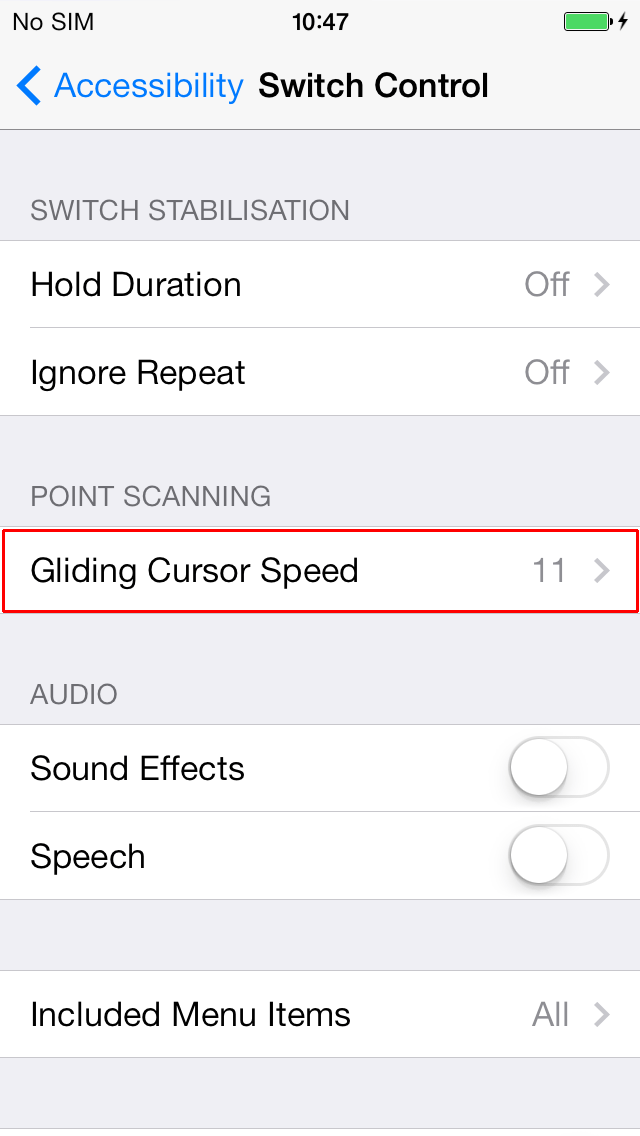
Point Scanning
The ‘Gliding Cursor Speed’ is the speed at which the gliding cursor moves across the screen. At certain times using ‘Switch Control’, it might not recognise any hotspots on the screen and when this happens your device will default to ‘Point Scanning’. A ‘Point Scan’ allows users to select any point on the screen and ‘Gliding Cursor Speed’ controls the speed of this.
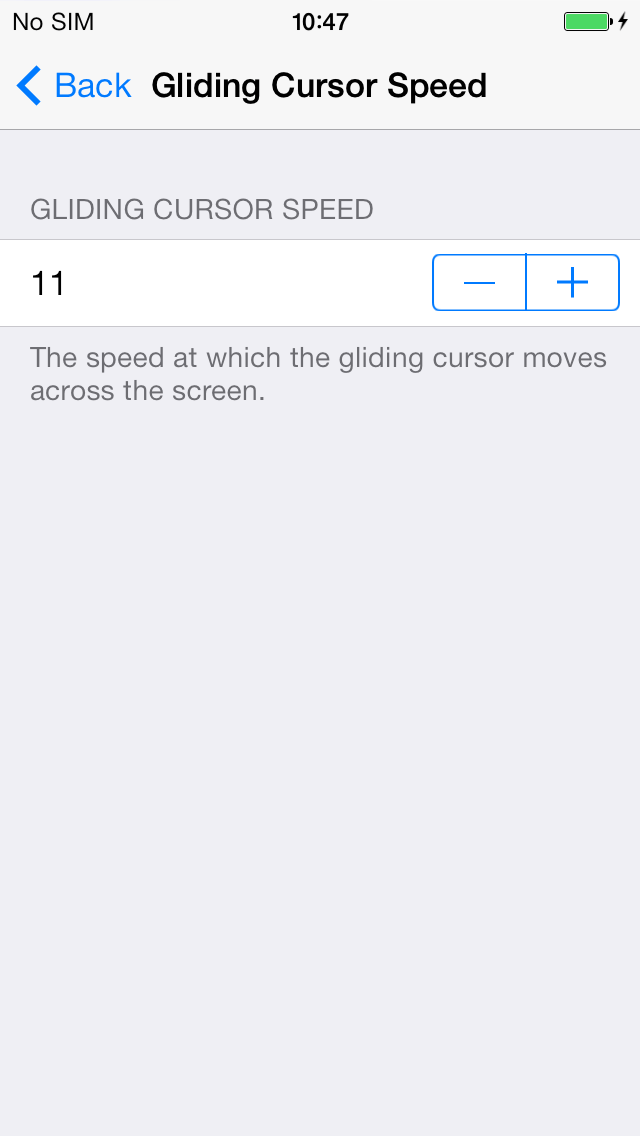
- Tap to select the ‘Gliding Cursor Speed’ button under ‘Point Scanning’.
- The gliding cursor speed can be adjusted by tapping the digits under ‘Gliding Cursor Speed’ (which brings up the numeric keyboard). Alternatively, the decrement or increment buttons can be tapped to decrease or increase the speed, which ranges from 1–100.
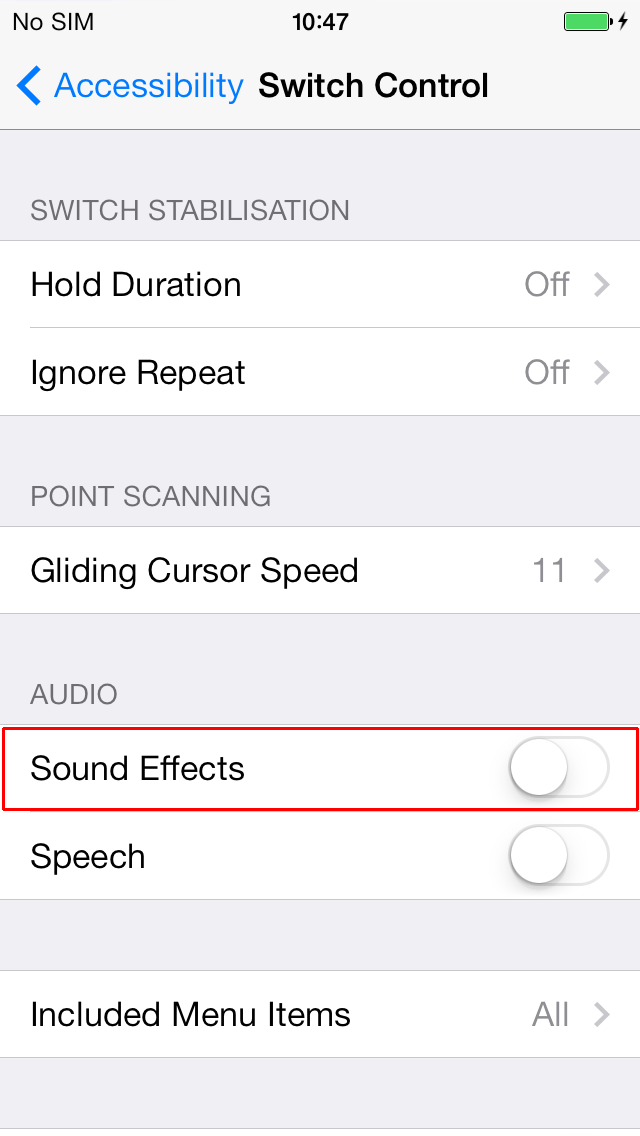
Audio
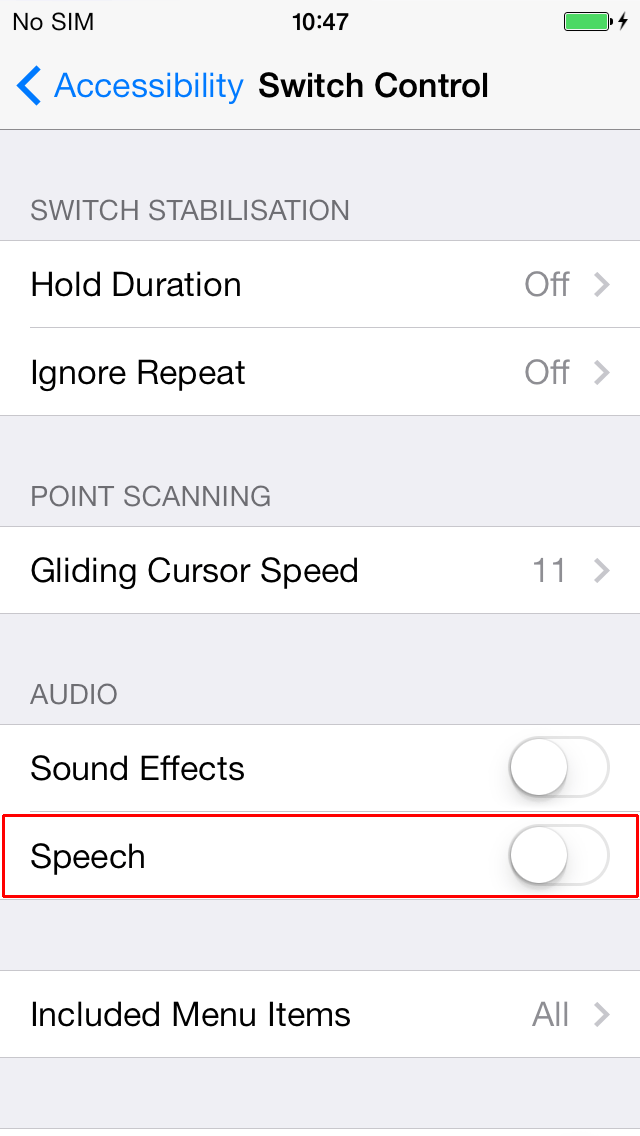
‘Sound Effects’ provides users with an audible click to accompany the moving highlight cursor. ‘Speech’ is an auditory scanning option. Whenever VoiceOver cues are present and this feature is enabled, the menu item ‘Speaking Rate’ appears and you can control the speed of the voice.
- To activate ‘Sound Effects’ tap the toggle switch for ‘Sound Effects’ under ‘Audio’.
- To activate ‘Speech’ tap the toggle switch for ‘Speech’ under ‘Audio’.
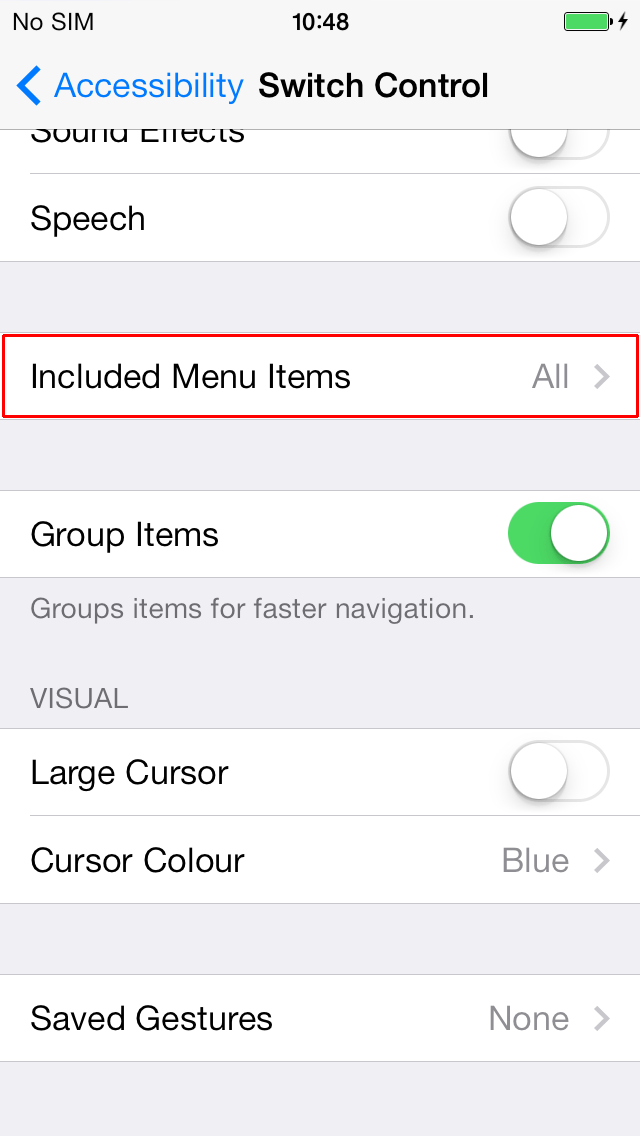
‘Included Menu Items’ controls what is displayed in the pop-up menu which appears whenever a switch is pressed. Items in this menu can be turned on or off.
- Tap to select the ‘Included Menu Items’ button.
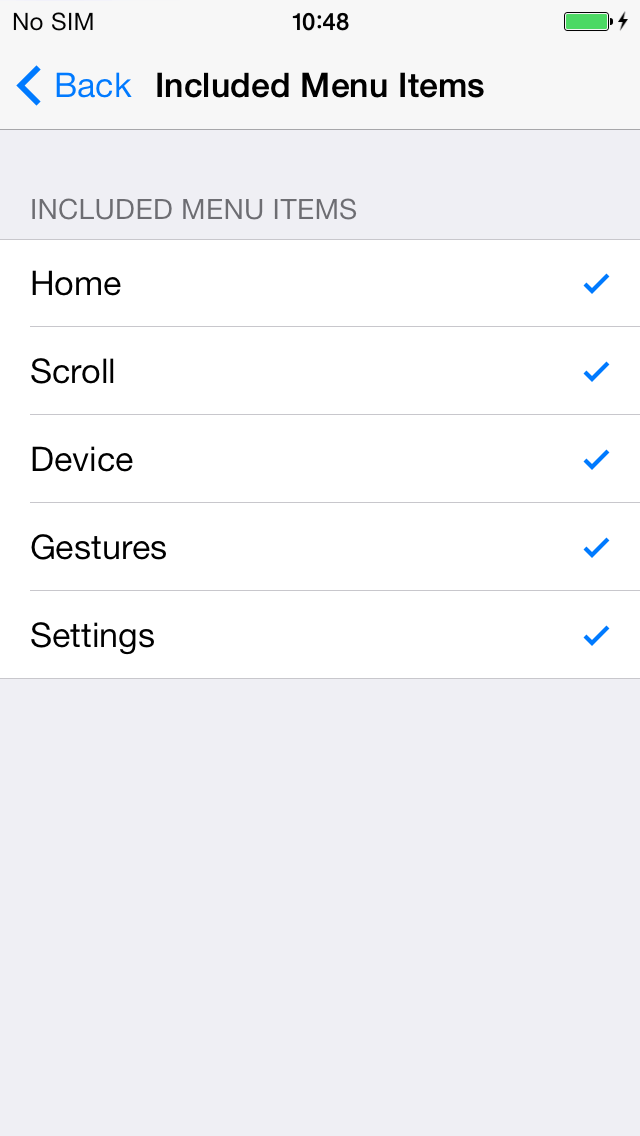
- Tap to turn on or off any of the options under ‘Included Menu Items’. By default, all of them are included:
- Home
- Scroll
- Device
- Gestures
- Settings
‘Group Items’ is a setting which causes the scan to first select a group of closely clustered items when cycling through a loop.
- To activate ‘Group Items’ tap the toggle switch for ‘Group Items’.

Visual
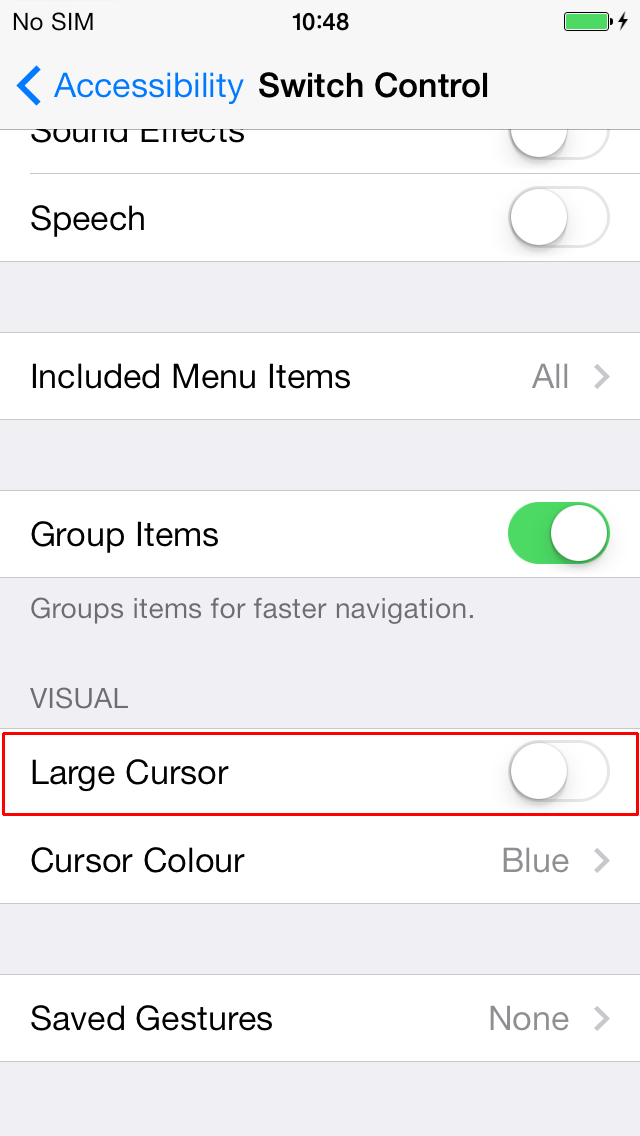
Activating ‘Large Cursor’ makes the scanning highlight cursor thicker and easier to see. The colour of the cursor can also be changed using ‘Cursor Colour’
- To activate ‘Large Cursor’ tap the toggle switch for ‘Large Cursor’.
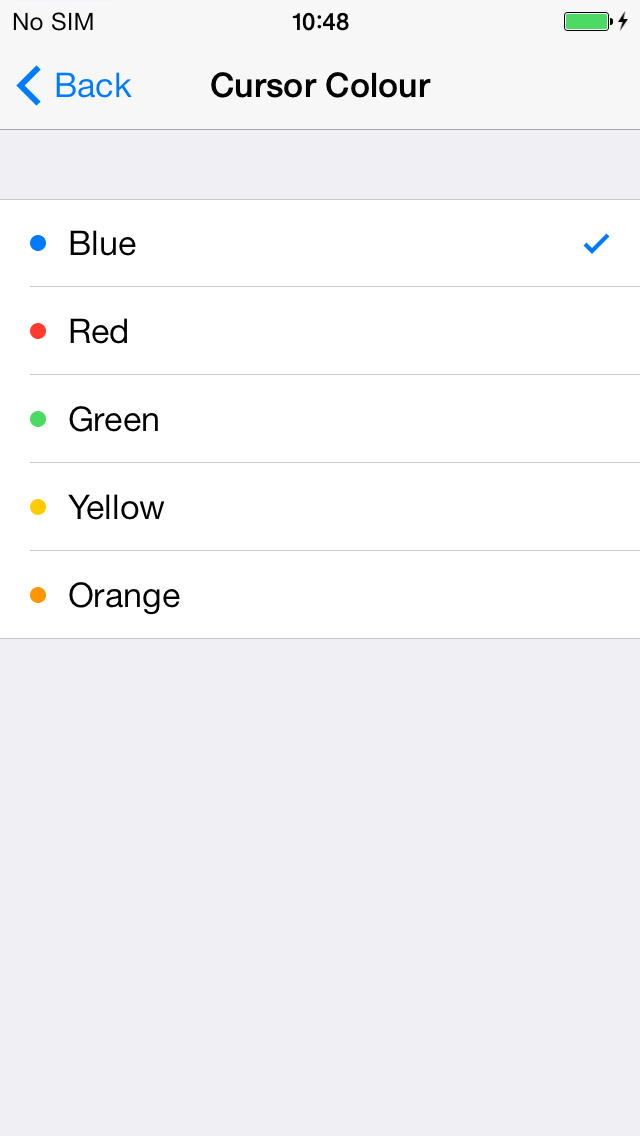
- Tap to select the ‘Cursor Colour’ button under ‘Visual’.
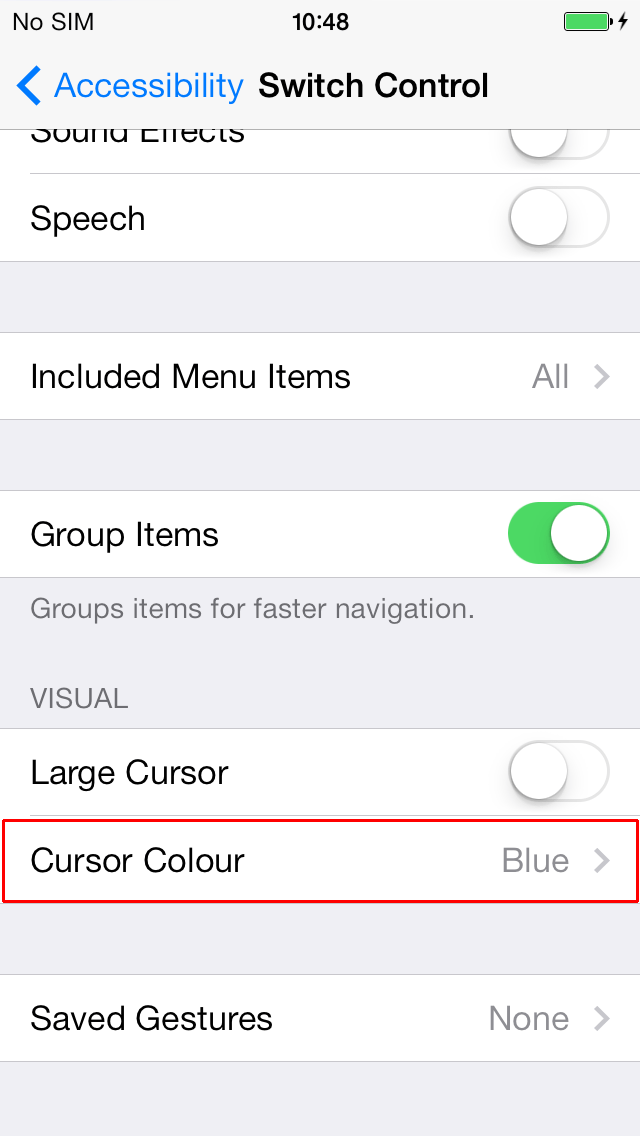
- Tap to select one of the five colours from the list (Blue is selected by default):
- Blue
- Red
- Green
- Yellow
- Orange
AssistiveTouch
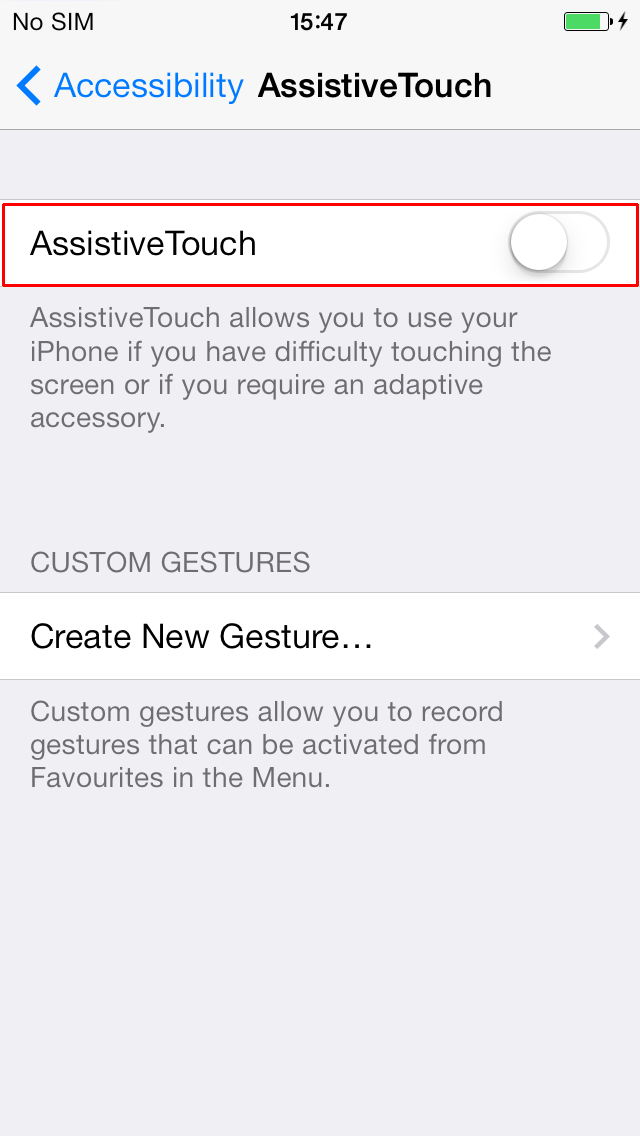
‘AssistiveTouch’ helps you adapt your iPhone, iPad or iPod if you have difficulty touching the screen or you use an adaptive device. Some users struggle with particular gestures such as pinch. These gestures can be changed to something else such as a single onscreen tap. Custom gestures can also be created.
- To activate the ‘Accessibility’ features on your device select ‘Settings’ + ‘General’ + ‘Accessibility’.
- Tap to select the ‘AssistiveTouch’ button under ‘Physical & Motor’.

- Tap the toggle switch for ‘AssistiveTouch’.
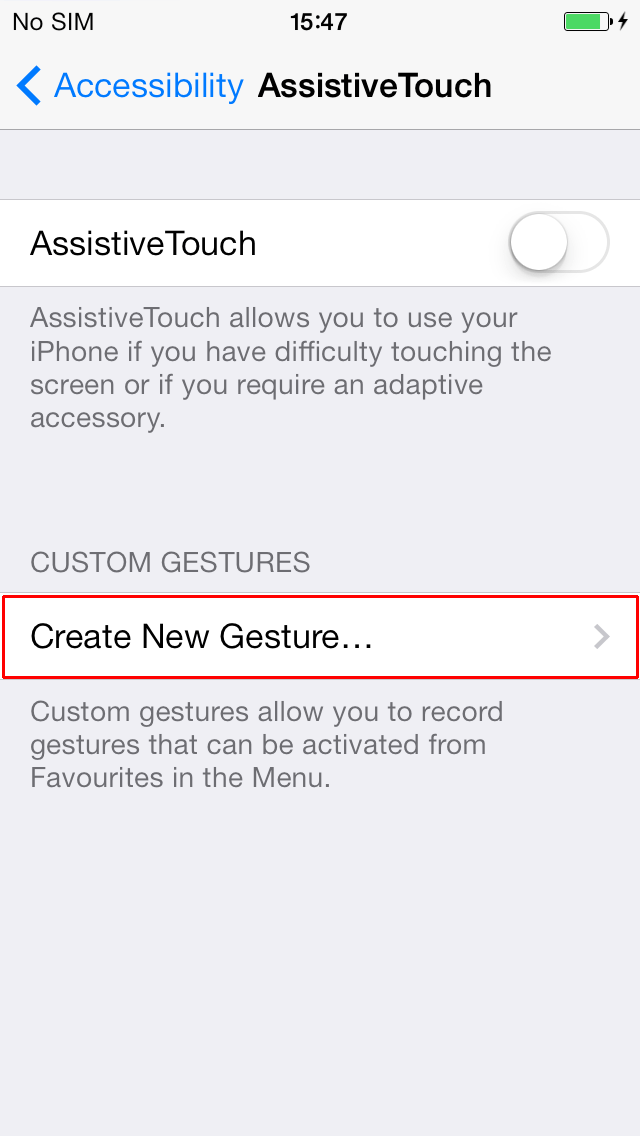
Custom gestures can be created which can then be activated from Favourites in the Menu. To record a new gesture:
- Tap to select the ‘Create New Gesture’ button under ‘Custom Gestures’.
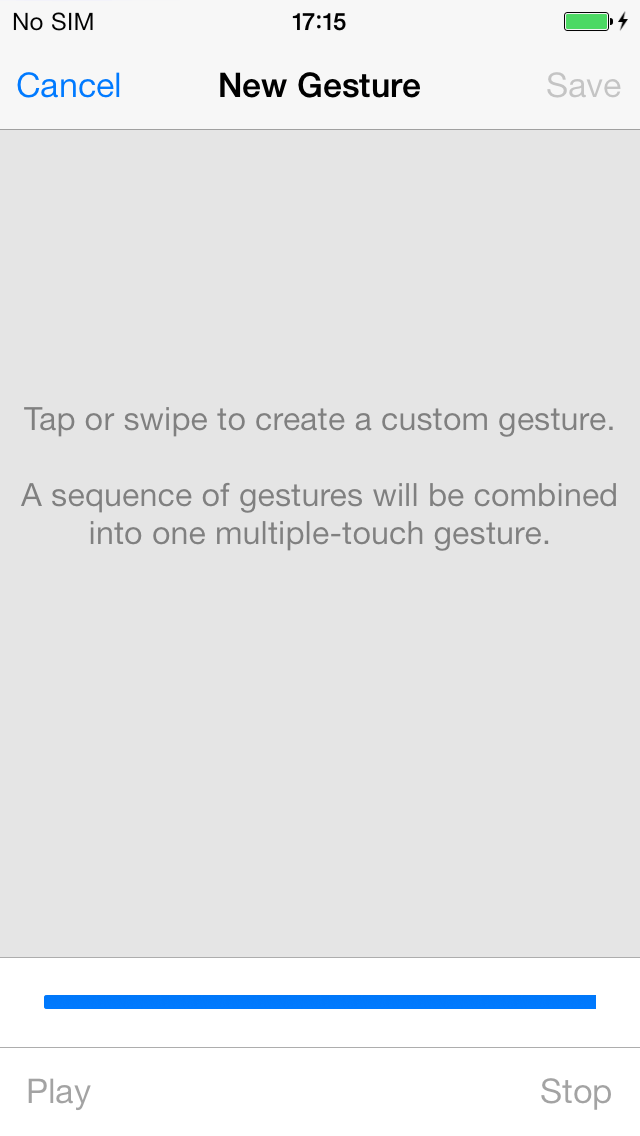
- Tap or swipe to create a new gesture. Any sequence of gestures will be combined into one multiple-touch gesture. Select ‘Play’ to see a playback of your new gesture and ‘Save’ when you are happy with it.
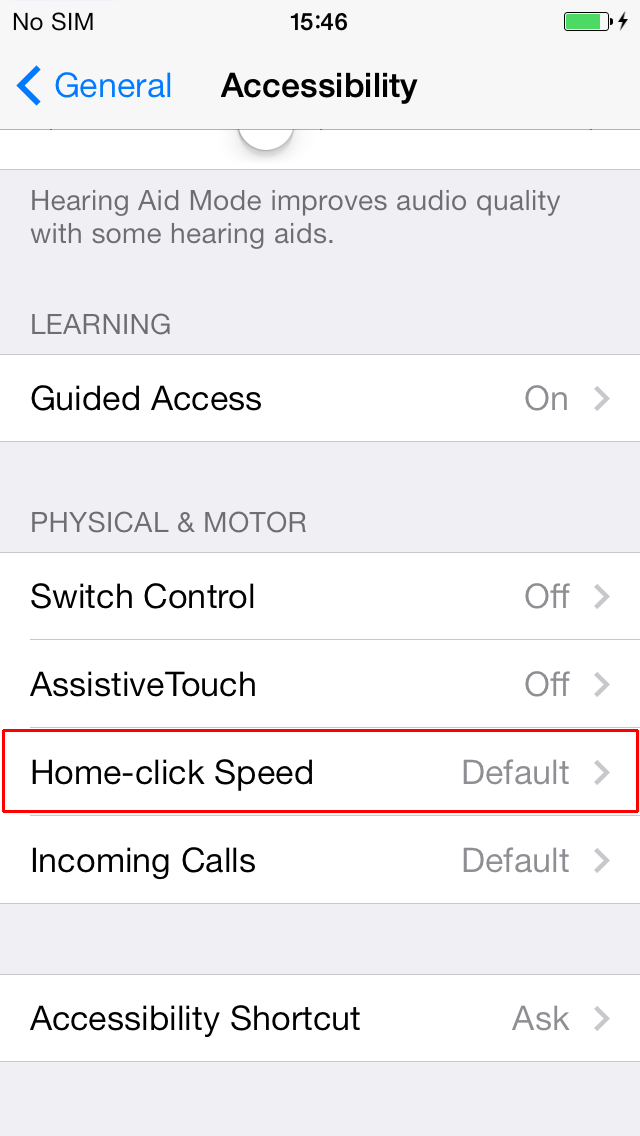
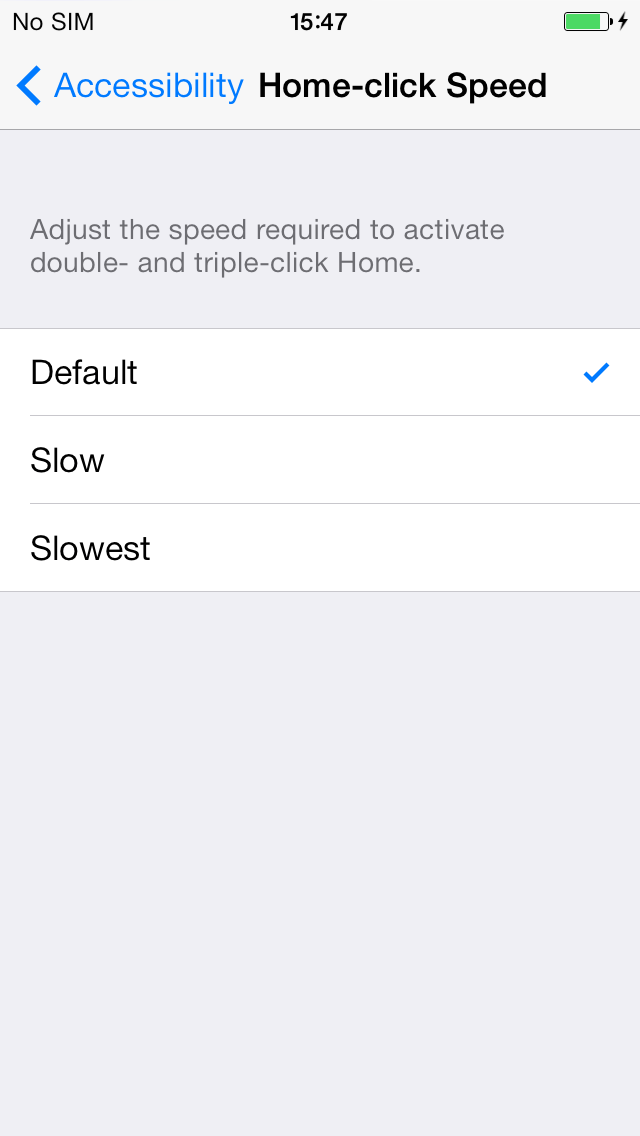
Home-click Speed
- To activate the ‘Accessibility’ features on your device select ‘Settings’ + ‘General’ + ‘Accessibility’.
- Tap to select the ‘Home-click Speed’ button under ‘Physical & Motor’.
- Tap one of the following options to adjust the speed needed to activate ‘Double’ and ‘Triple-click Home’:
- Default
- Slow
- Slowest
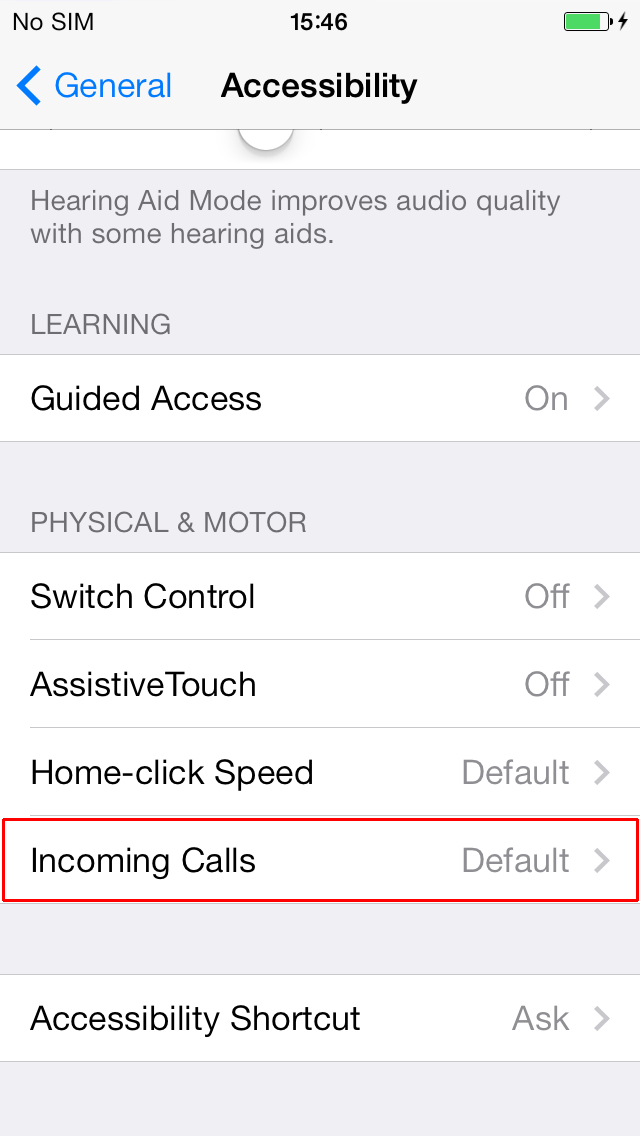
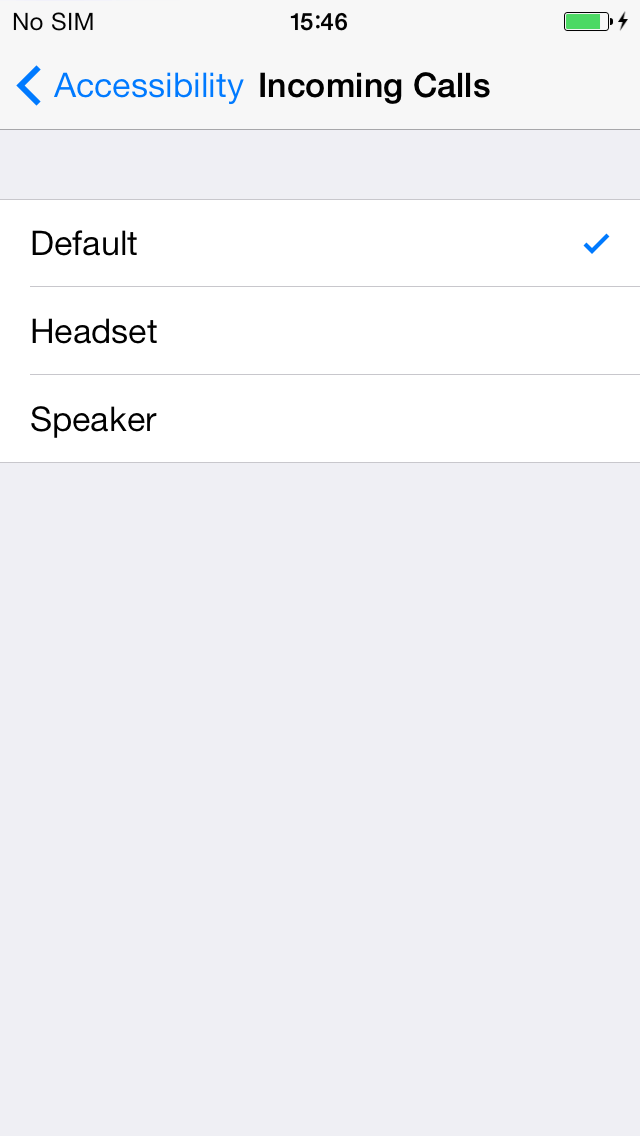
Incoming Calls
- To activate the ‘Accessibility’ features on your device select ‘Settings’ + ‘General’ + ‘Accessibility’.
- Tap to select the ‘Incoming Calls’ button under ‘Physical & Motor’.
- Route your incoming calls to either of the following settings by tapping an option:
- Default
- Headset
- Speaker
Need some more help?
Call our helpline 0300 180 0028 or email enquiries@abilitynet.org.uk
Need free IT Support at Home?
If you are older or disabled and need IT support at home, you can book a free home visit.