- How to set up Speech Recognition
- Using Speech Recognition
- Improve the accuracy of Speech Recognition
How to set up Speech Recognition
- Open the ‘Ease of Access’ settings by pressing the ‘Windows logo key’
 + ‘U’ on the keyboard or via Start Menu > Settings > Ease of Access (see the article Open Accessibility Preferences on this website for more information.)
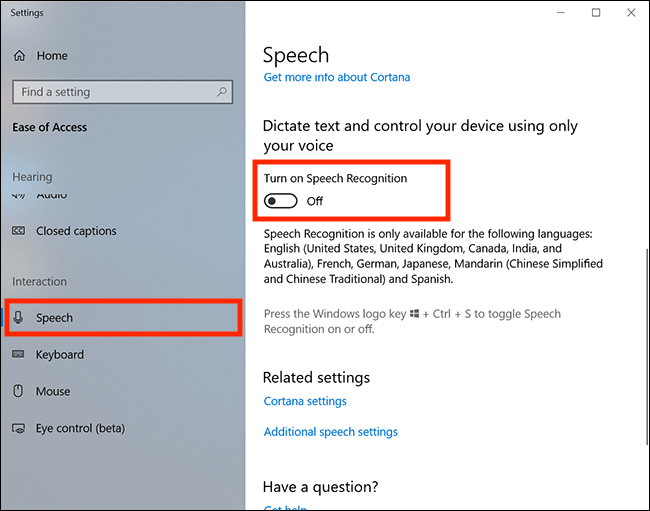
 - In the Ease of Access window, select ‘Speech’ from the Interaction section in the left column.
- Under ‘Dictate text and control your device using only your voice’ in the right column, click the toggle switch labelled ‘Turn on Speech Recognition’.
- You will now see the ‘Set up Speech Recognition’ app. This will guide you through the steps to set up your microphone and Speech Recognition preferences. Click ‘Next’.
- If you haven’t already done so, connect the microphone that you will be using – a headset is recommended as the better audio quality you have, the more accurate your computer will be.
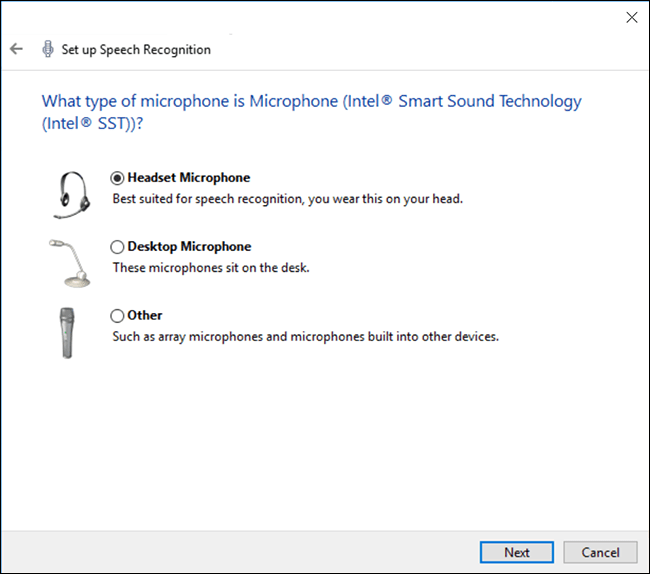
- Select the type of microphone from the list (Headset Microphone, Desktop Microphone, Other) then click ‘Next’.
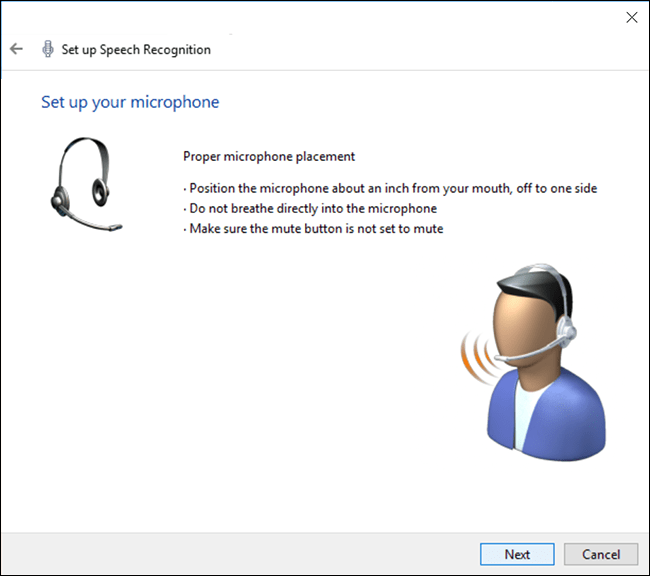
- On the next screen, read the recommendations for microphone placement, then click ‘Next’.
- Read aloud the sample text. When your device recognises you have read the full sentence you will be able to click ‘Next’ to proceed.

- If the computer didn’t hear you clearly you will be prompted to reposition your microphone and repeat the previous step. If the computer did hear you clearly, your microphone is now set-up and you can continue setting up Speech Recognition. Click ‘Next’.
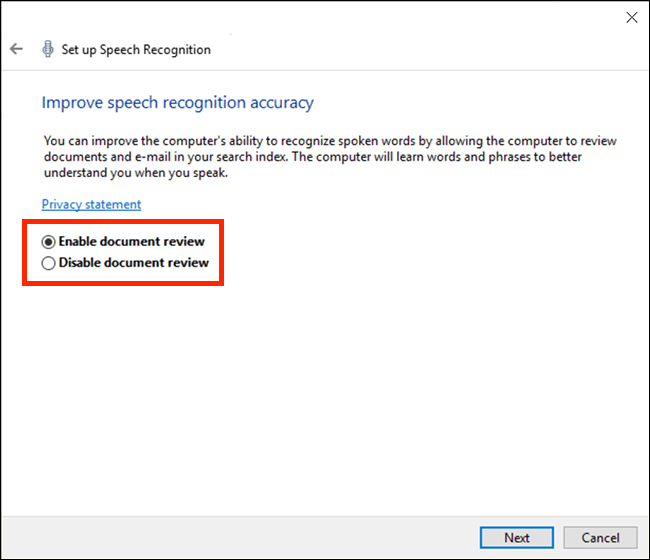
- The next step is to allow your device to review your documents and emails so that it can better understand you when you speak. Click the option you would prefer: ‘Enable document review’ or ‘Disable document review’.
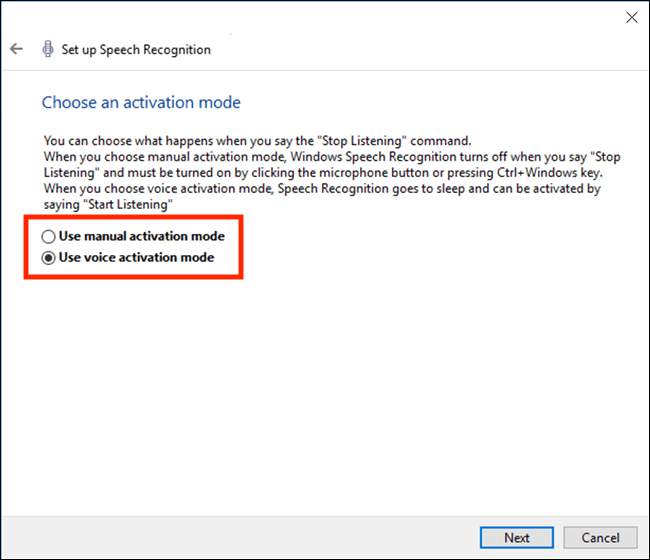
- Next, choose an activation mode. You can choose to either:
- Use manual activation mode - When you say “Stop Listening” you will need to manually turn Speech Recognition back on, either by pressing the ‘Windows Logo key’ + ‘Ctrl’ or by clicking the microphone icon on the taskbar.
- Use voice activation mode – When you say “Stop Listening” Speech Recognition goes to sleep and can be re-activated simply by saying “Start Listening”.
- Use manual activation mode - When you say “Stop Listening” you will need to manually turn Speech Recognition back on, either by pressing the ‘Windows Logo key’
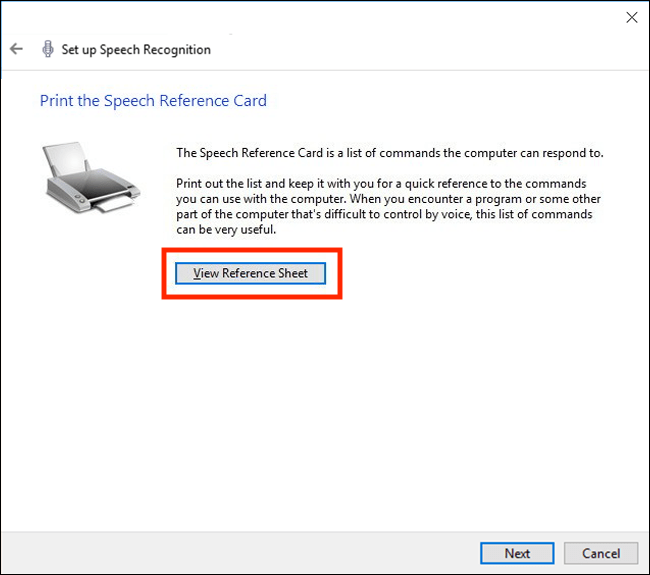
- You may wish to print the ‘Speech Reference Card’ – this is a list of all the commands you can use to control your computer with your voice and dictate text. Clicking the ‘View Reference Sheet’ will open up Microsoft’s webpage listing all these commands. Print or bookmark the web page.
- Back in the Speech Recognition setup app, press ‘Next’.
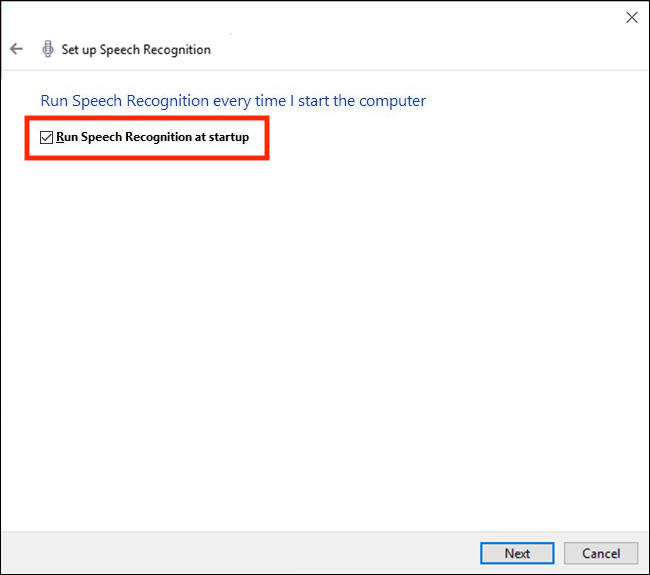
- Now choose whether to turn on Speech Recognition automatically whenever you start your device, then click ‘Next’.
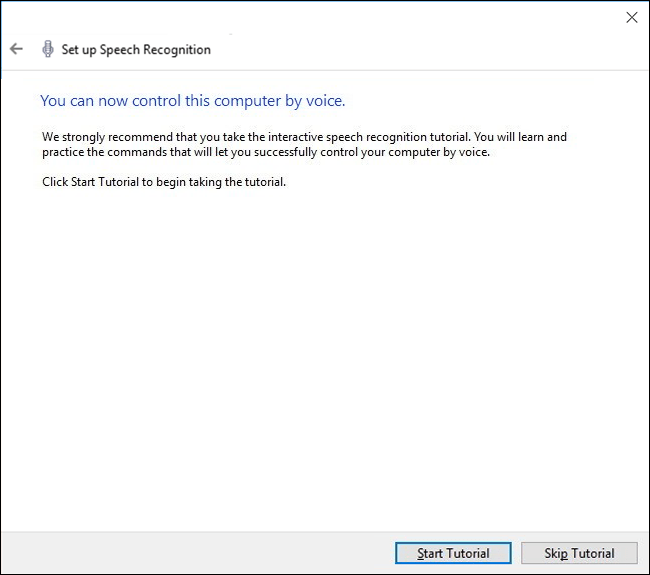
- That’s it, Speech Recognition is now set-up.
- The last set-up screen gives you the option to start a tutorial for using Speech Recognition.
Using Speech Recognition

Now that Speech Recognition is set-up, the Speech Recognition interface will appear at the top of the screen and indicate whether it is listening or asleep. When it is listening you can use the commands found in the Speech Reference Card to control your device, such as open applications, perform a mouse action, close windows, select items etc.
You can also use Speech Recognition to dictate text anywhere you would normally type it such as web forms, emails and Word documents. A full list of commands for entering symbols and editing text can be found on the Speech Reference Card webpage.
Tip: You can drag the Speech Recognition interface to reposition it elsewhere on the screen.
To access Speech Recognition settings and options:
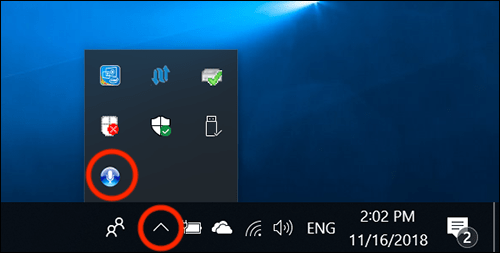
- Click or tap on the system tray on the taskbar
- Click or tap the microphone icon to open the Speech Recognition settings menu.

Improve the accuracy of Speech Recognition
If you find Speech Recognition frequently mishears your commands, you can perform a series of voice training exercises to help Speech Recognition understand how you speak.
To start voice training:
- Click or tap on the system tray on the taskbar.
- Click or tap the microphone icon to open the Speech Recognition settings menu.
- Select ‘Configuration’.
- Then select ‘Improve voice recognition’.

- The ‘Speech Recognition Voice Training’ app will guide you through a series of spoken phrases and prompt you when it hasn’t understood you properly.

Note: If this does not work it could be because your computer settings are managed by someone else (an IT department or administrator for example) in which case you will need to contact them to access these settings or for further help.
Read next
Need some more help?
Call our helpline 0300 180 0028 or email enquiries@abilitynet.org.uk
Need free IT Support at Home?
If you are older or disabled and need IT support at home, you can book a free home visit.