Microsoft has stopped updating Speech Recognition and has even removed it from the latest Windows 11 update. We'd recommend Voice typing for dictating text, as it has some extra features like automatic punctuation, and uses Microsoft services in the cloud to get more accurate results. To find out more about Voice typing see the guide How to use Voice Typing in Windows 11.
Short guide
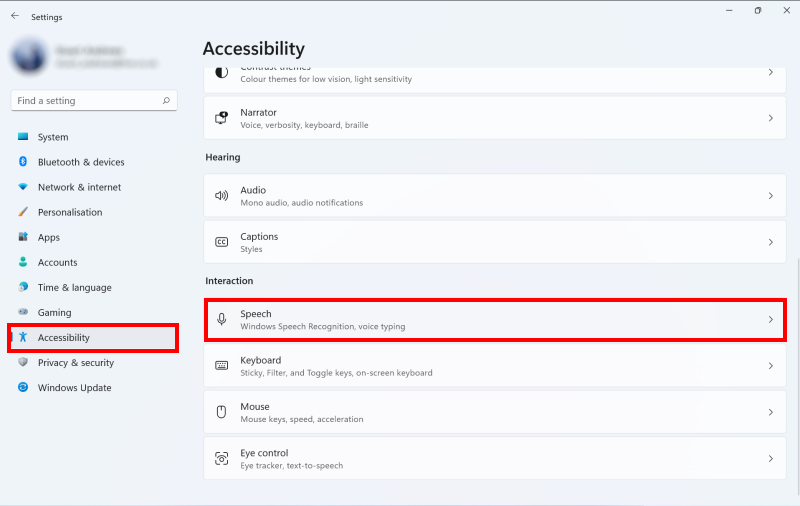
- Press the Windows key + U. Select Speech from the Interaction section.
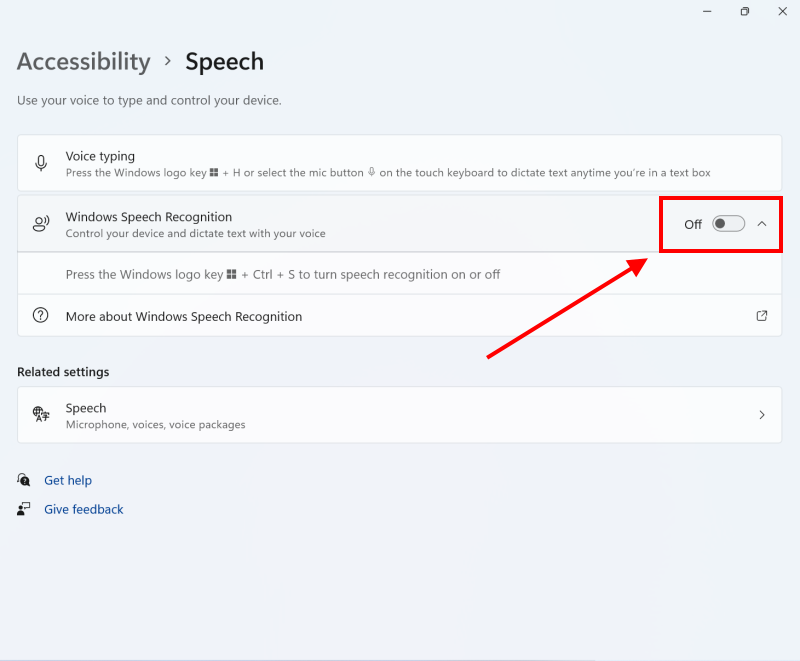
- Click the toggle switch for Windows Speech Recognition to turn it on.
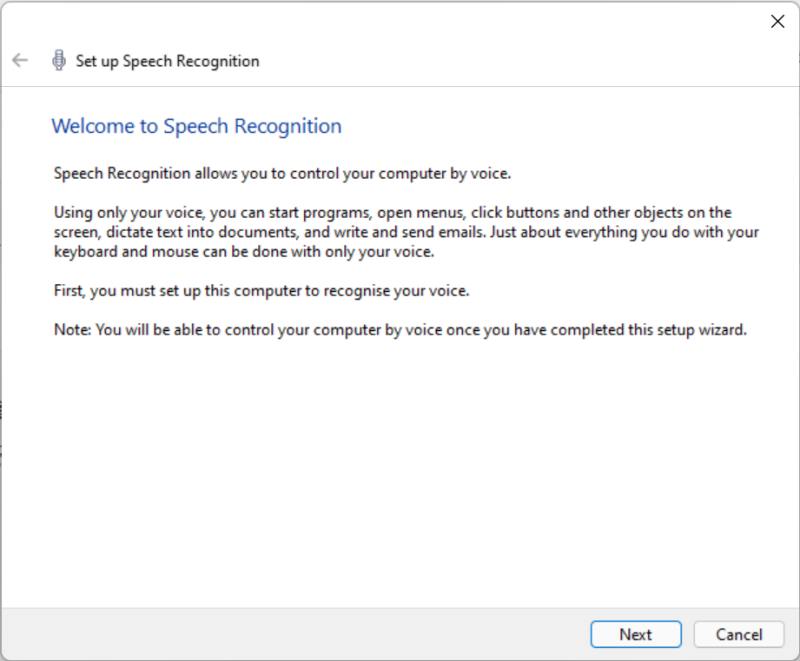
- Click Next and follow the instructions in the Set up Speech Recognition wizard.
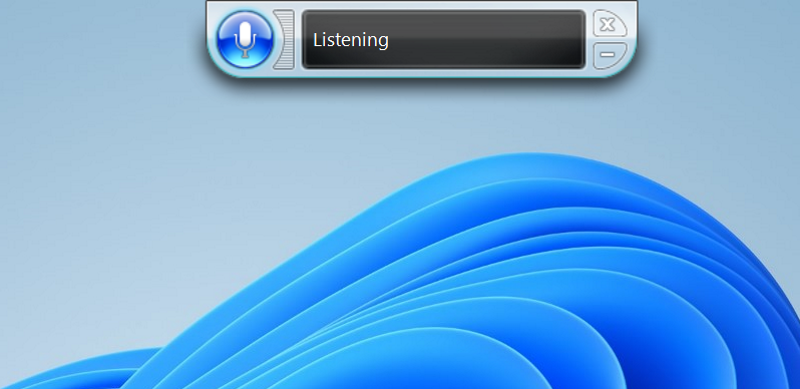
- The Speech Recognition toolbar will appear at the top of the screen. Click the microphone button to start and pause listening.
Before and after
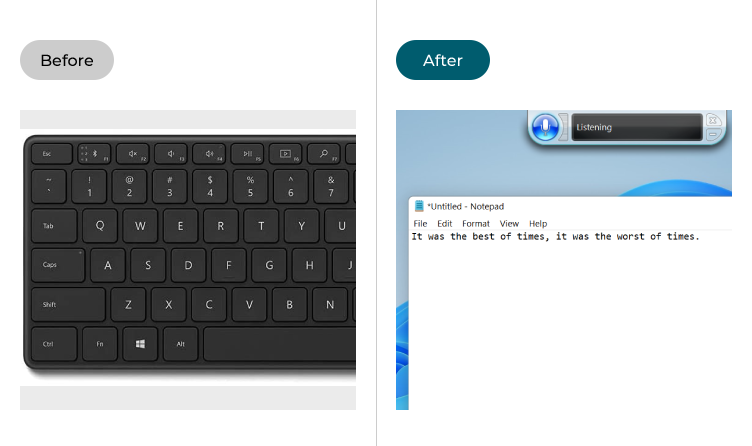
This section explains how to enable and use speech recognition in Windows 11. This is a step-by-step guide with pictures of the screens to help.
Find the Speech accessibility settings
1. Open the Accessibility settings by pressing the Windows key + U on the keyboard or by clicking Start > Settings > Accessibility. Select Speech under Interaction in the right-hand panel.
Switch Windows Speech Recognition on
2. Click the toggle switch for Windows Speech Recognition to turn it on. You can also press the Windows key + Ctrl + S to turn speech recognition on or off.
Use the setup wizard
3. The Set up Speech Recognition wizard will appear to guide you through the steps of setting up your microphone and your speech recognition preferences. Click Next to continue.
Set up your microphone
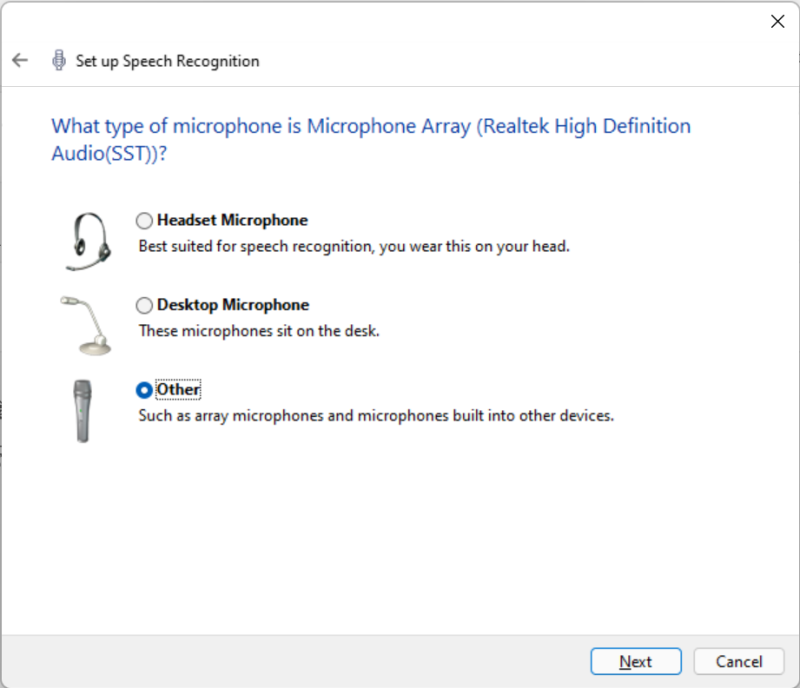
4. Select Headset Microphone, Desktop Microphone or Other to match the microphone you’re using. If you’re using a microphone built into a laptop or a webcam, select Other. Click Next. Test and adjust your microphone’s volume level on the next screen, then click Next again.
Enable Document review
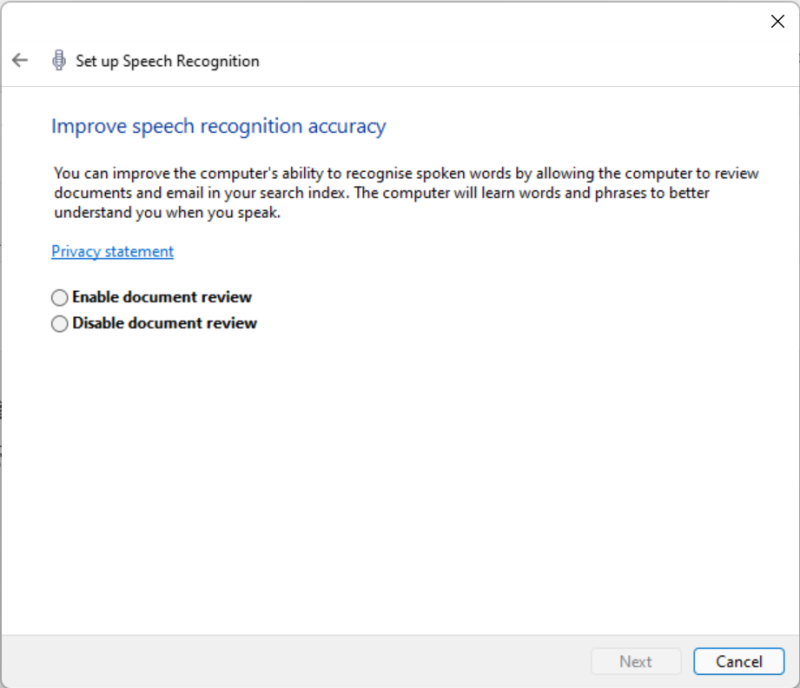
5. Windows can analyse your documents or emails to get a better idea of the words you use and how you speak. Select Enable document review when prompted to allow this, or Disable document review if you’d rather not.
Choose how to activate speech recognition
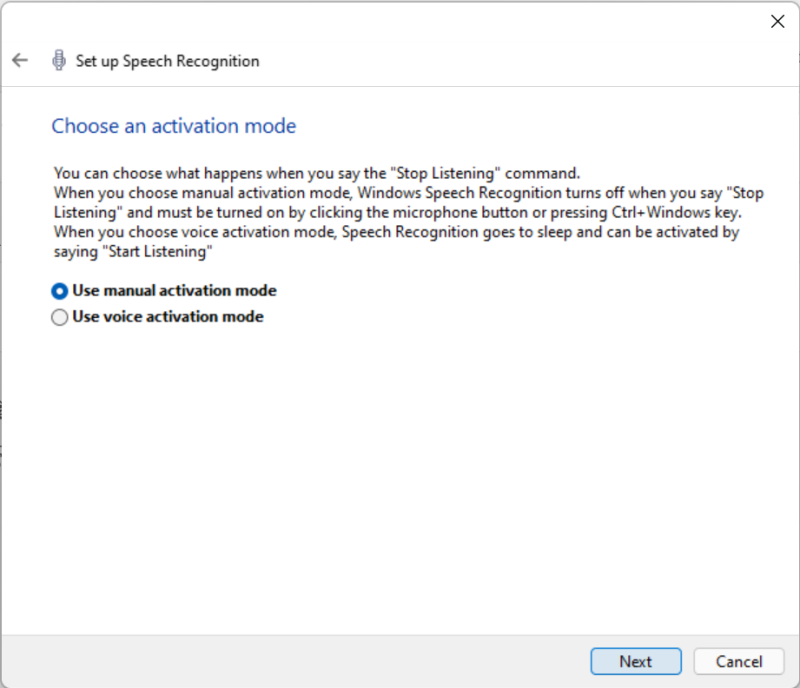
6. You can also choose between voice activation mode, where your computer listens our for a ‘Start Listening’ command to start speech recognition, or a manual activation mode where it waits for a keyboard shortcut or a taskbar icon to be clicked. Click Next to continue.
Finalise your settings
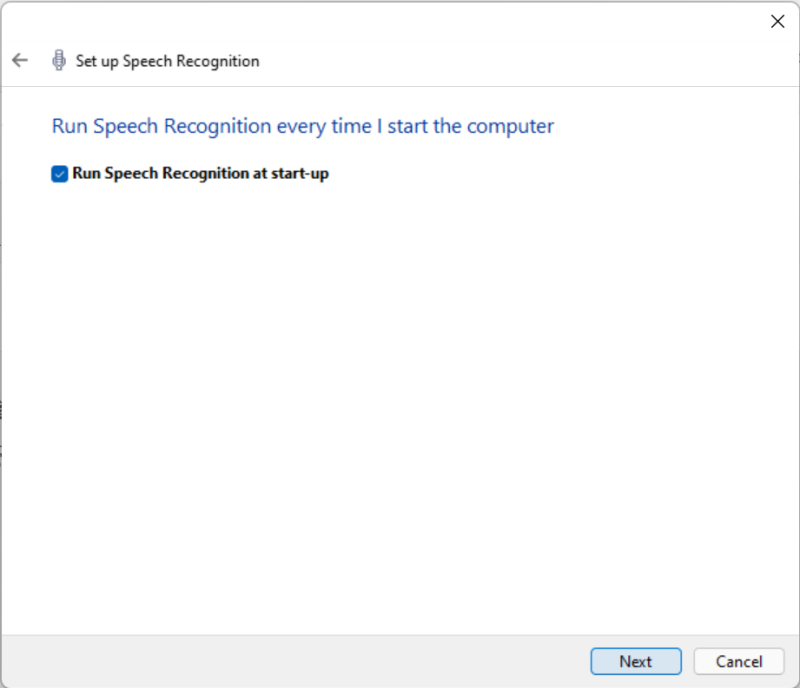
7. Finally, click the link to print the Speech Reference Card if you want when prompted, then tick the checkbox for Run Speech Recognition at start-up if you want it to lauch automatically. Click Next and speech recognition is ready to use.
Using speech recognition
8. Now that speech recognition is set-up, the Speech Recognition toolbar will appear at the top of the screen. The microphone button and display will indicate whether it is listening or asleep. When it is listening you can use the commands found in the Speech Reference Card to control your device, You can open applications, perform a mouse action, close windows and select items, plus a whole lot more.
Using voice commands and editing
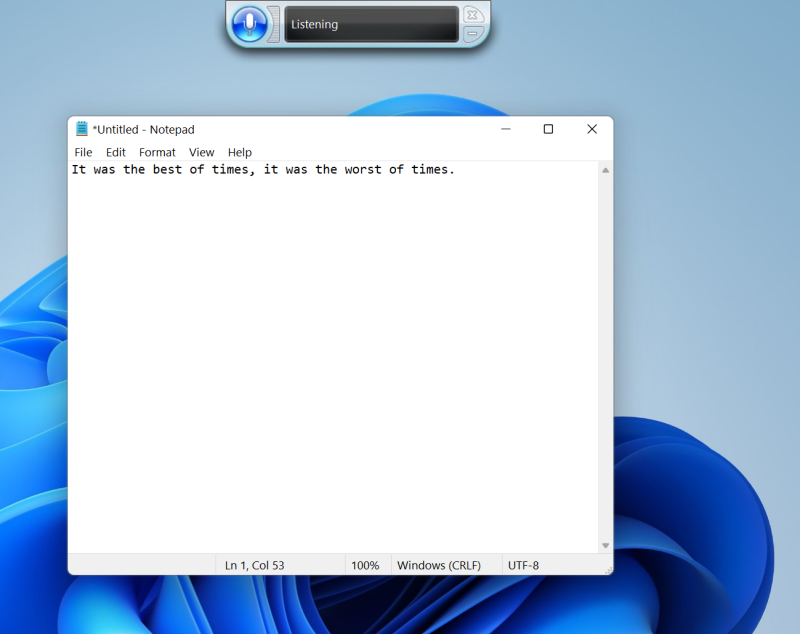
9. You can also use speech recognition to dictate text anywhere you would normally type, including online forms, email programs and Word documents. A full list of commands for entering symbols and editing text can be found on Microsoft's Windows Recognition commands website.
Switching speech recognition on and off
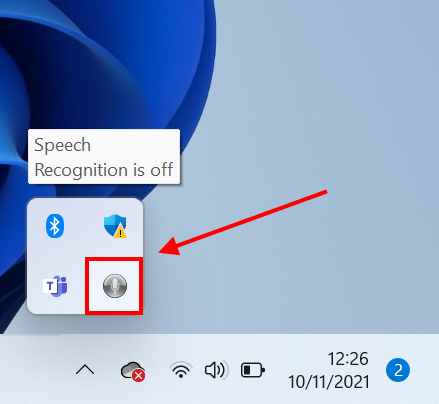
You can turn speech recognition on or off using the Windows key + Ctrl + S shortcut, or by clicking the microphone button in the system tray section of the Taskbar and selecting On, Sleep or Off.
Note: If this does not work it could be because your computer settings are managed by someone else (an IT department or administrator for example). If so, you will need to contact them to access these settings or for help.